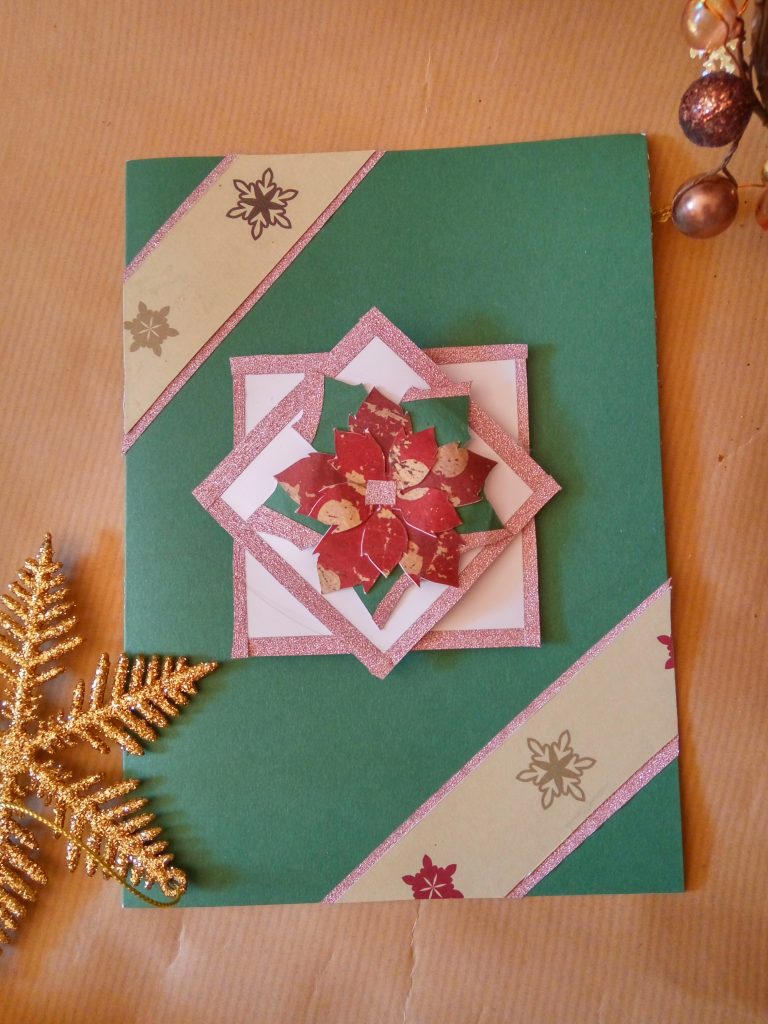
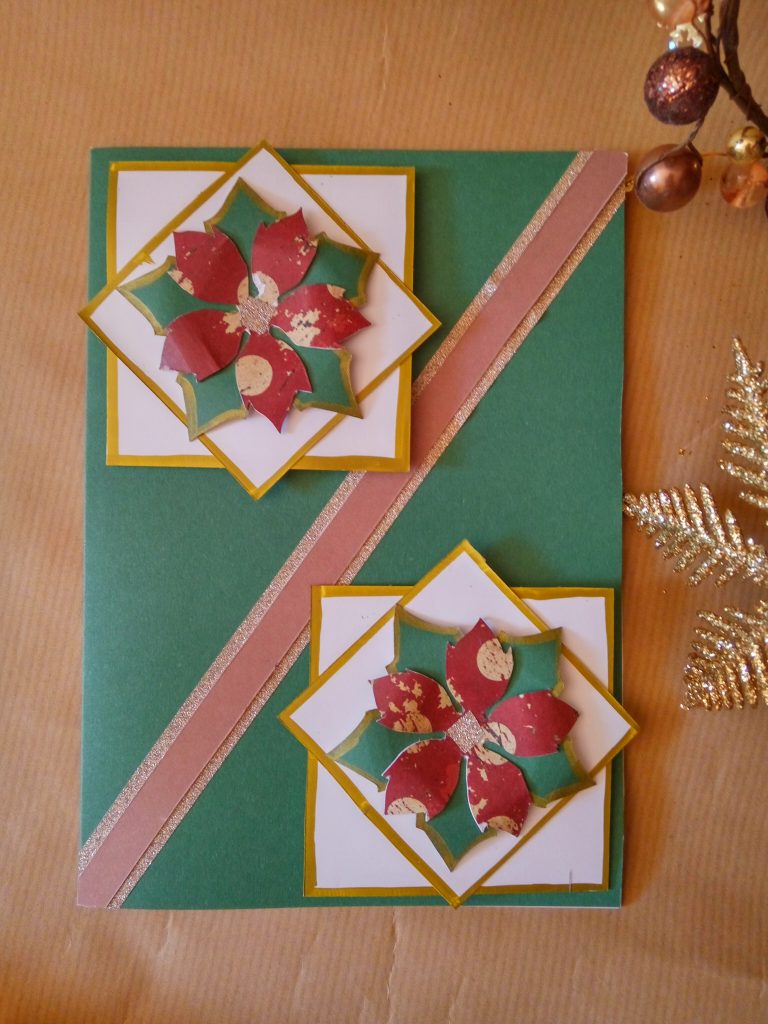
In my last blog post I showed you how to create a Christmas card with poinsettia flower in it. This time we use the Christmas flower element again, but in a different way.
All you need:
> Template
> Red and green paper
> White cardstock
> A piece of cardboard
> Golden marker/paint
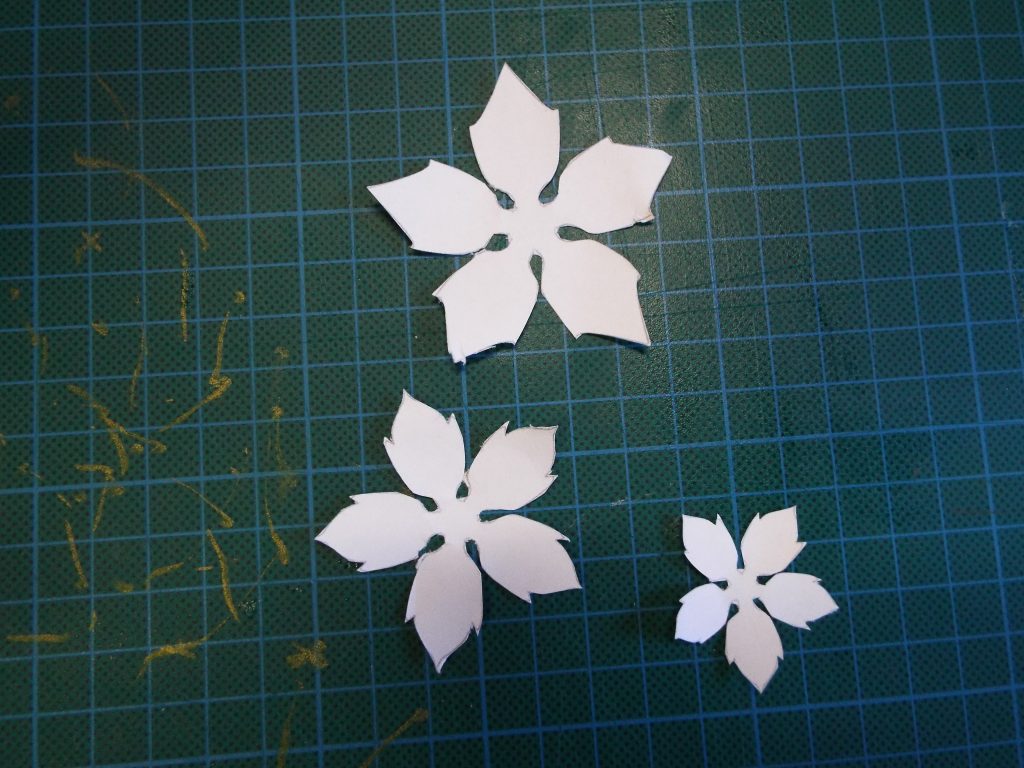 1. Start by cutting out the elements from the template, which you can download HERE.
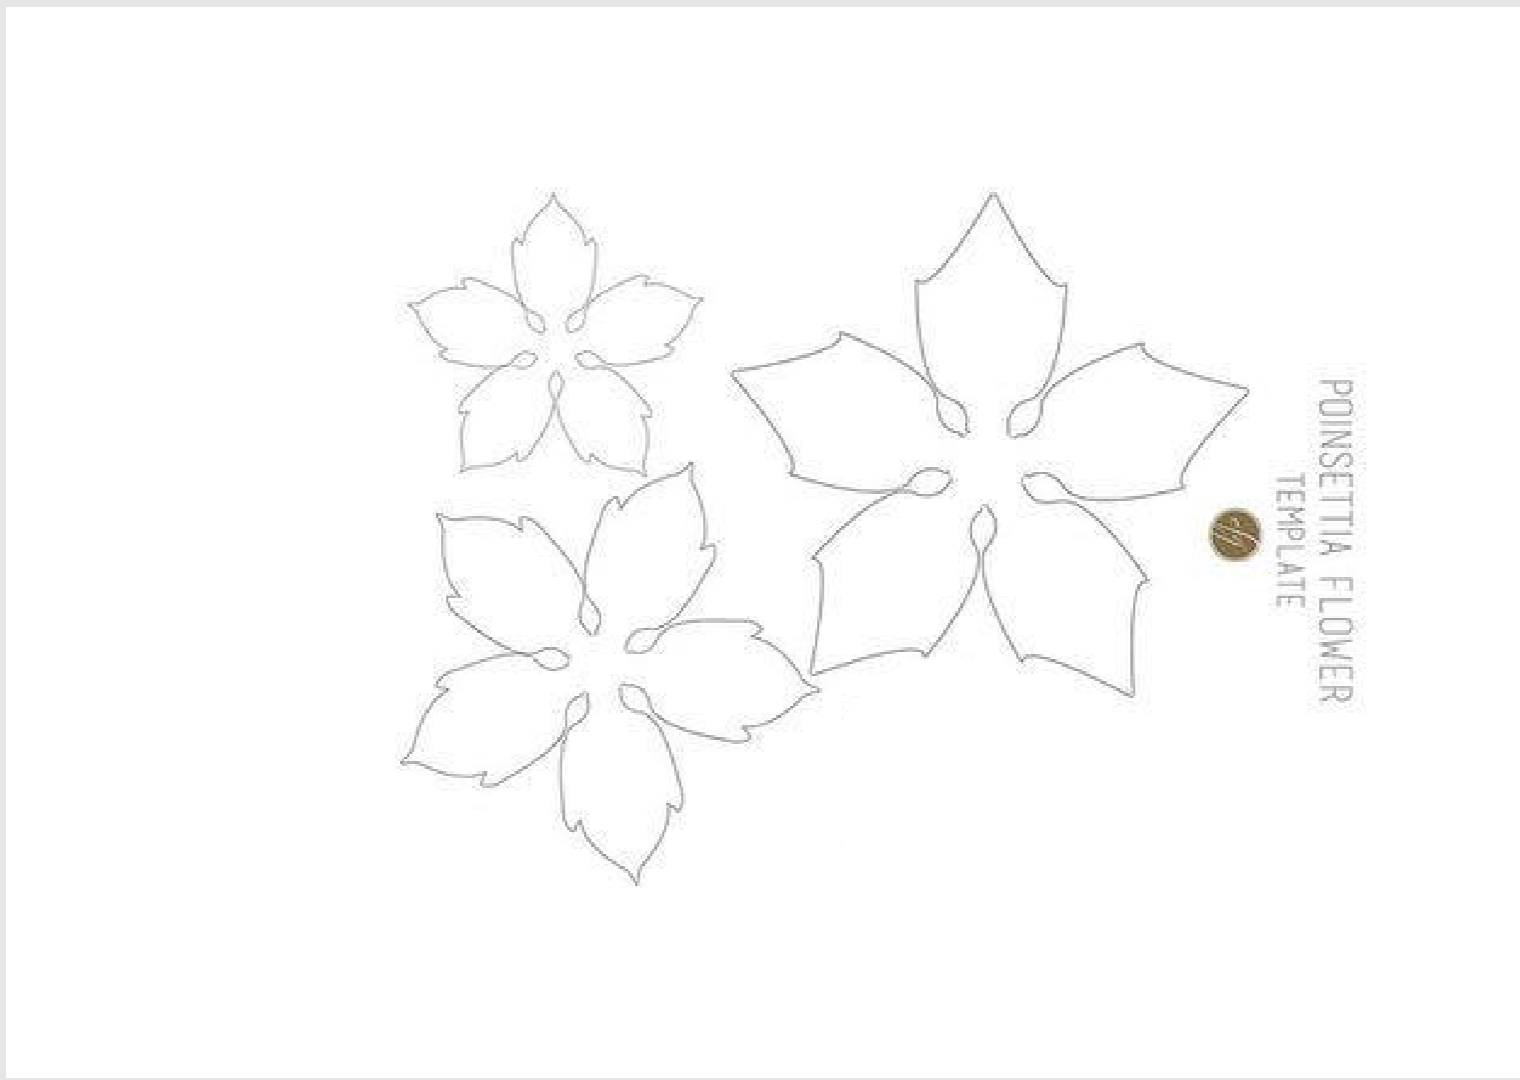
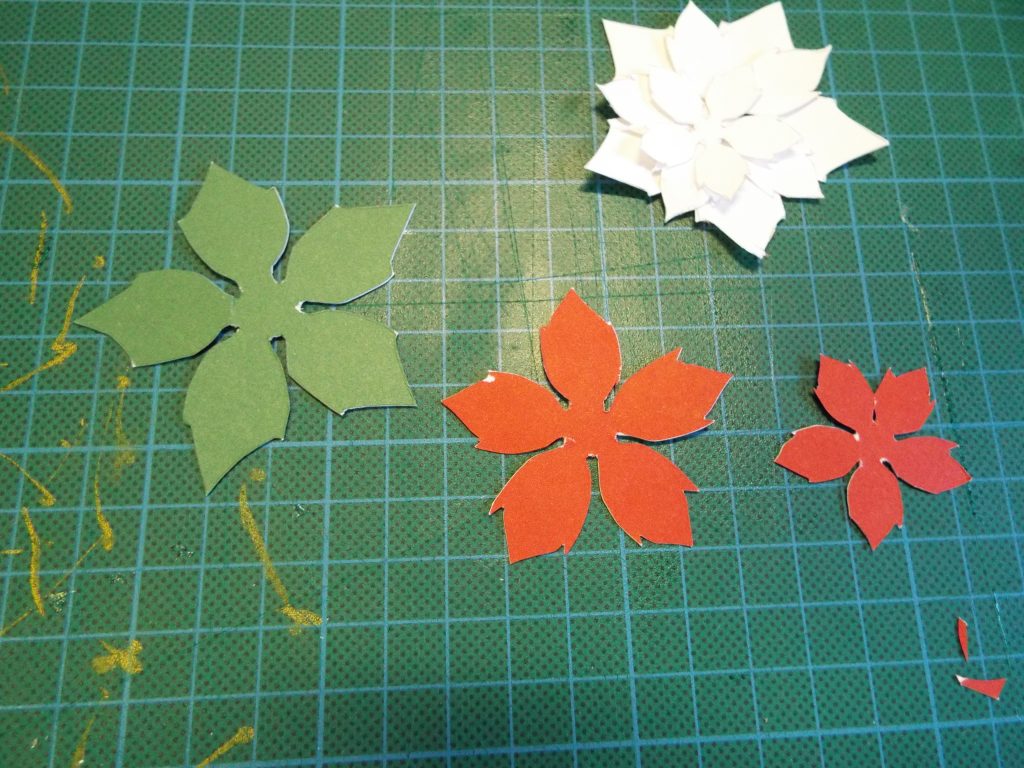 2. Outline the parts on a paper, like the largest one to be in green colour, and the two others – red.
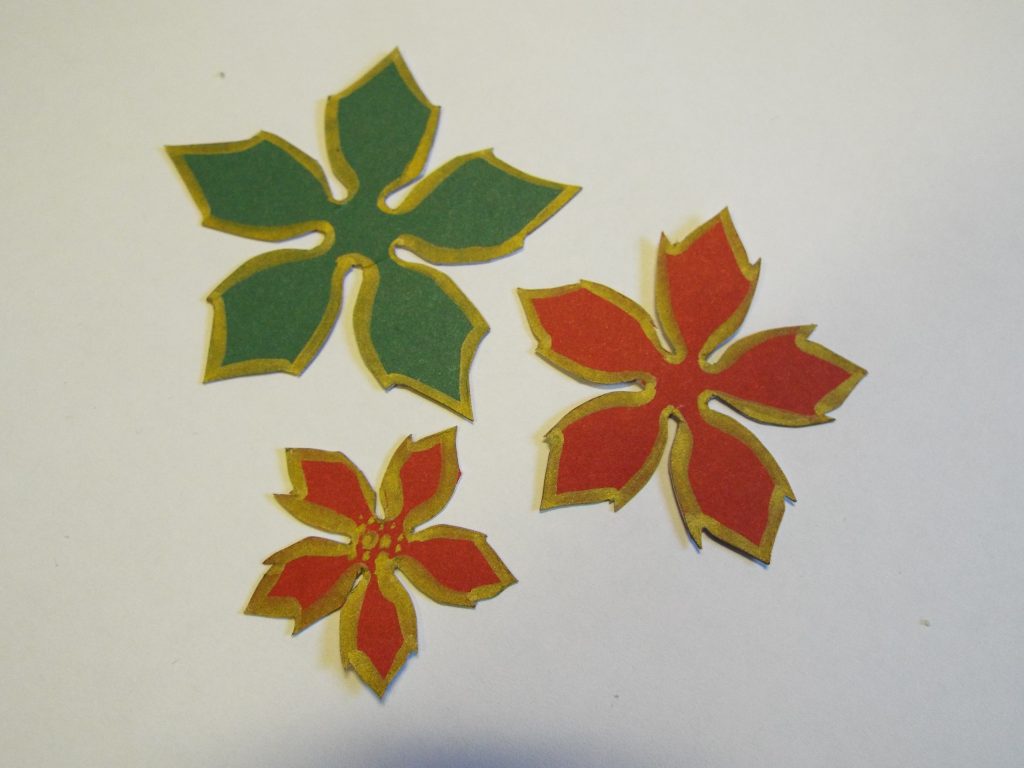 3. Colour the edges of the parts with the golden marker or paint. On the smaller part make some dots in the middle.
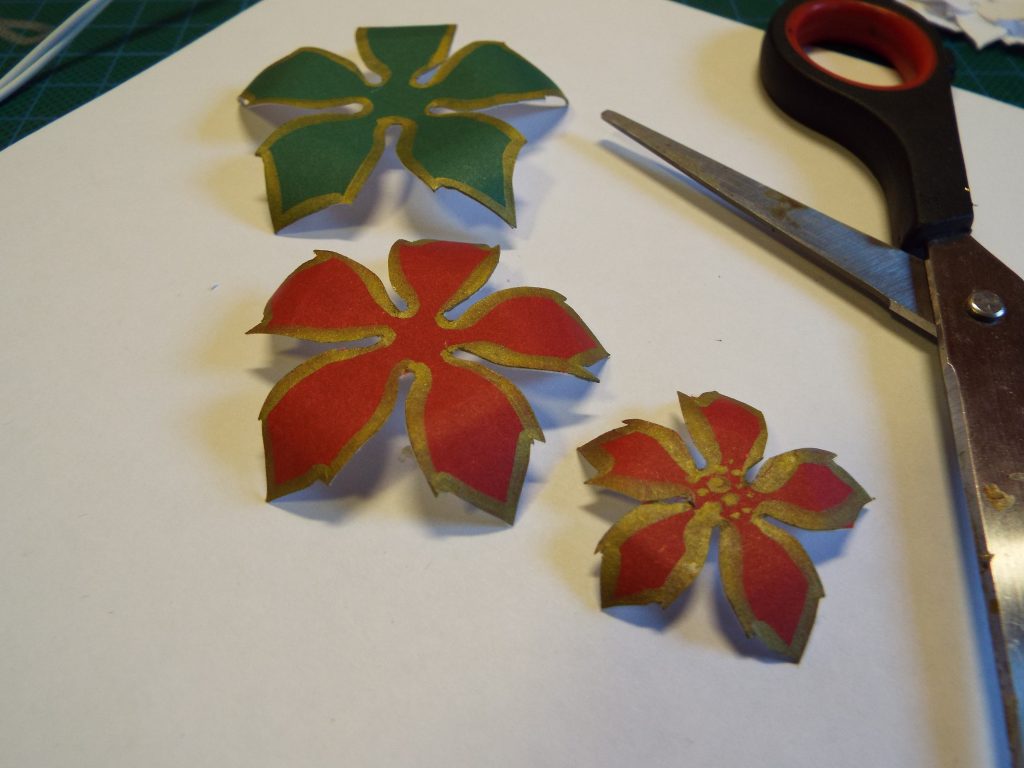 4. To make the flower looking 3D, curve the leaves and the petals with scissors.
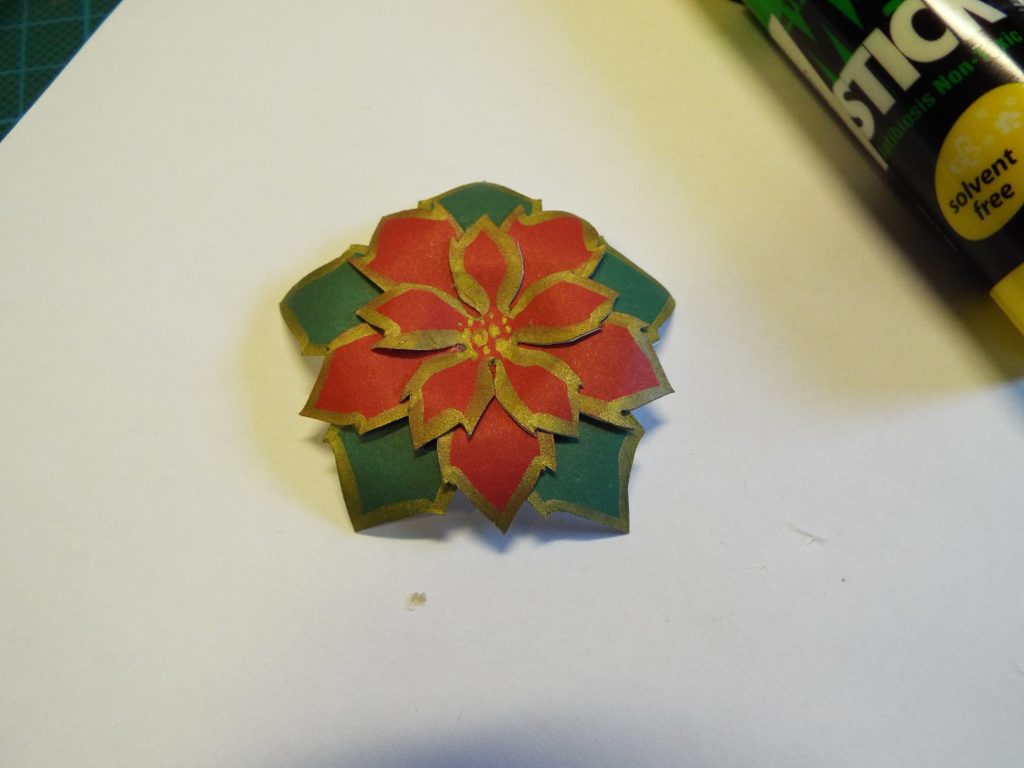 5. Connect the elements together, by applying glue only in the center. Make sure you are crossing them while doing this step.
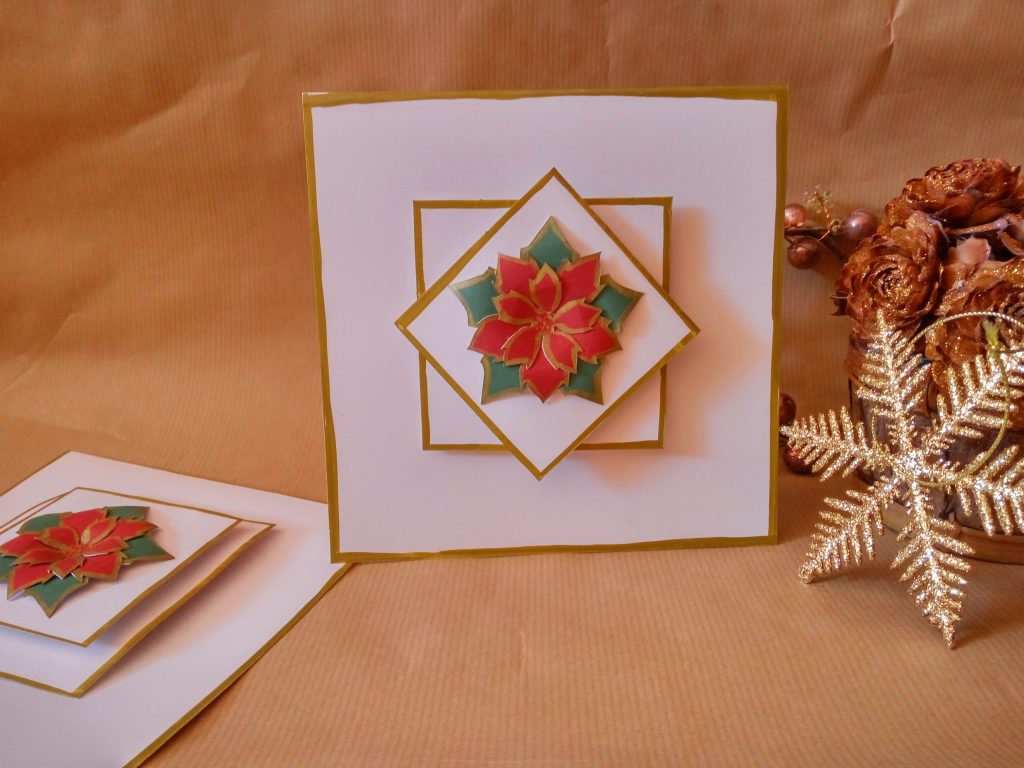
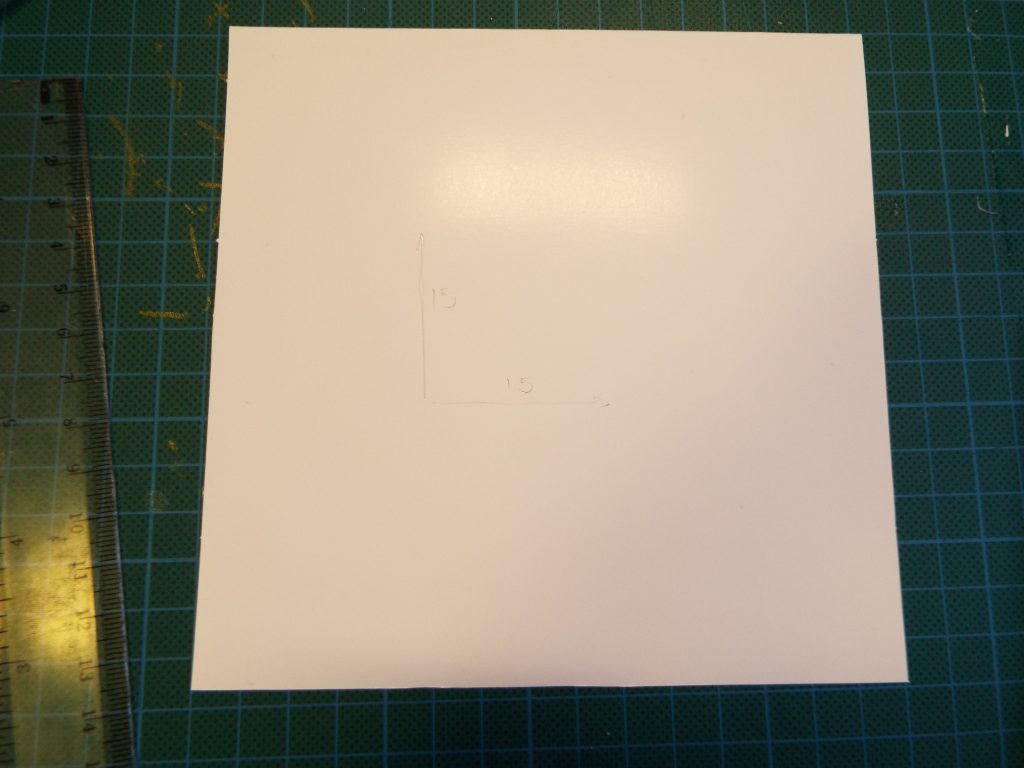 6. Let’s move on to the base. This time I recommend using a square shape for the base. Mine is 15×15 cm. And to stand out everything better, use white or light coulour cardstock.
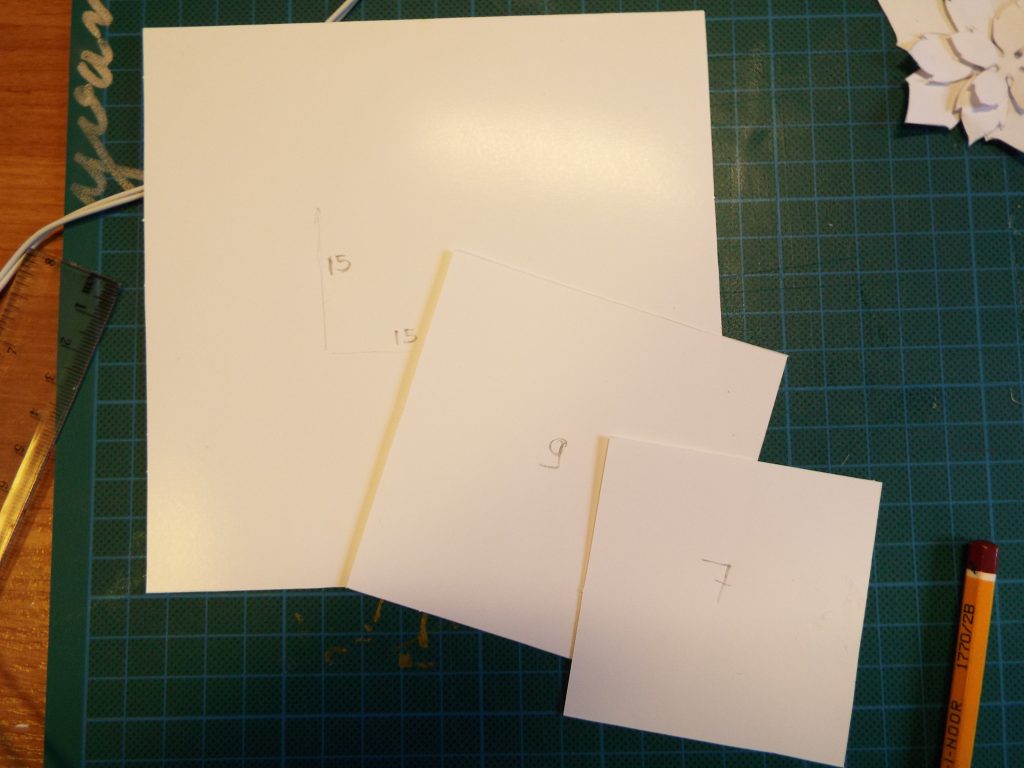 7. Then cut out from the same cardstock two squares. One with size 9×9 cm and the second – 7x7cm.
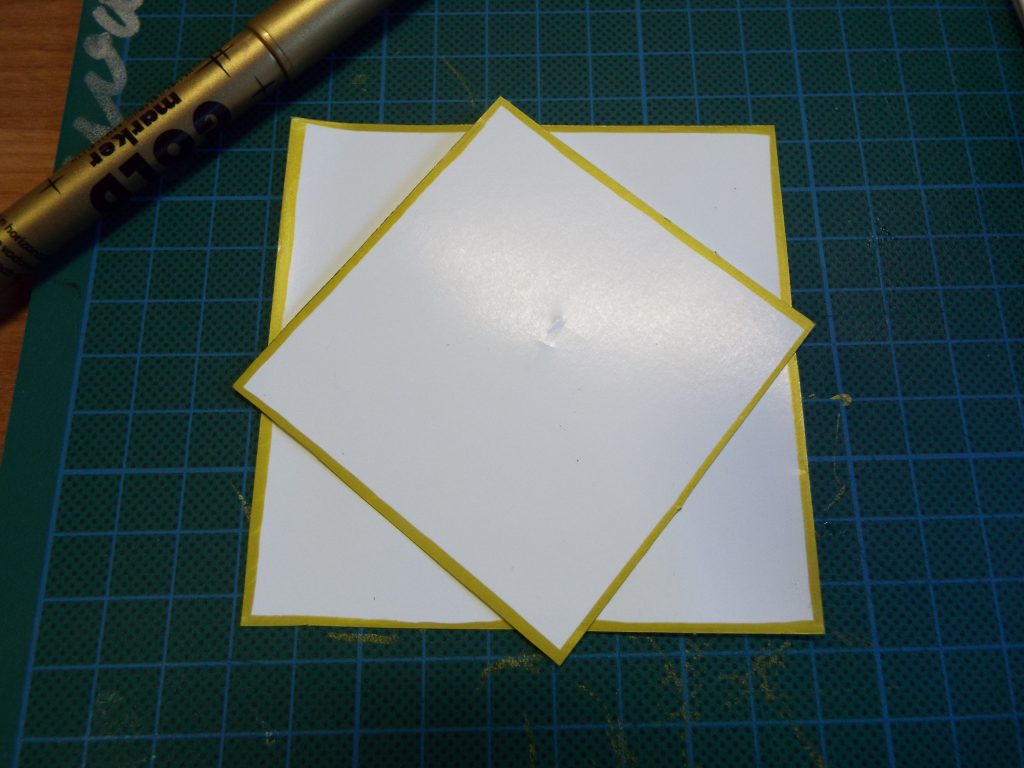 8. Now take the golden marker or paint, and colour the edges of the squares, as well as the base.
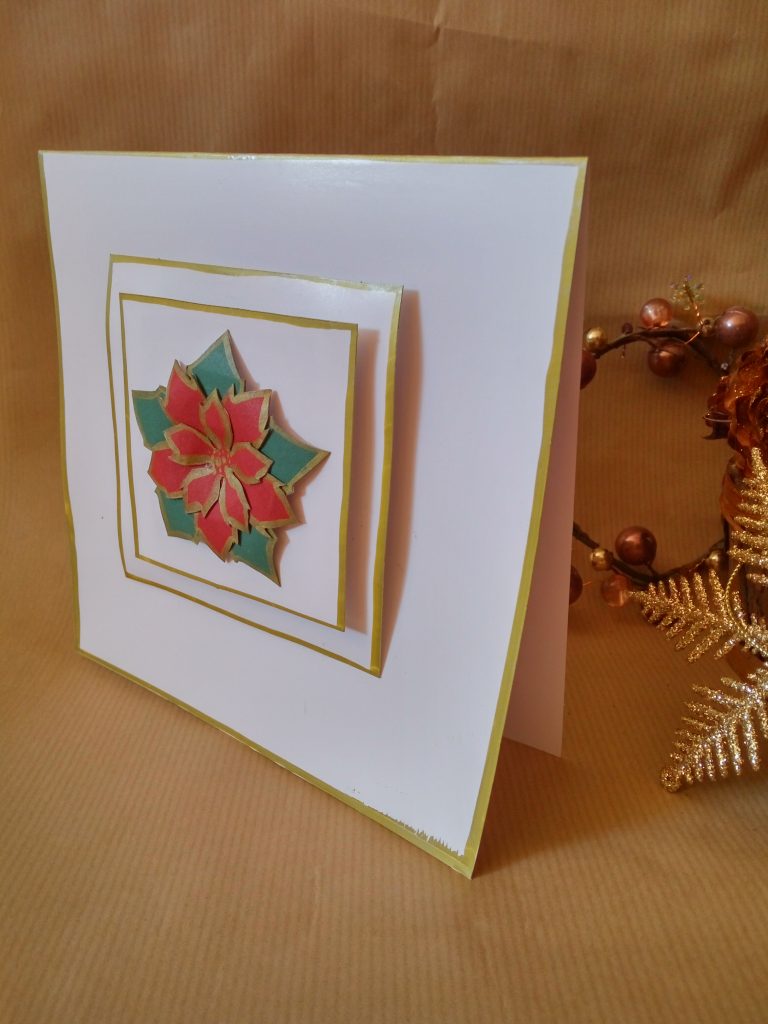
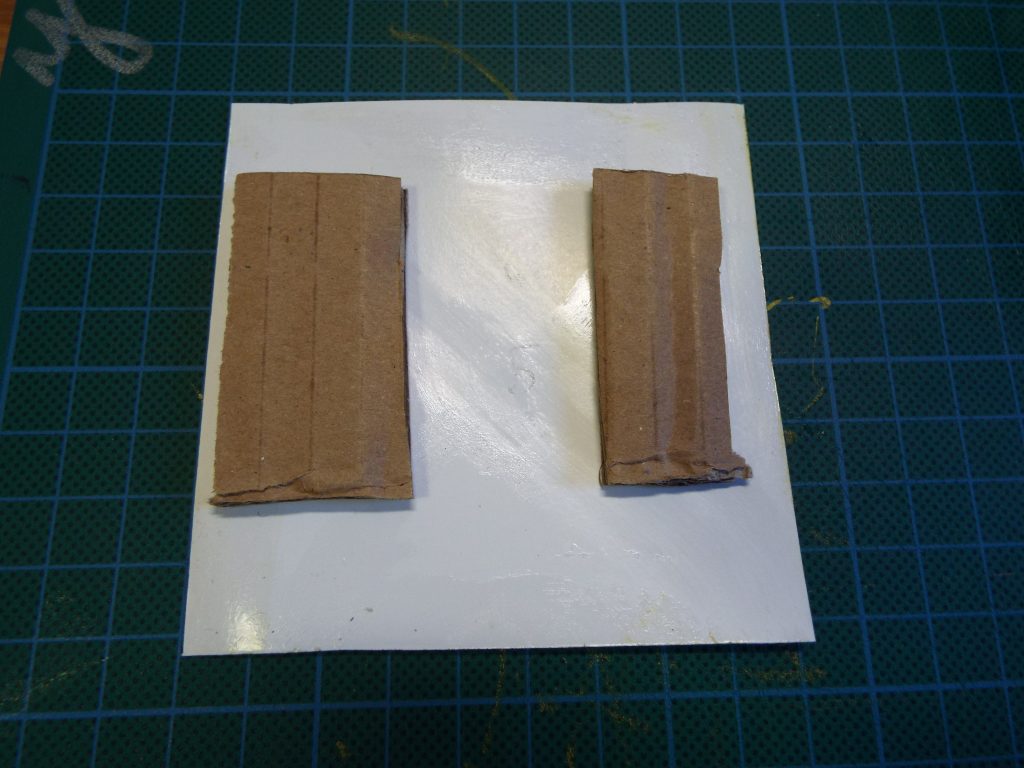 9. Glue on some cardboard on the back of the two squares so when you stick them on the base they will have a 3D effect.
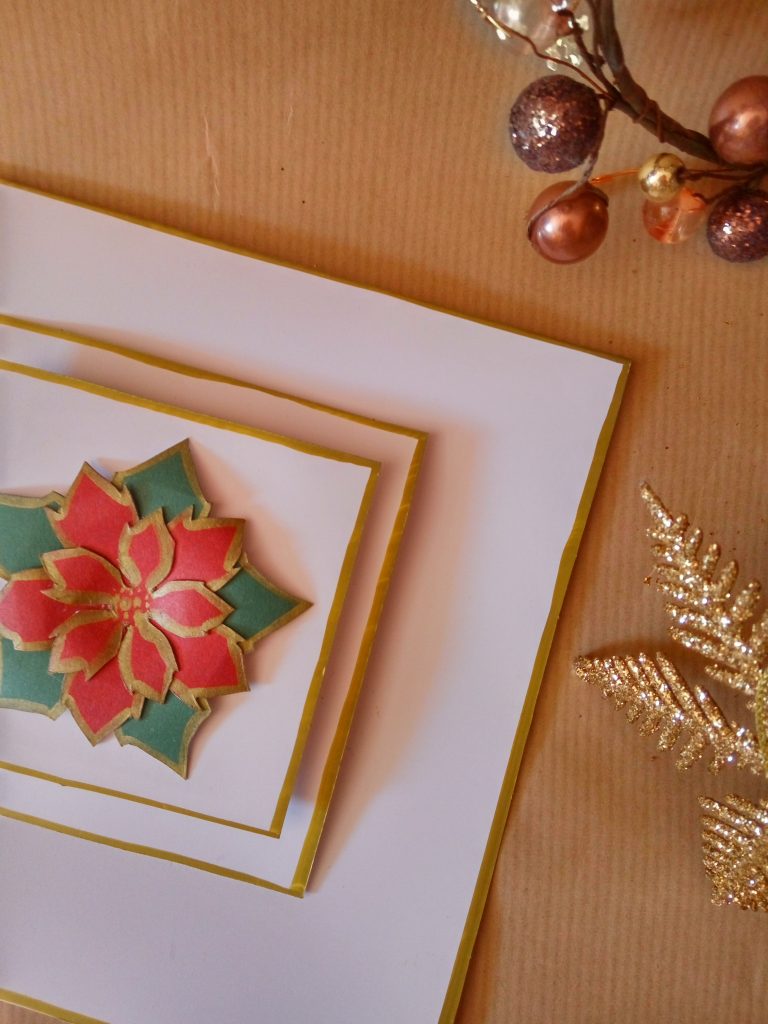
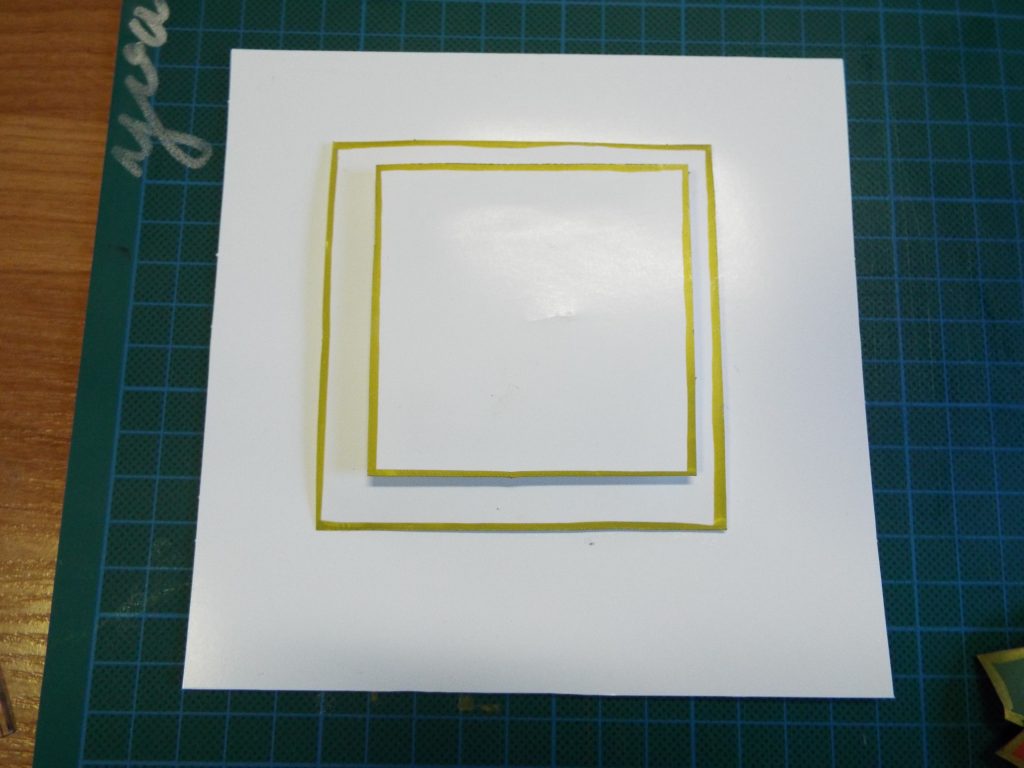 10. Stick the squares at the center of the base, by applying glue only on the cardboard parts. You can play around with the placement and the shapes.
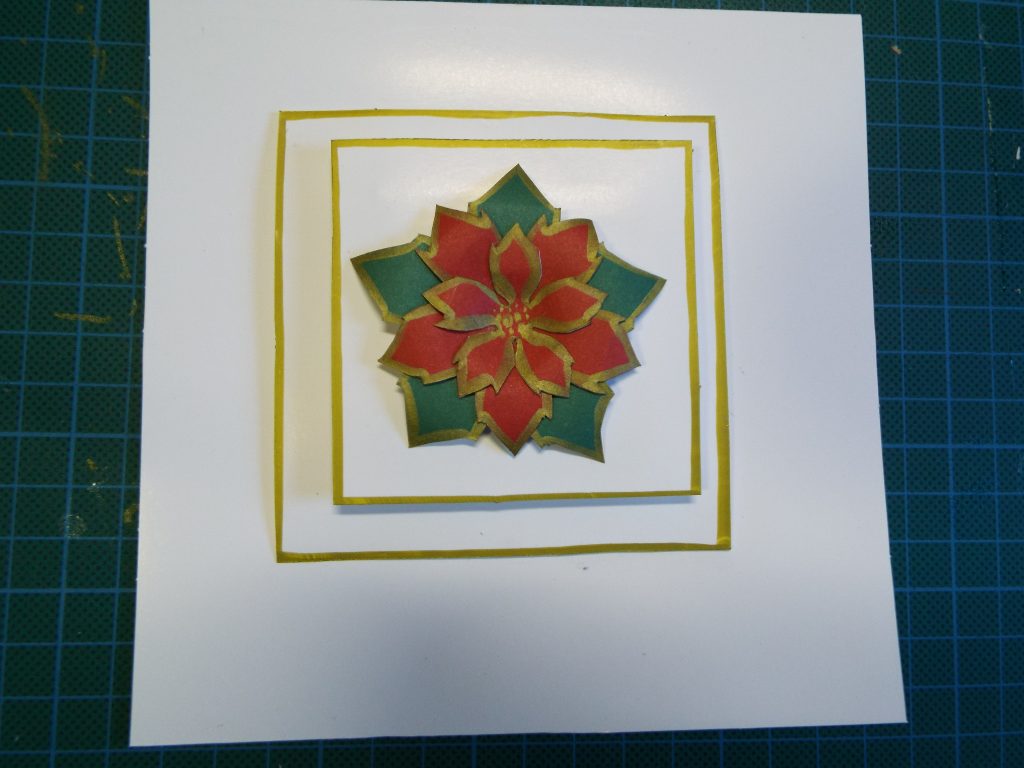 11. Finally, glue at the center the flower. And you are done! And don’t forget to experiment!