Christmas is after couple of days and the ending of 2017 is here. Here it is the last post for this year as well! I am presenting you an easy way to make Christmas tags.
All you need:
> Two colours of cardstock
> Alphabet template
> Glitter
> Ribbon
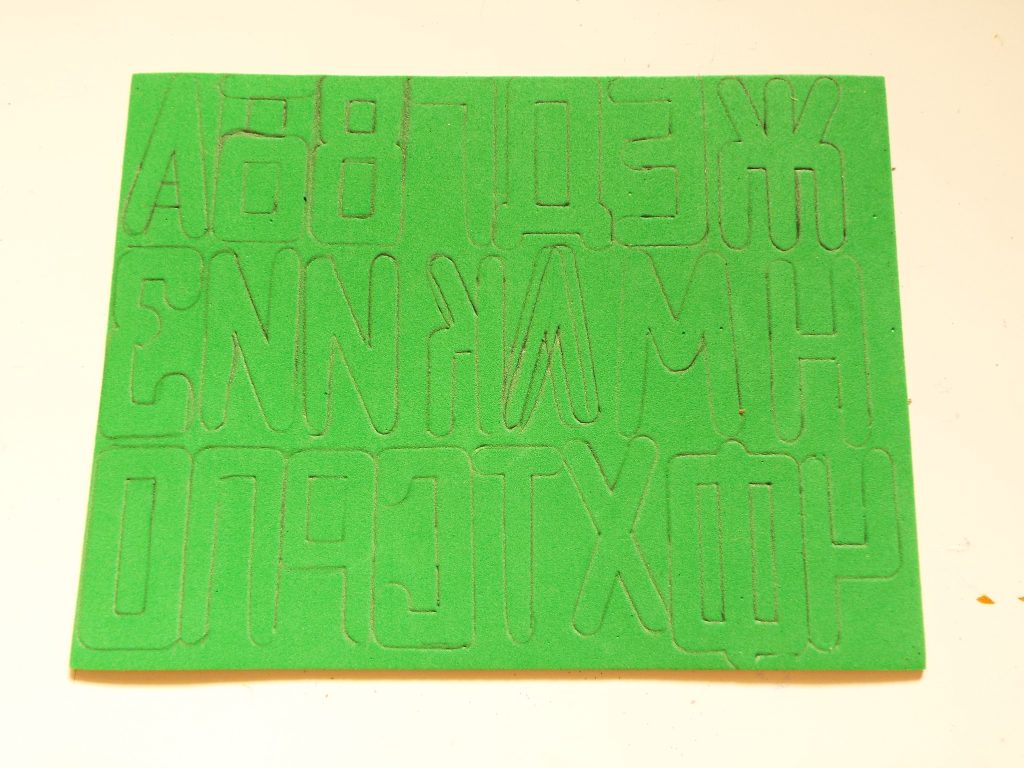 1. Chose the two colours of cardstock so they compliment each other. You can also opt for glitter paper or metallic one, as I did. Then trace out MIRRORED the letters you need on the back of one of the cardstocks.
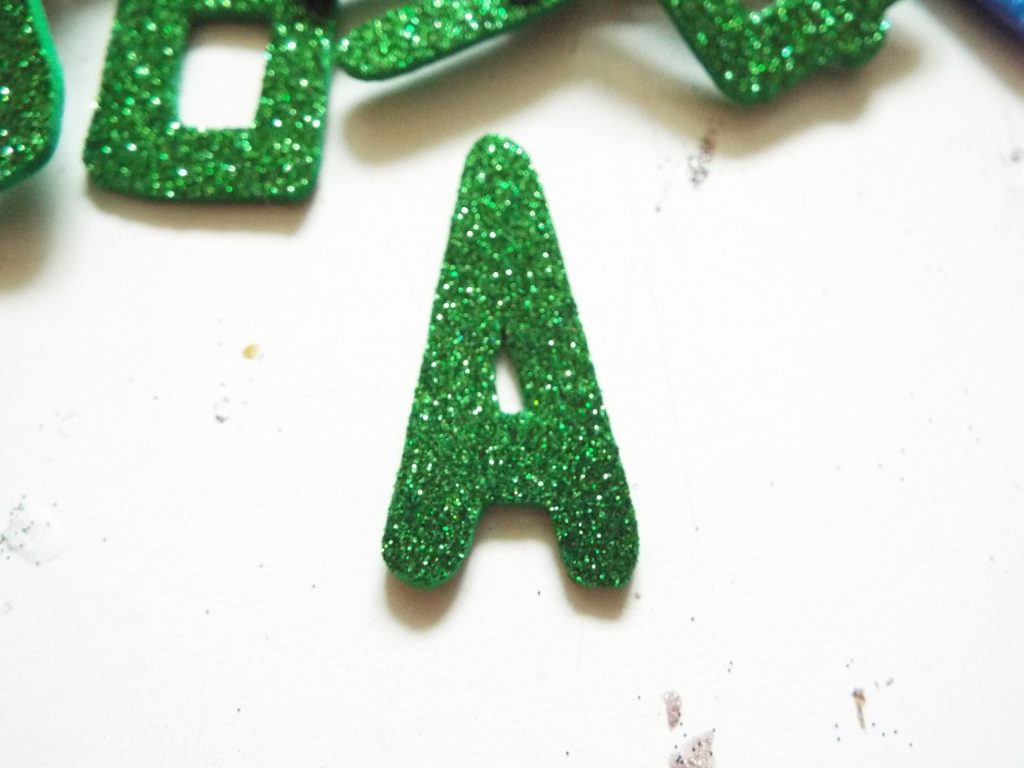 2. Cut them out using scissors or craft knife.
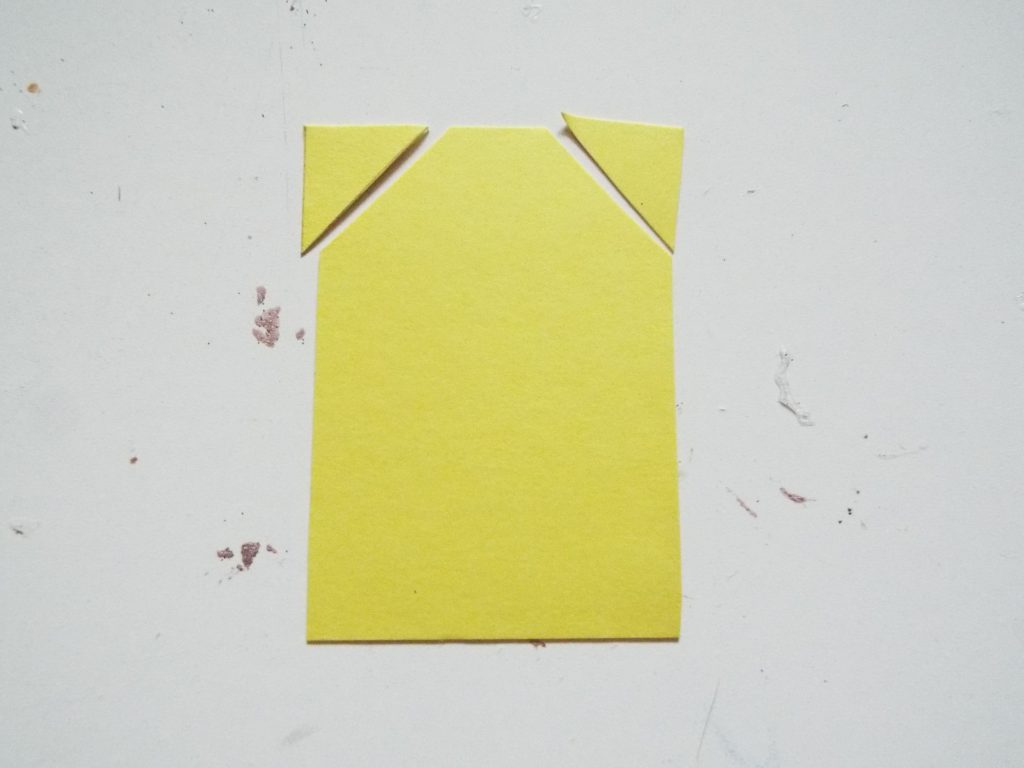 3. From the second cardstock cut out a rectangle. The size should be big enough to fit the letter plus 2 cm above. Then cut out the top edges.
 4. Punch a hole in the top middle.
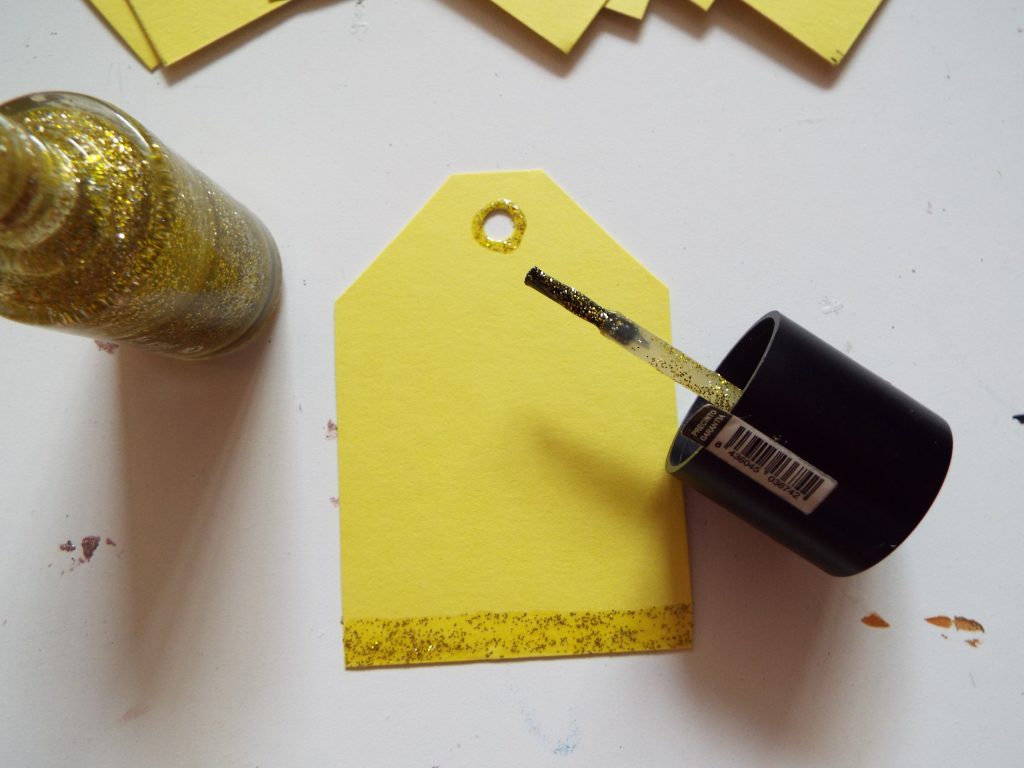 5. Now you can add some glitter or other decoration. I used glitter nail polish for cleaner results.
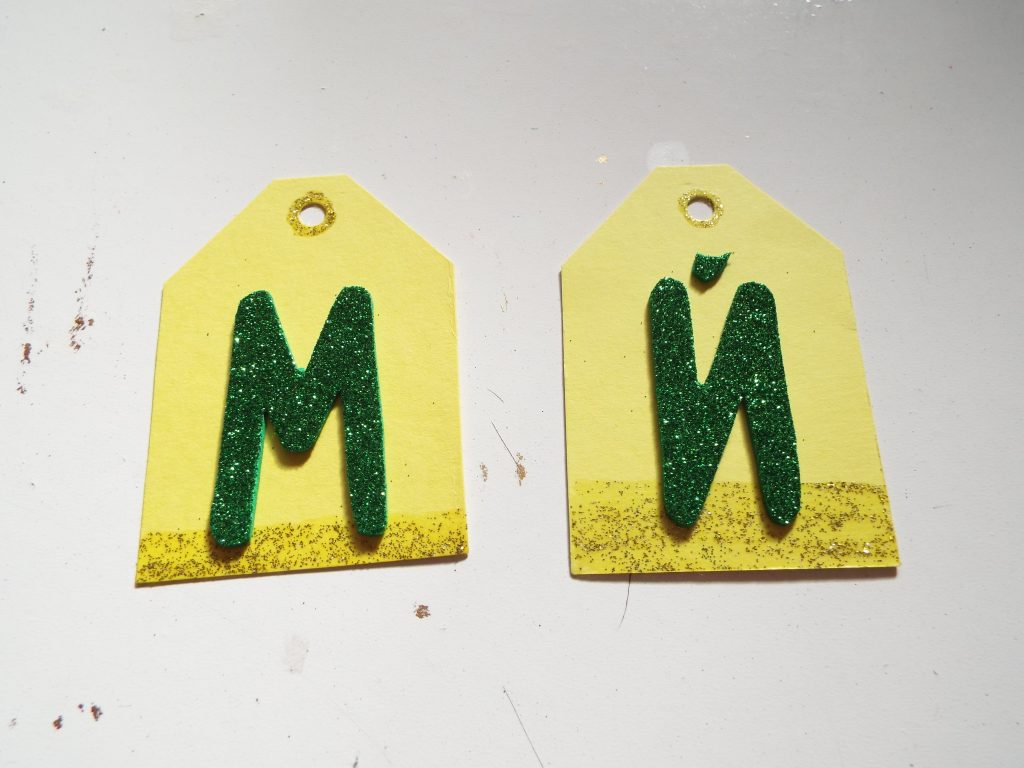 6. Finally, glue down the letters on the tags.
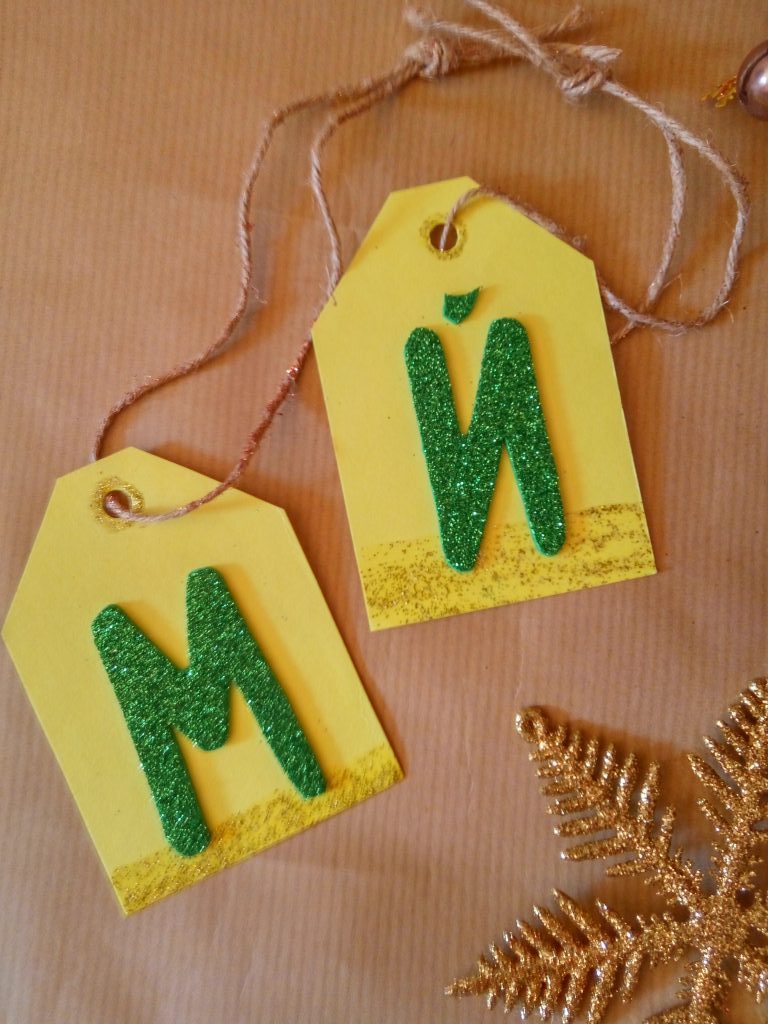
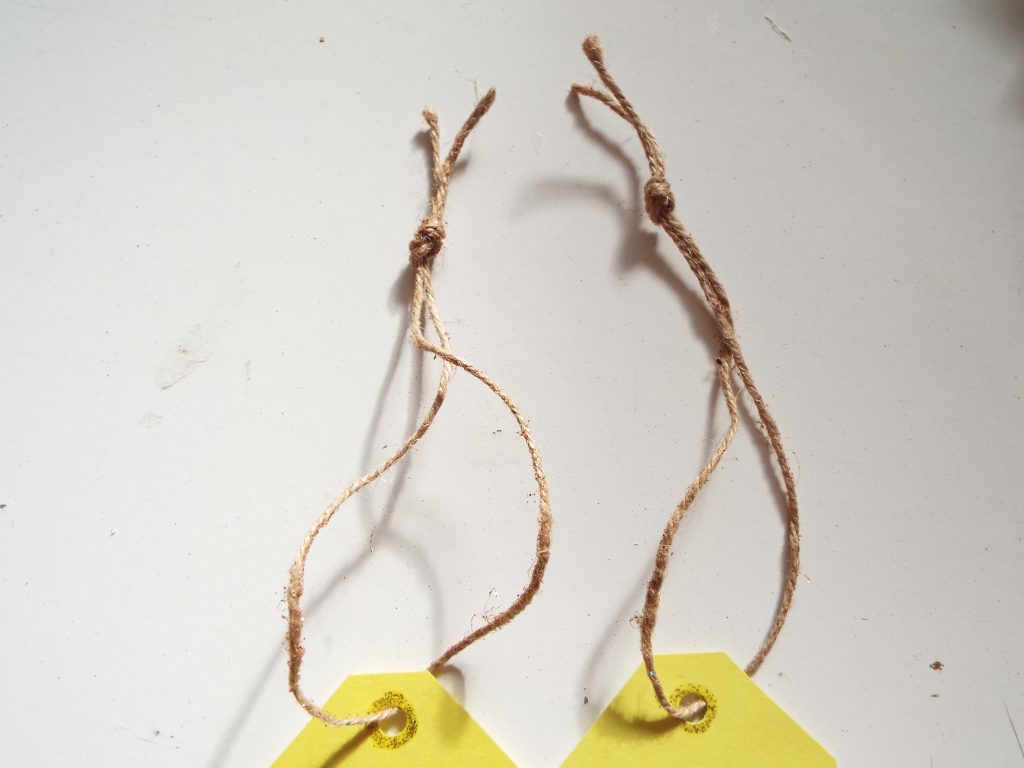 7. To attach the tags for the presents, put a string or ribbon trough the hole. And you are done!