What more autumnal than reading a book and drinking hot tea all day long. In this reading season, what is more perfect than a DIY bookmark? Here is my easy way to make one.
All you need:
> Template (provided)
> Colourful card or paper
> Scissors and glue
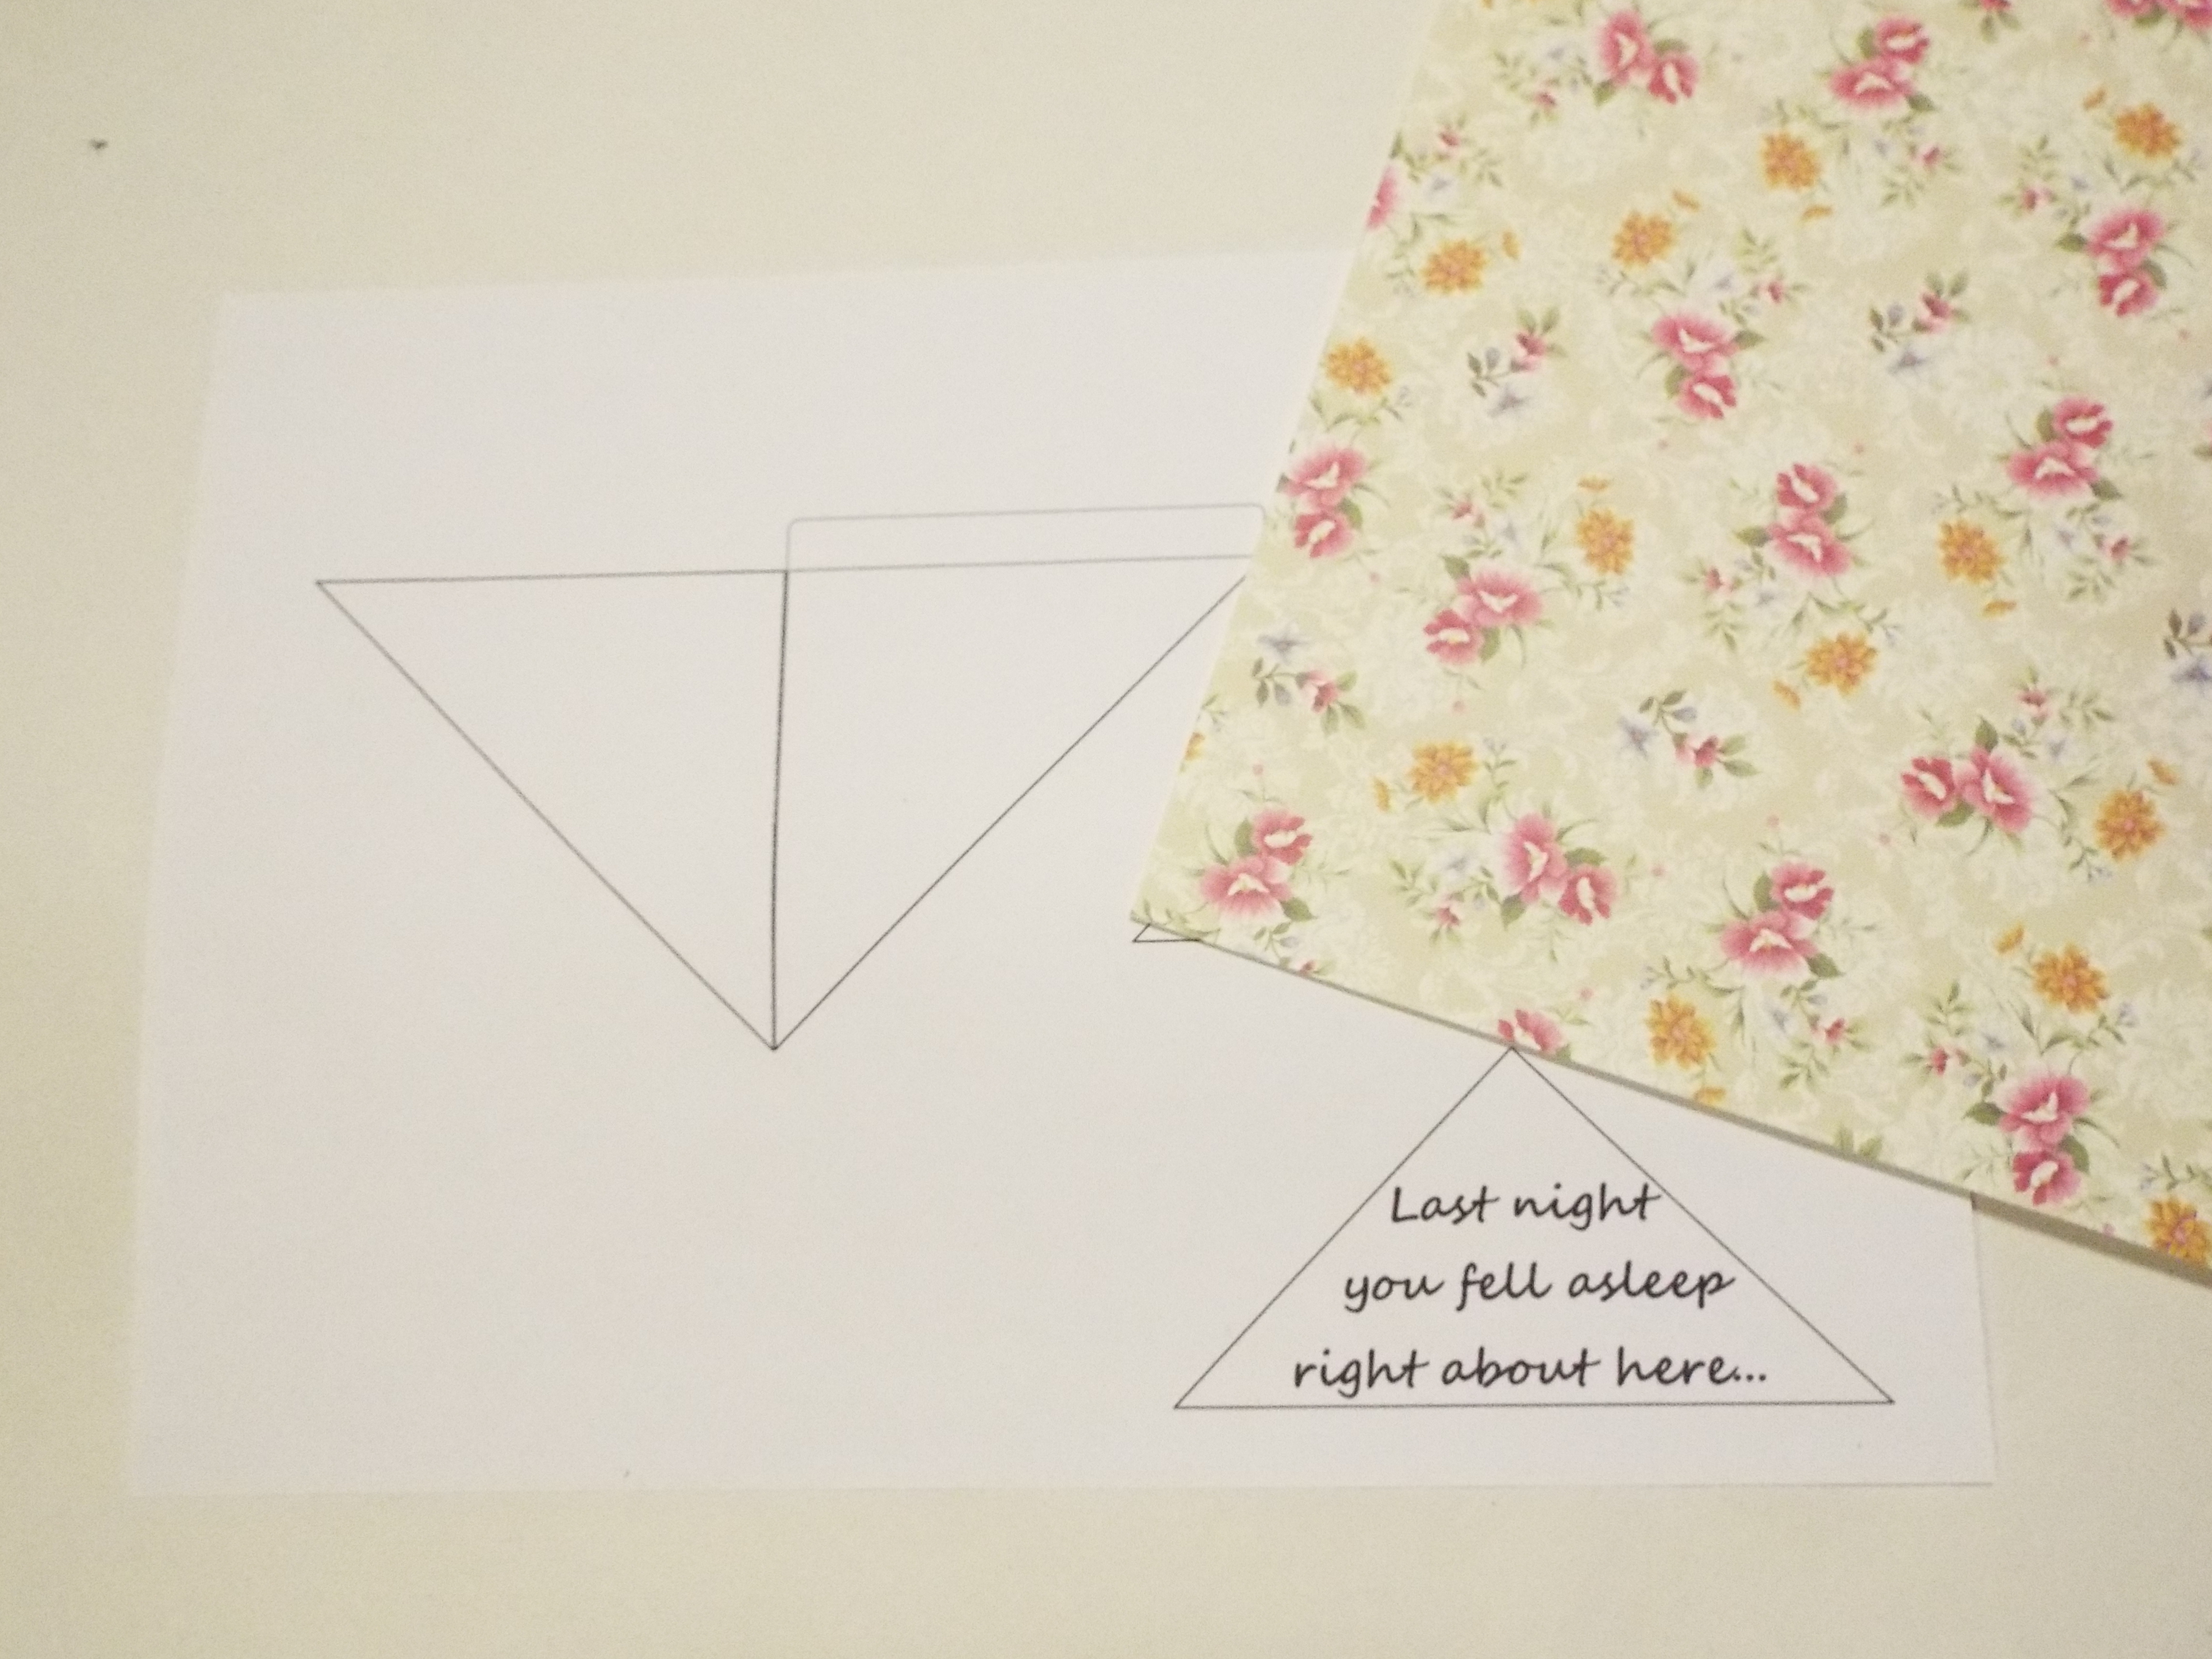 1. First you need to print out your template, which you can find HERE. I made it on computer to be easy for everyone, but you can draw your own if you want.
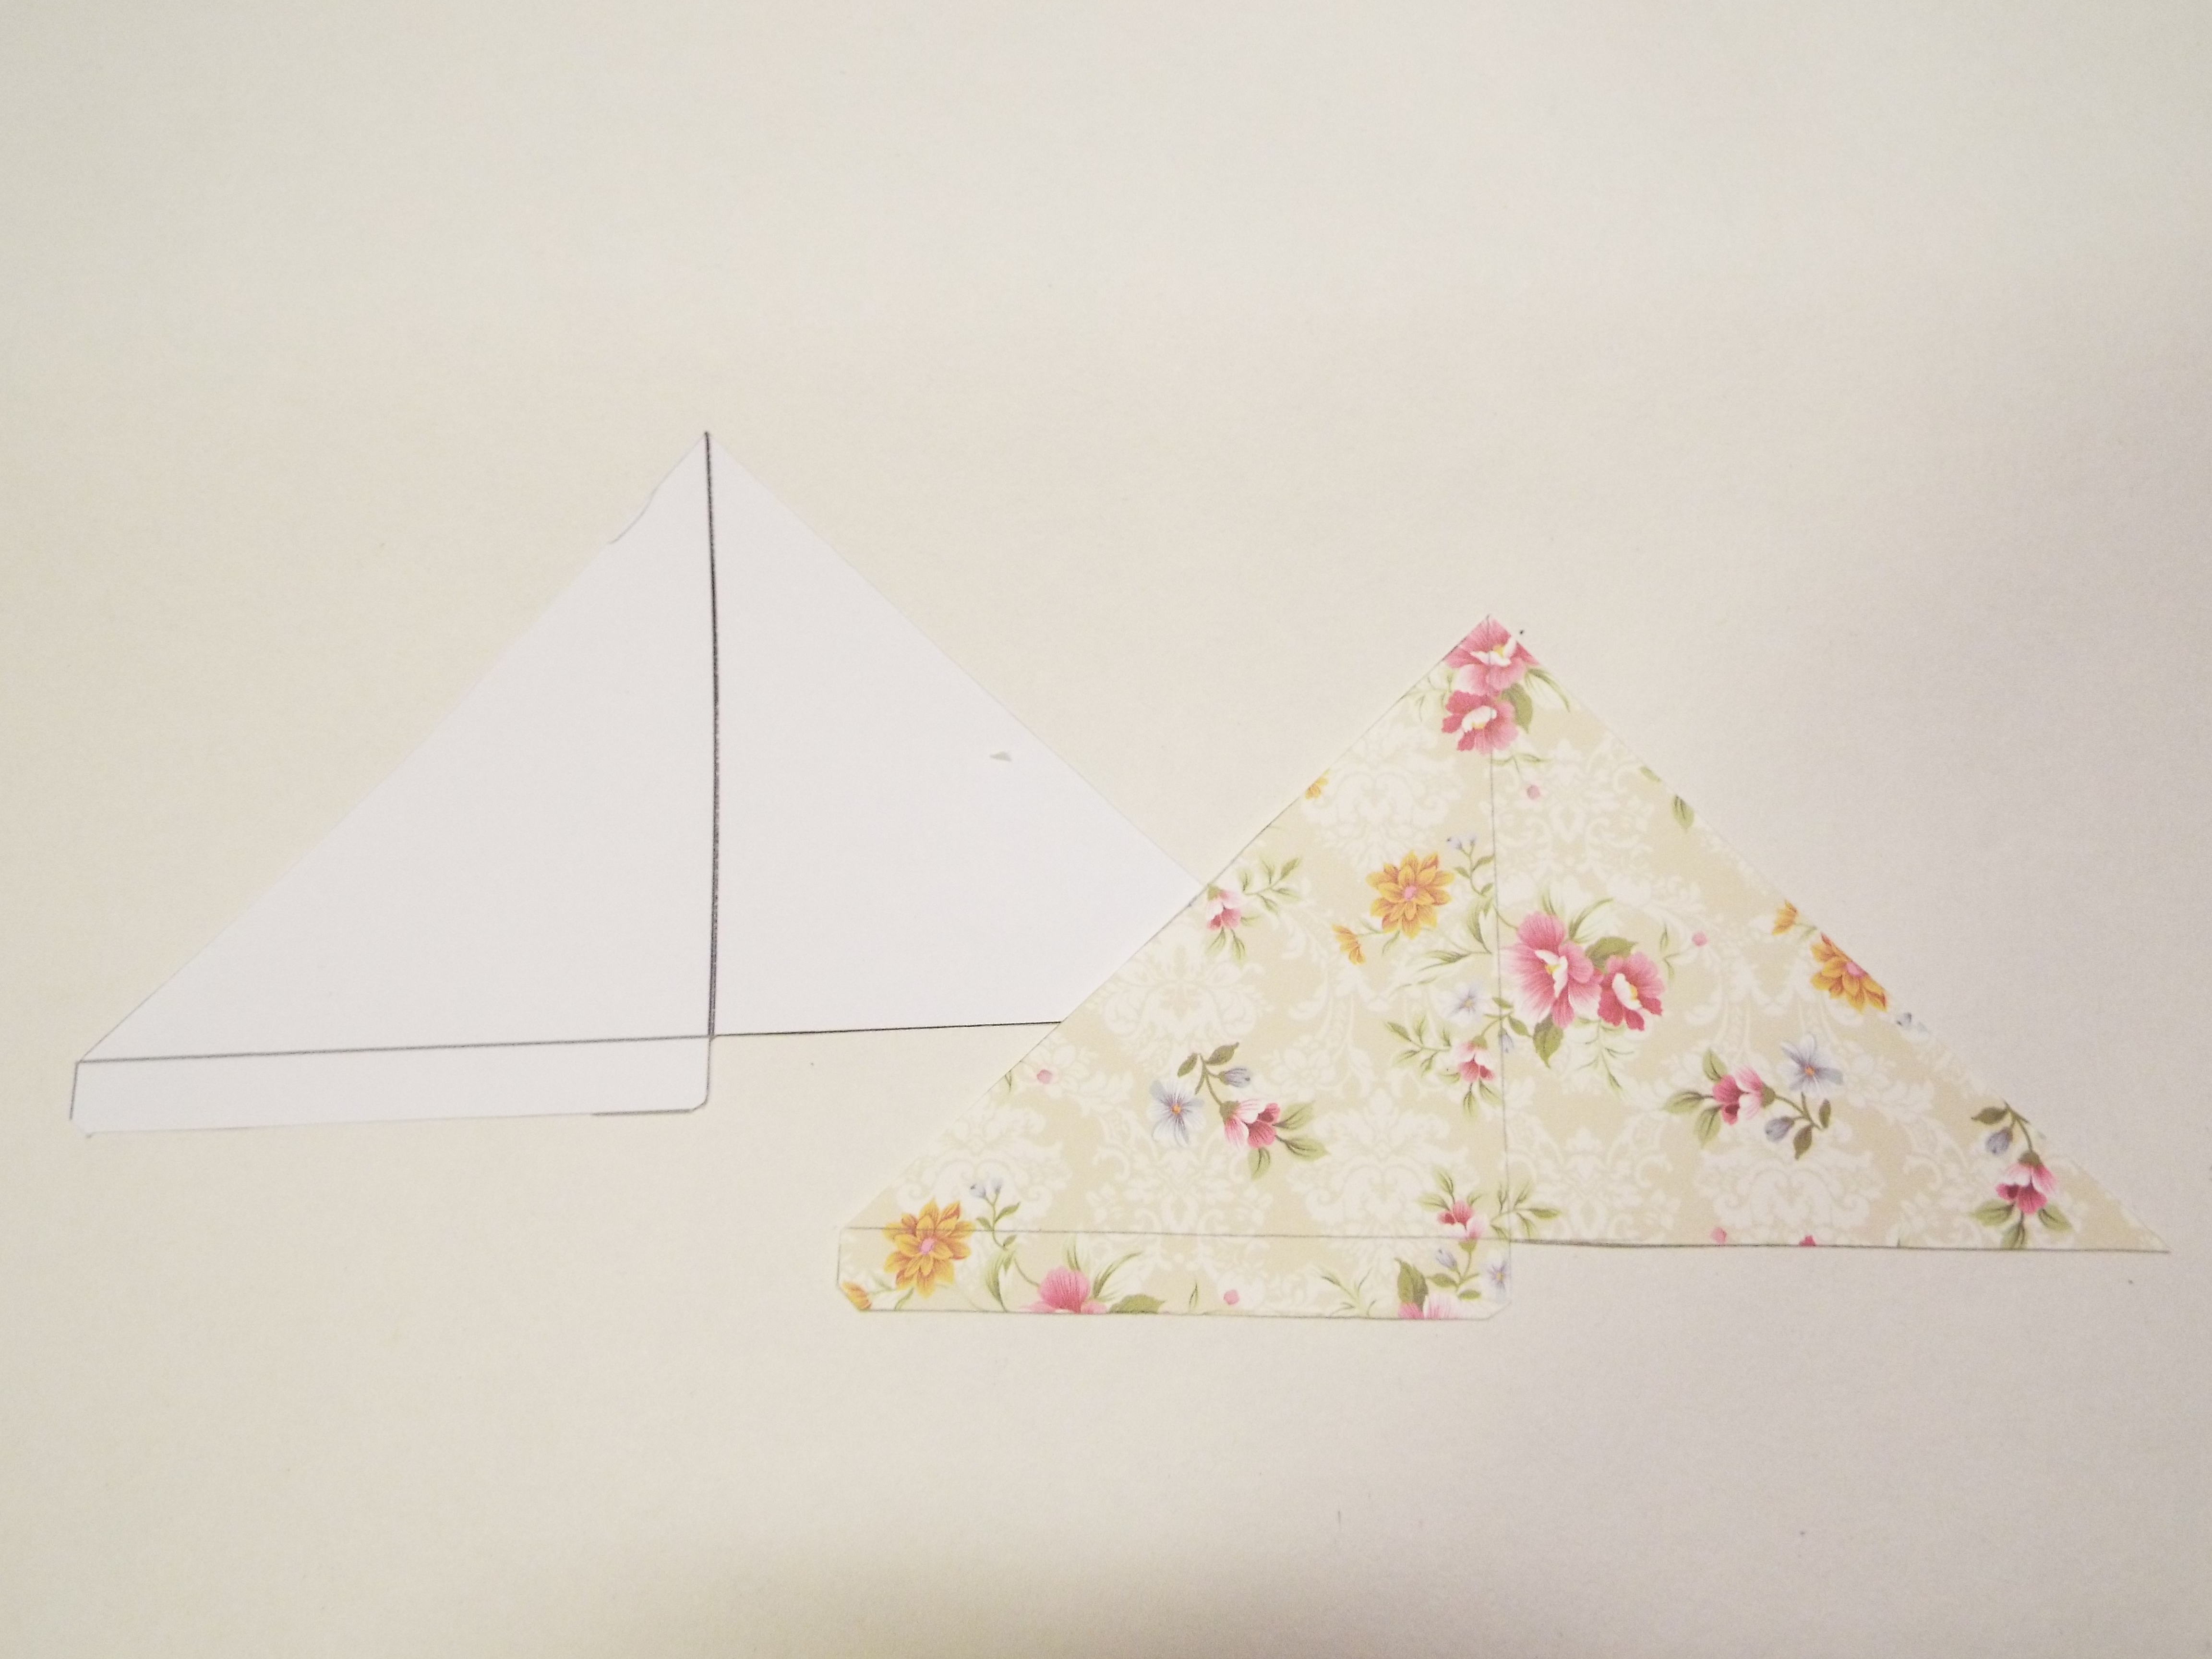 2. Cut the main part which is the two triangles and the little tab. Then you can copy it on a card or paper of your choice.
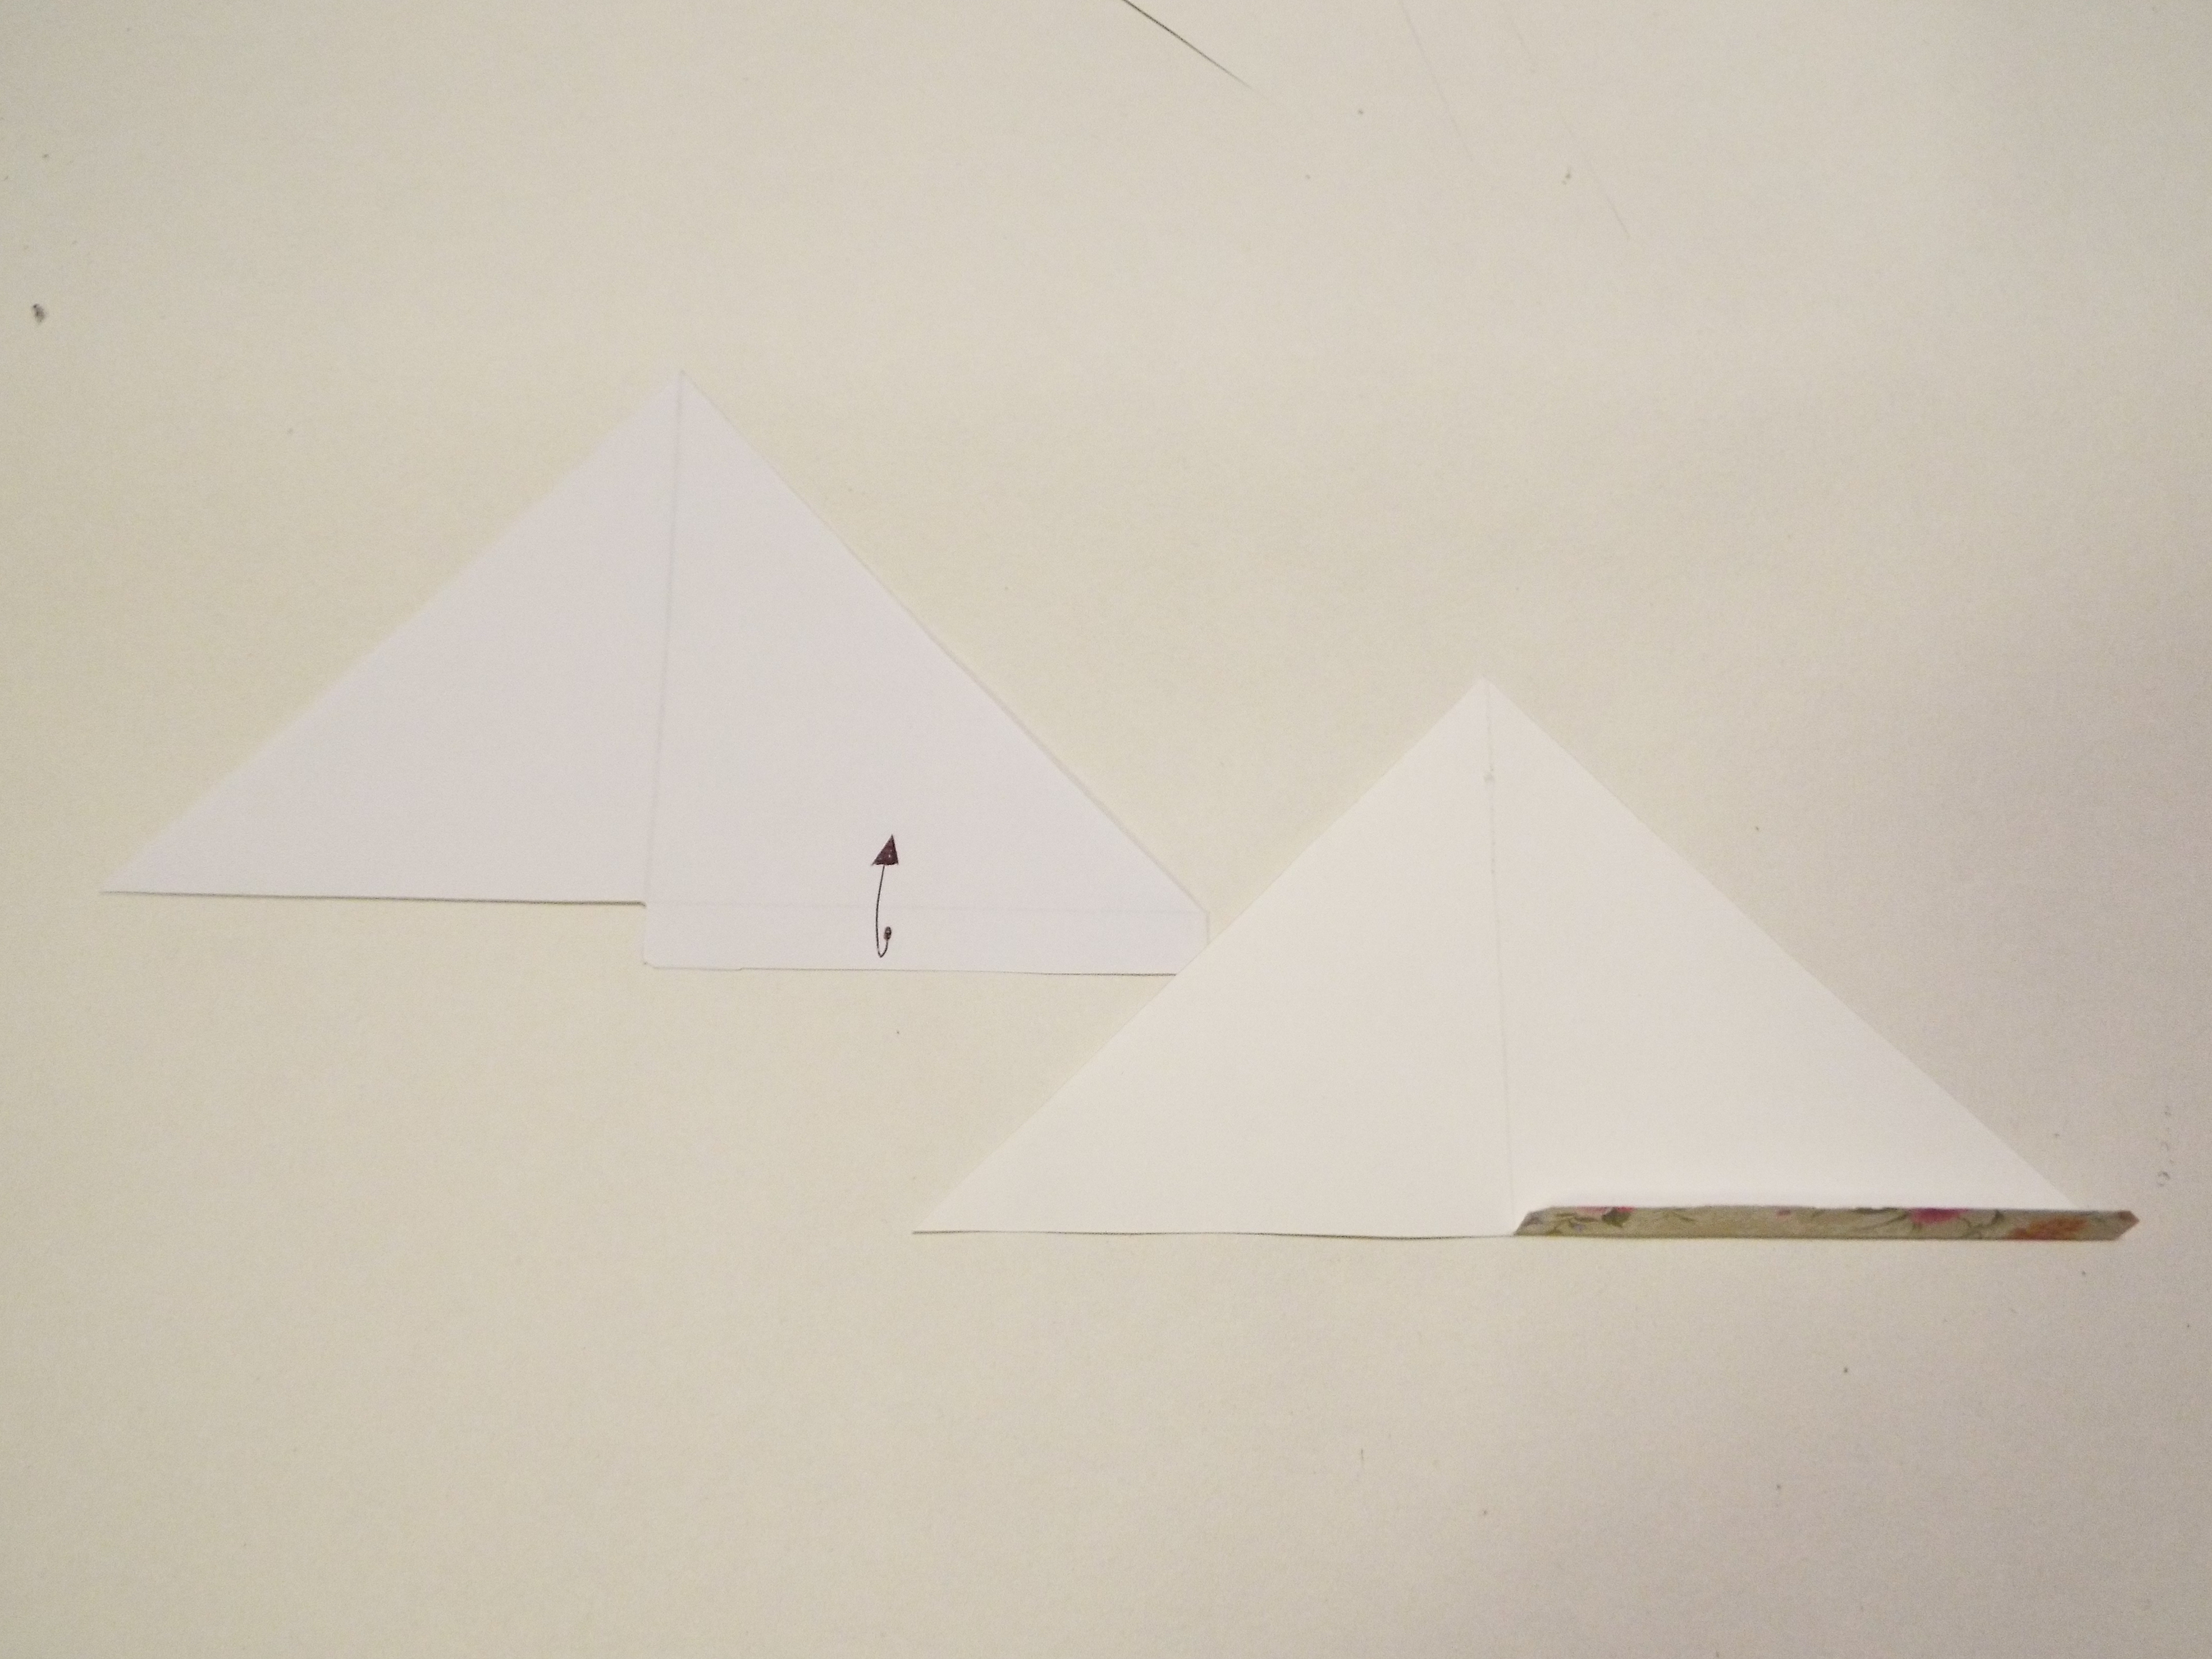 3. From this shape you need to make a pocket. For that simply turn arround your cutout and fold the tab in.
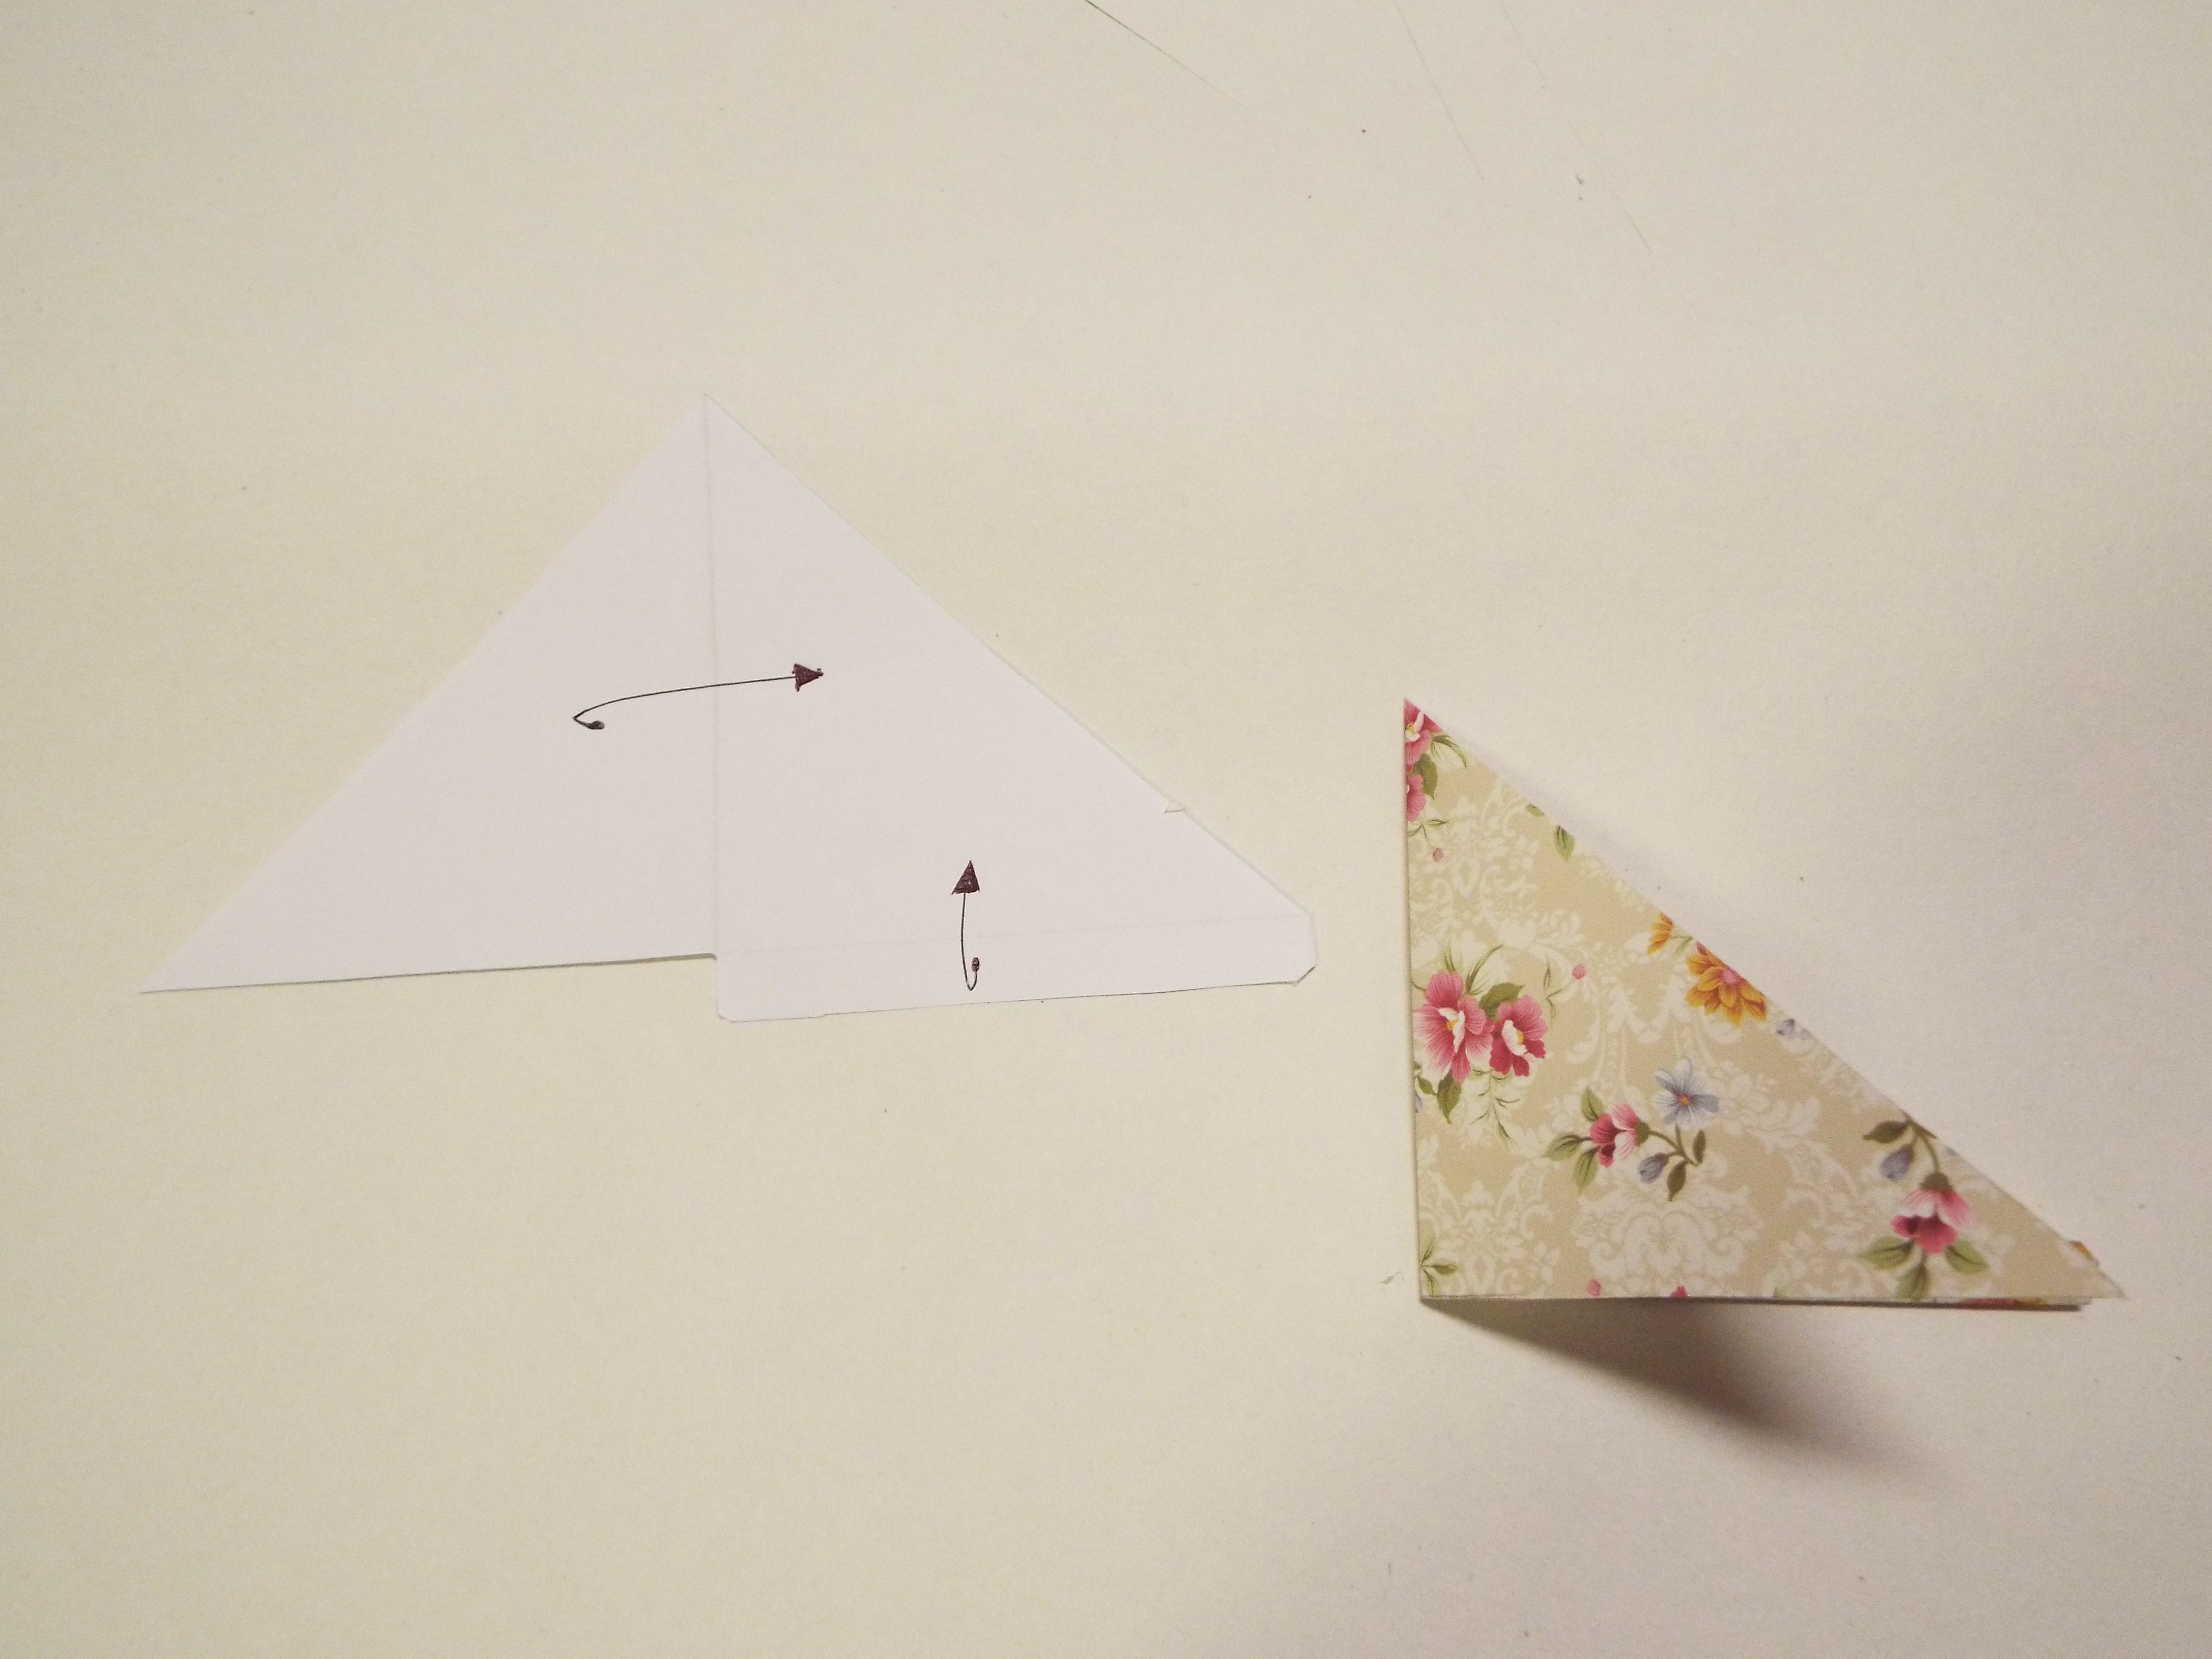 4. Then fold the left triangle to the right one.
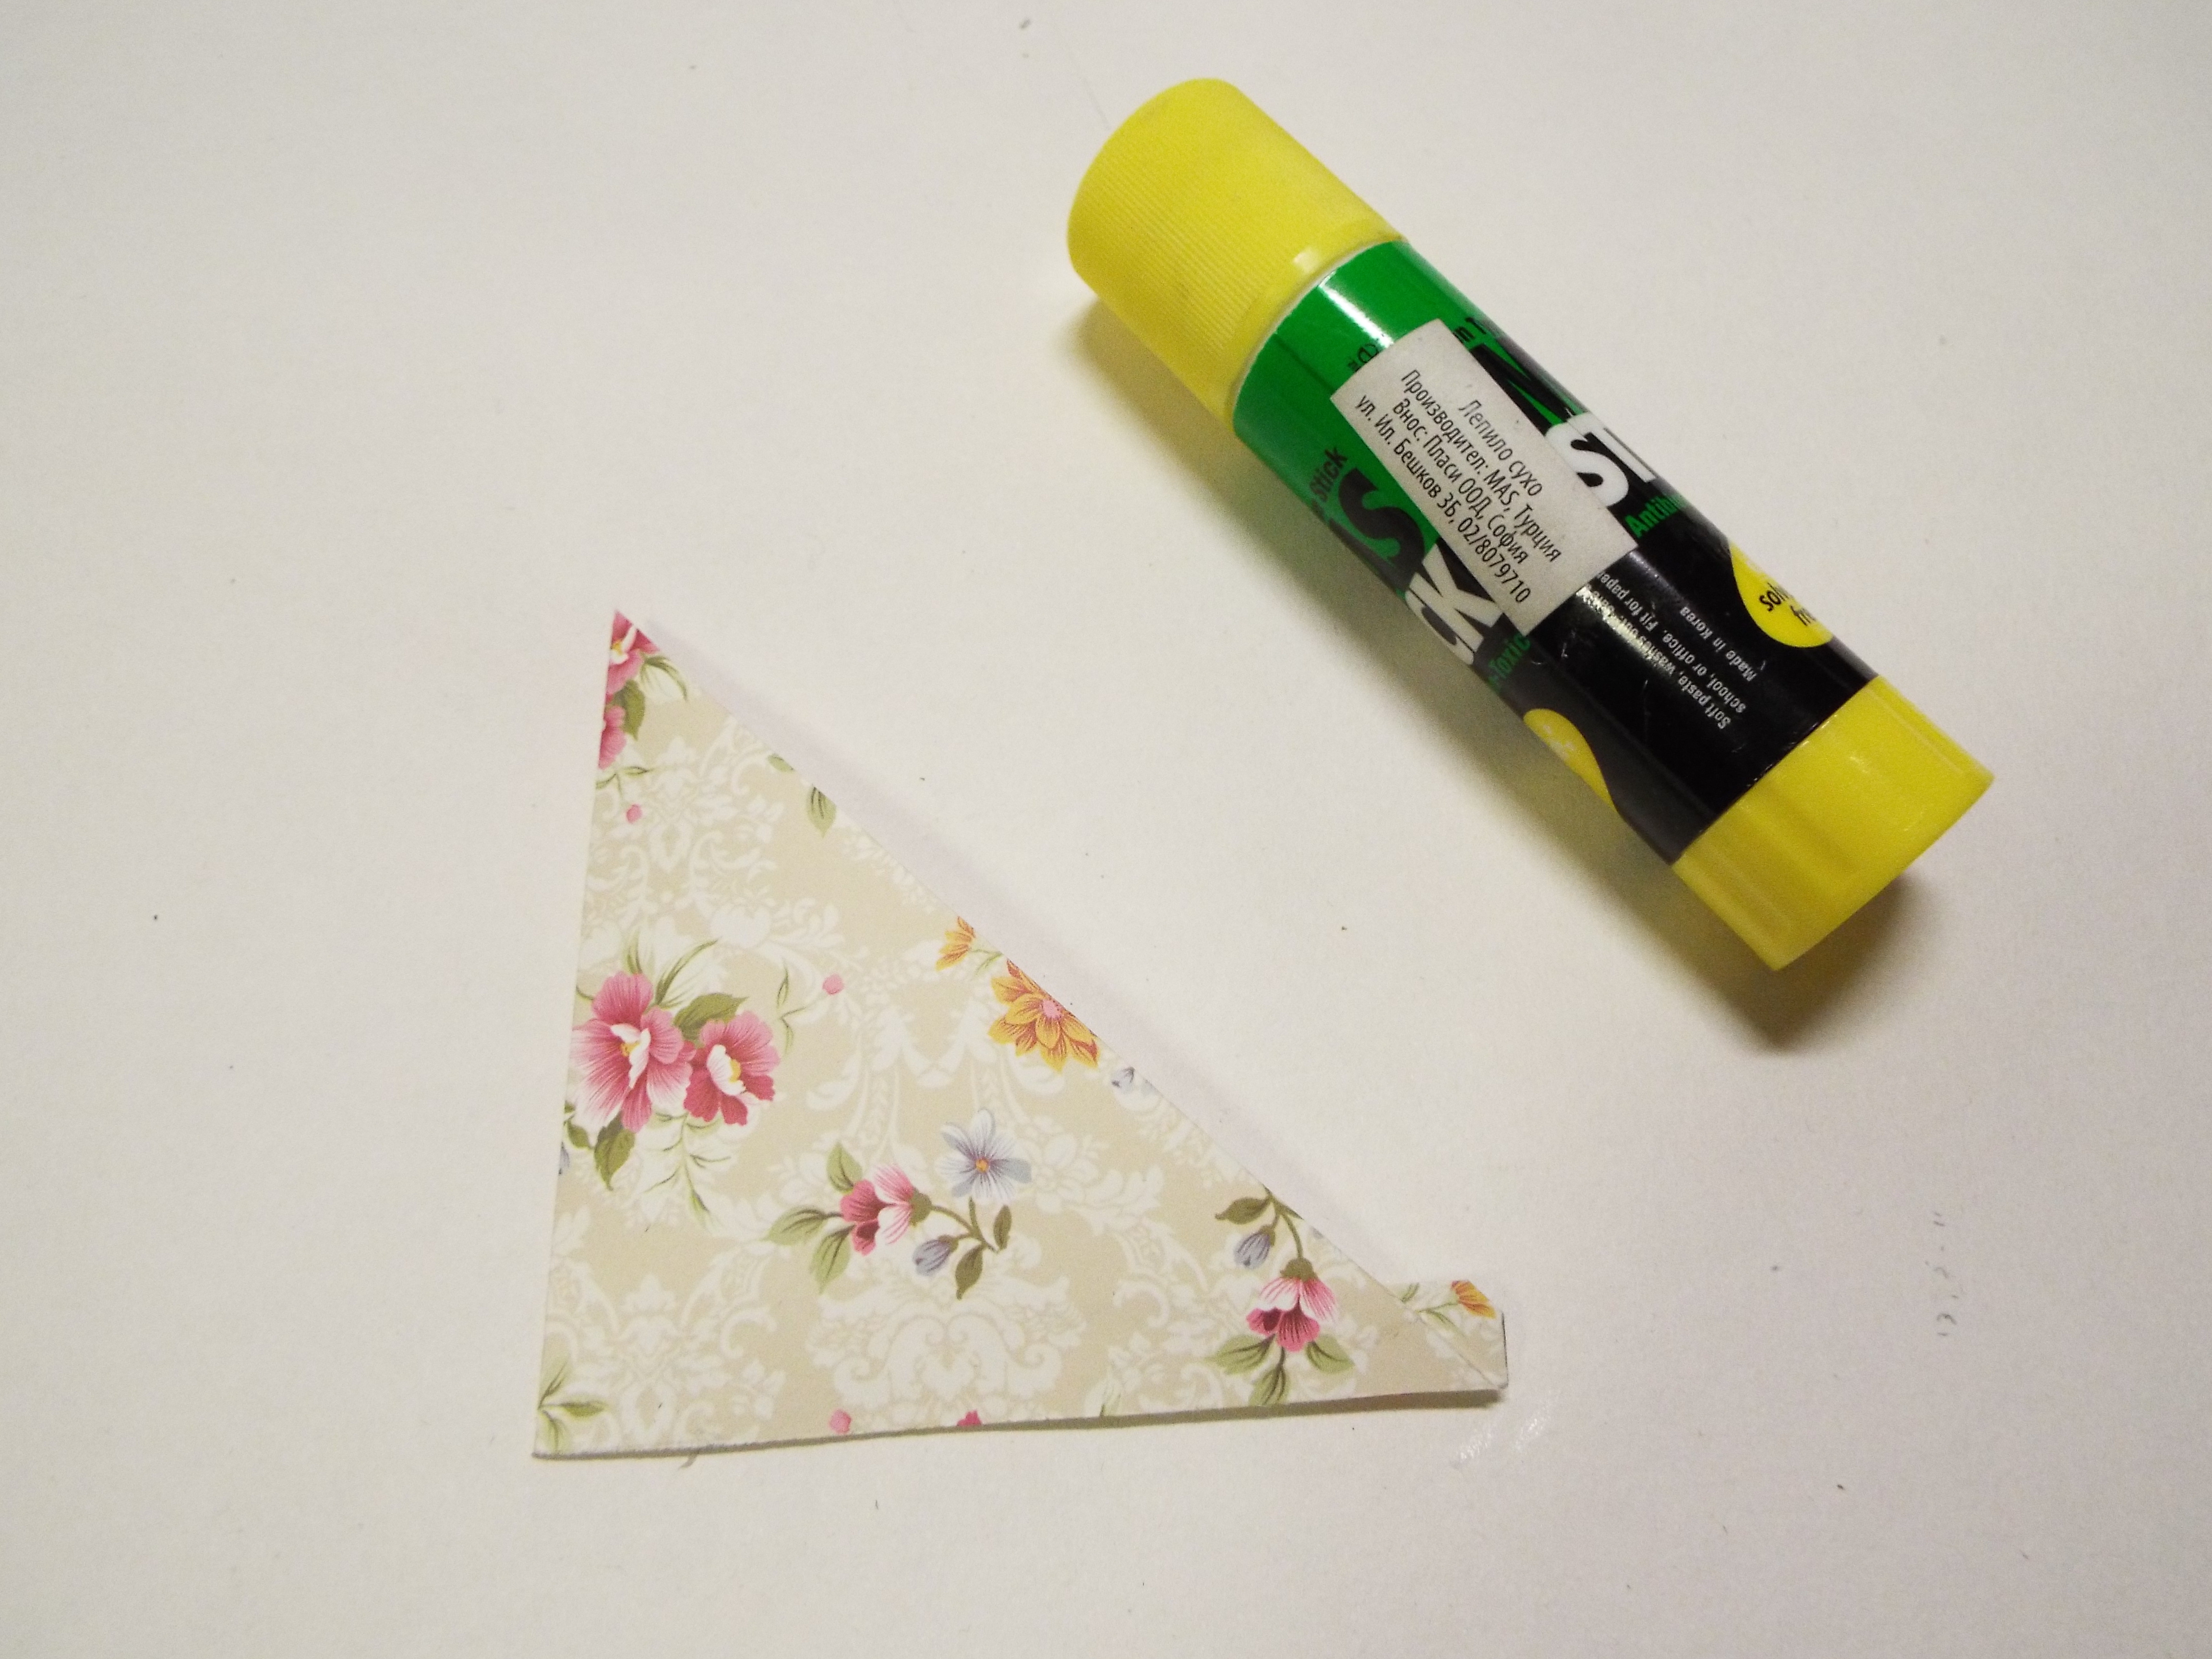 5. To hold the pocket shape, simply apply some glue to the tap and press well the folded triangle over it.
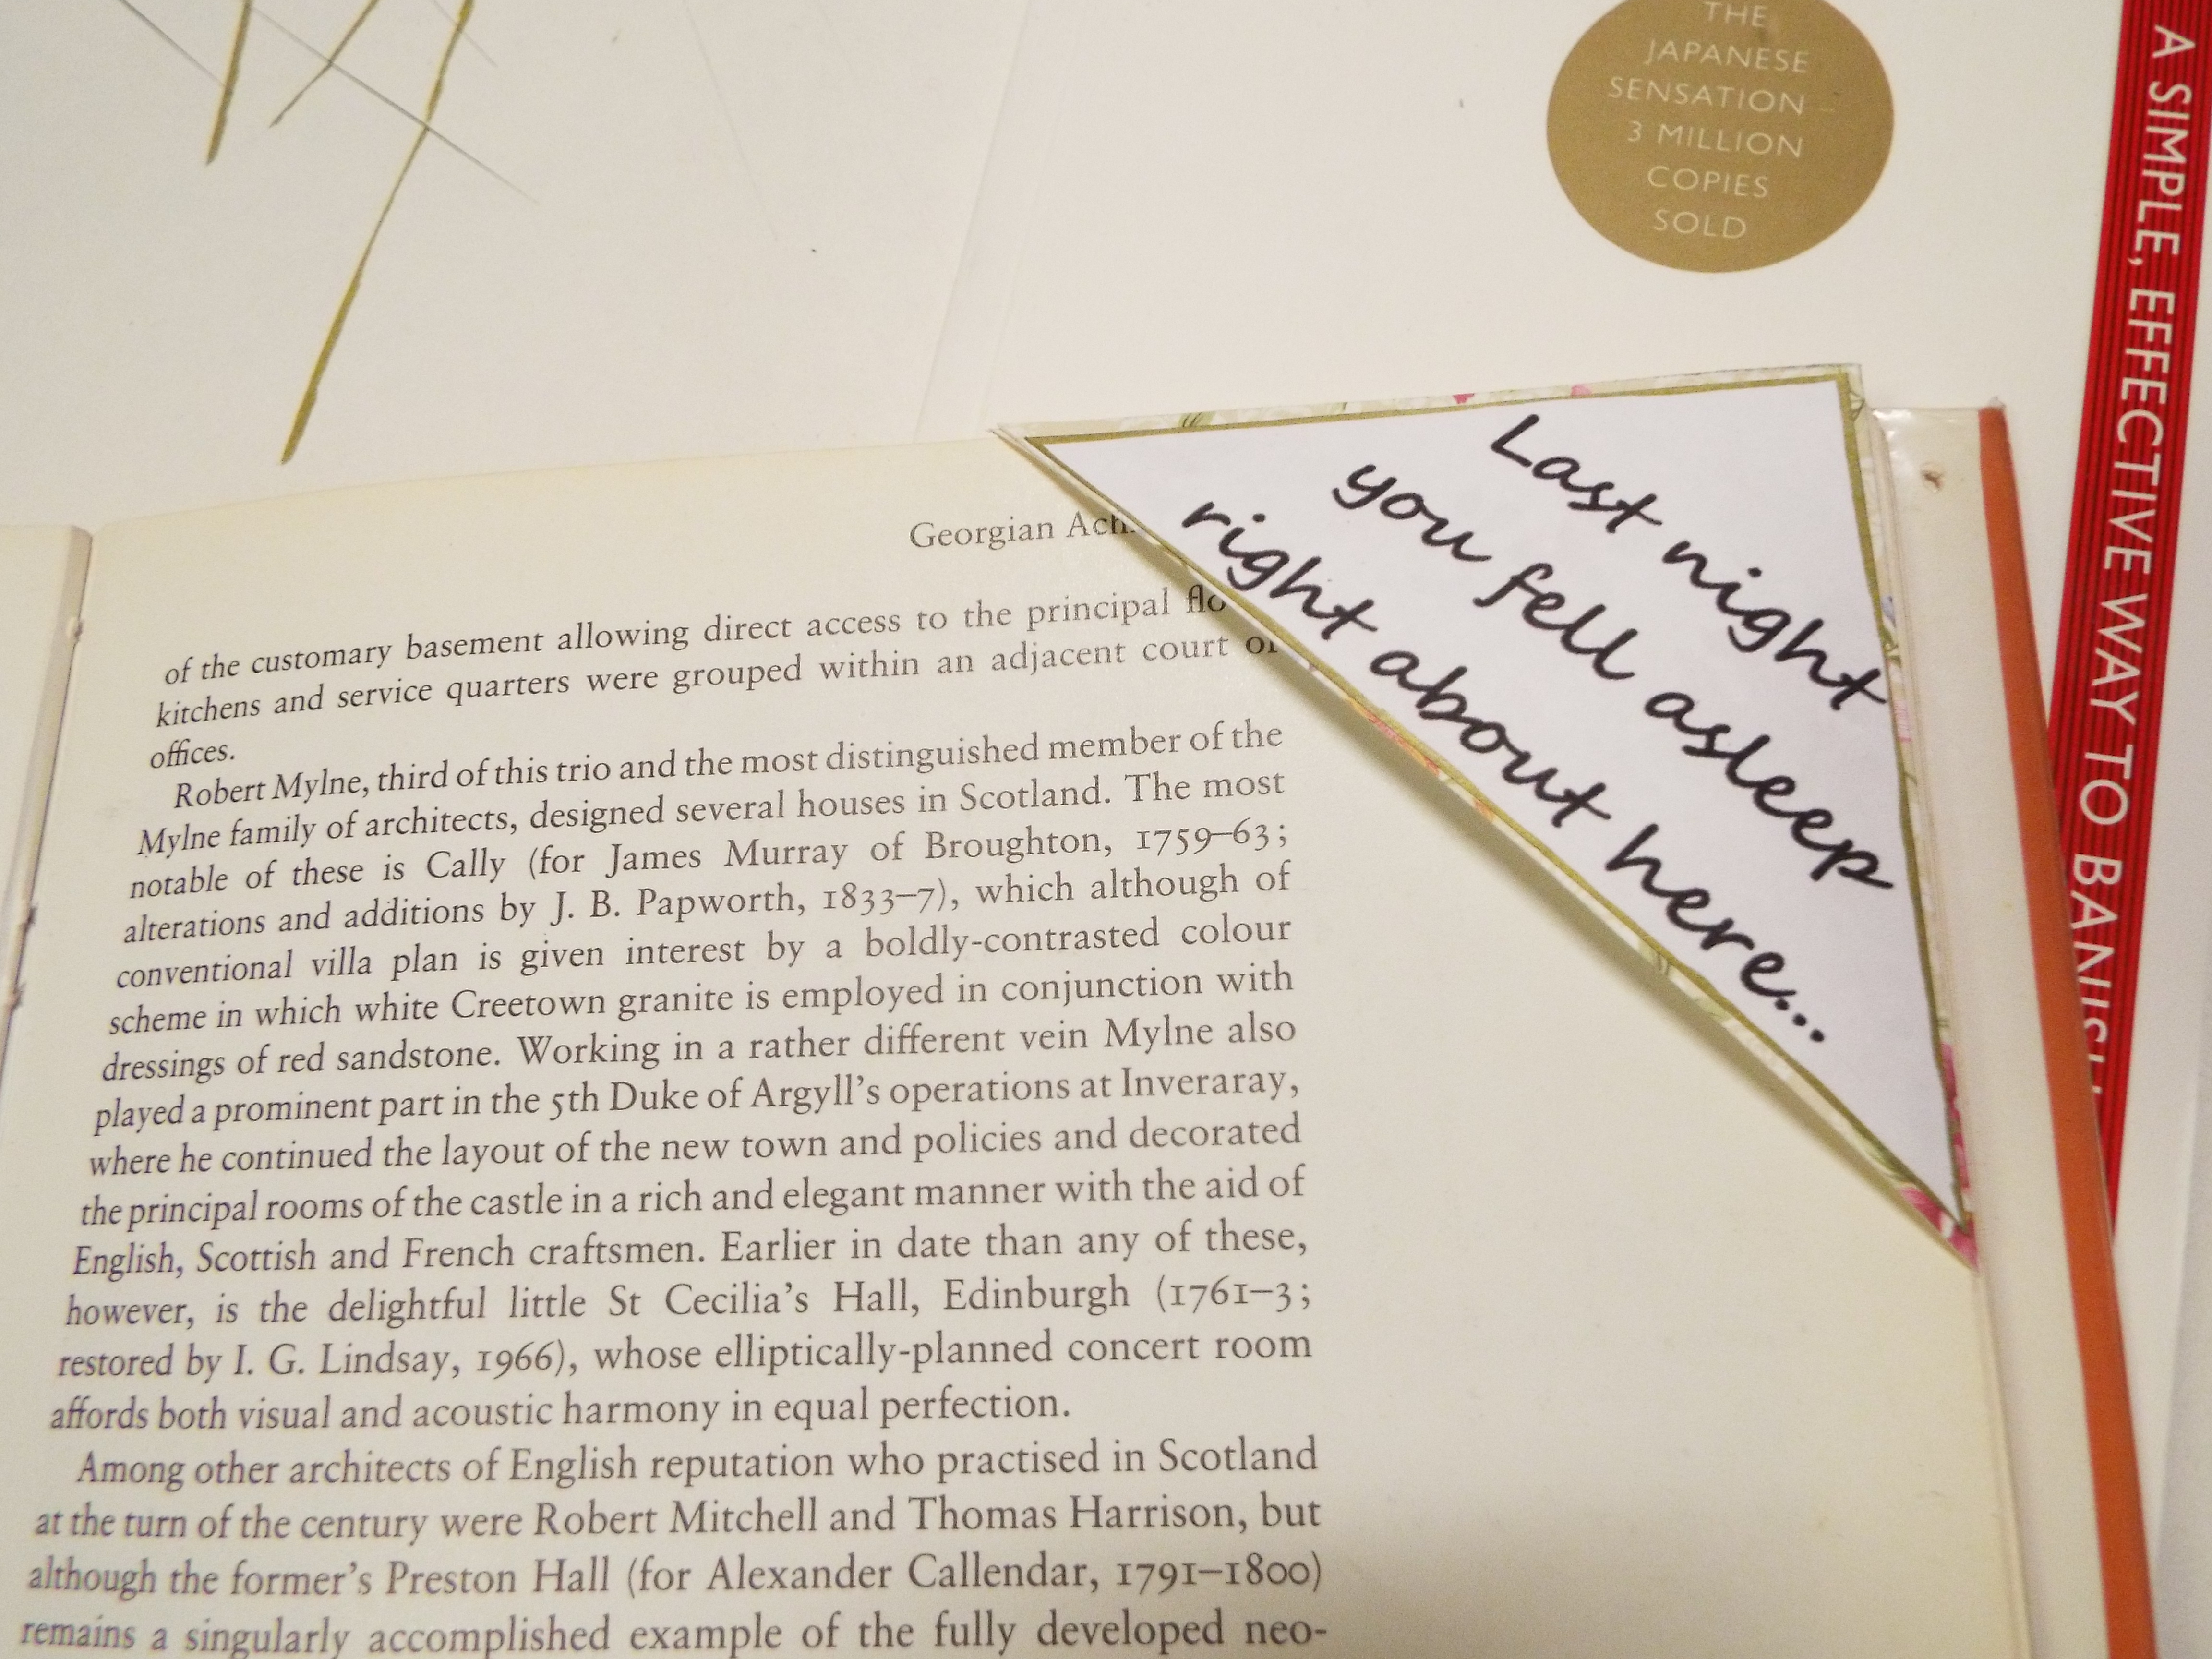
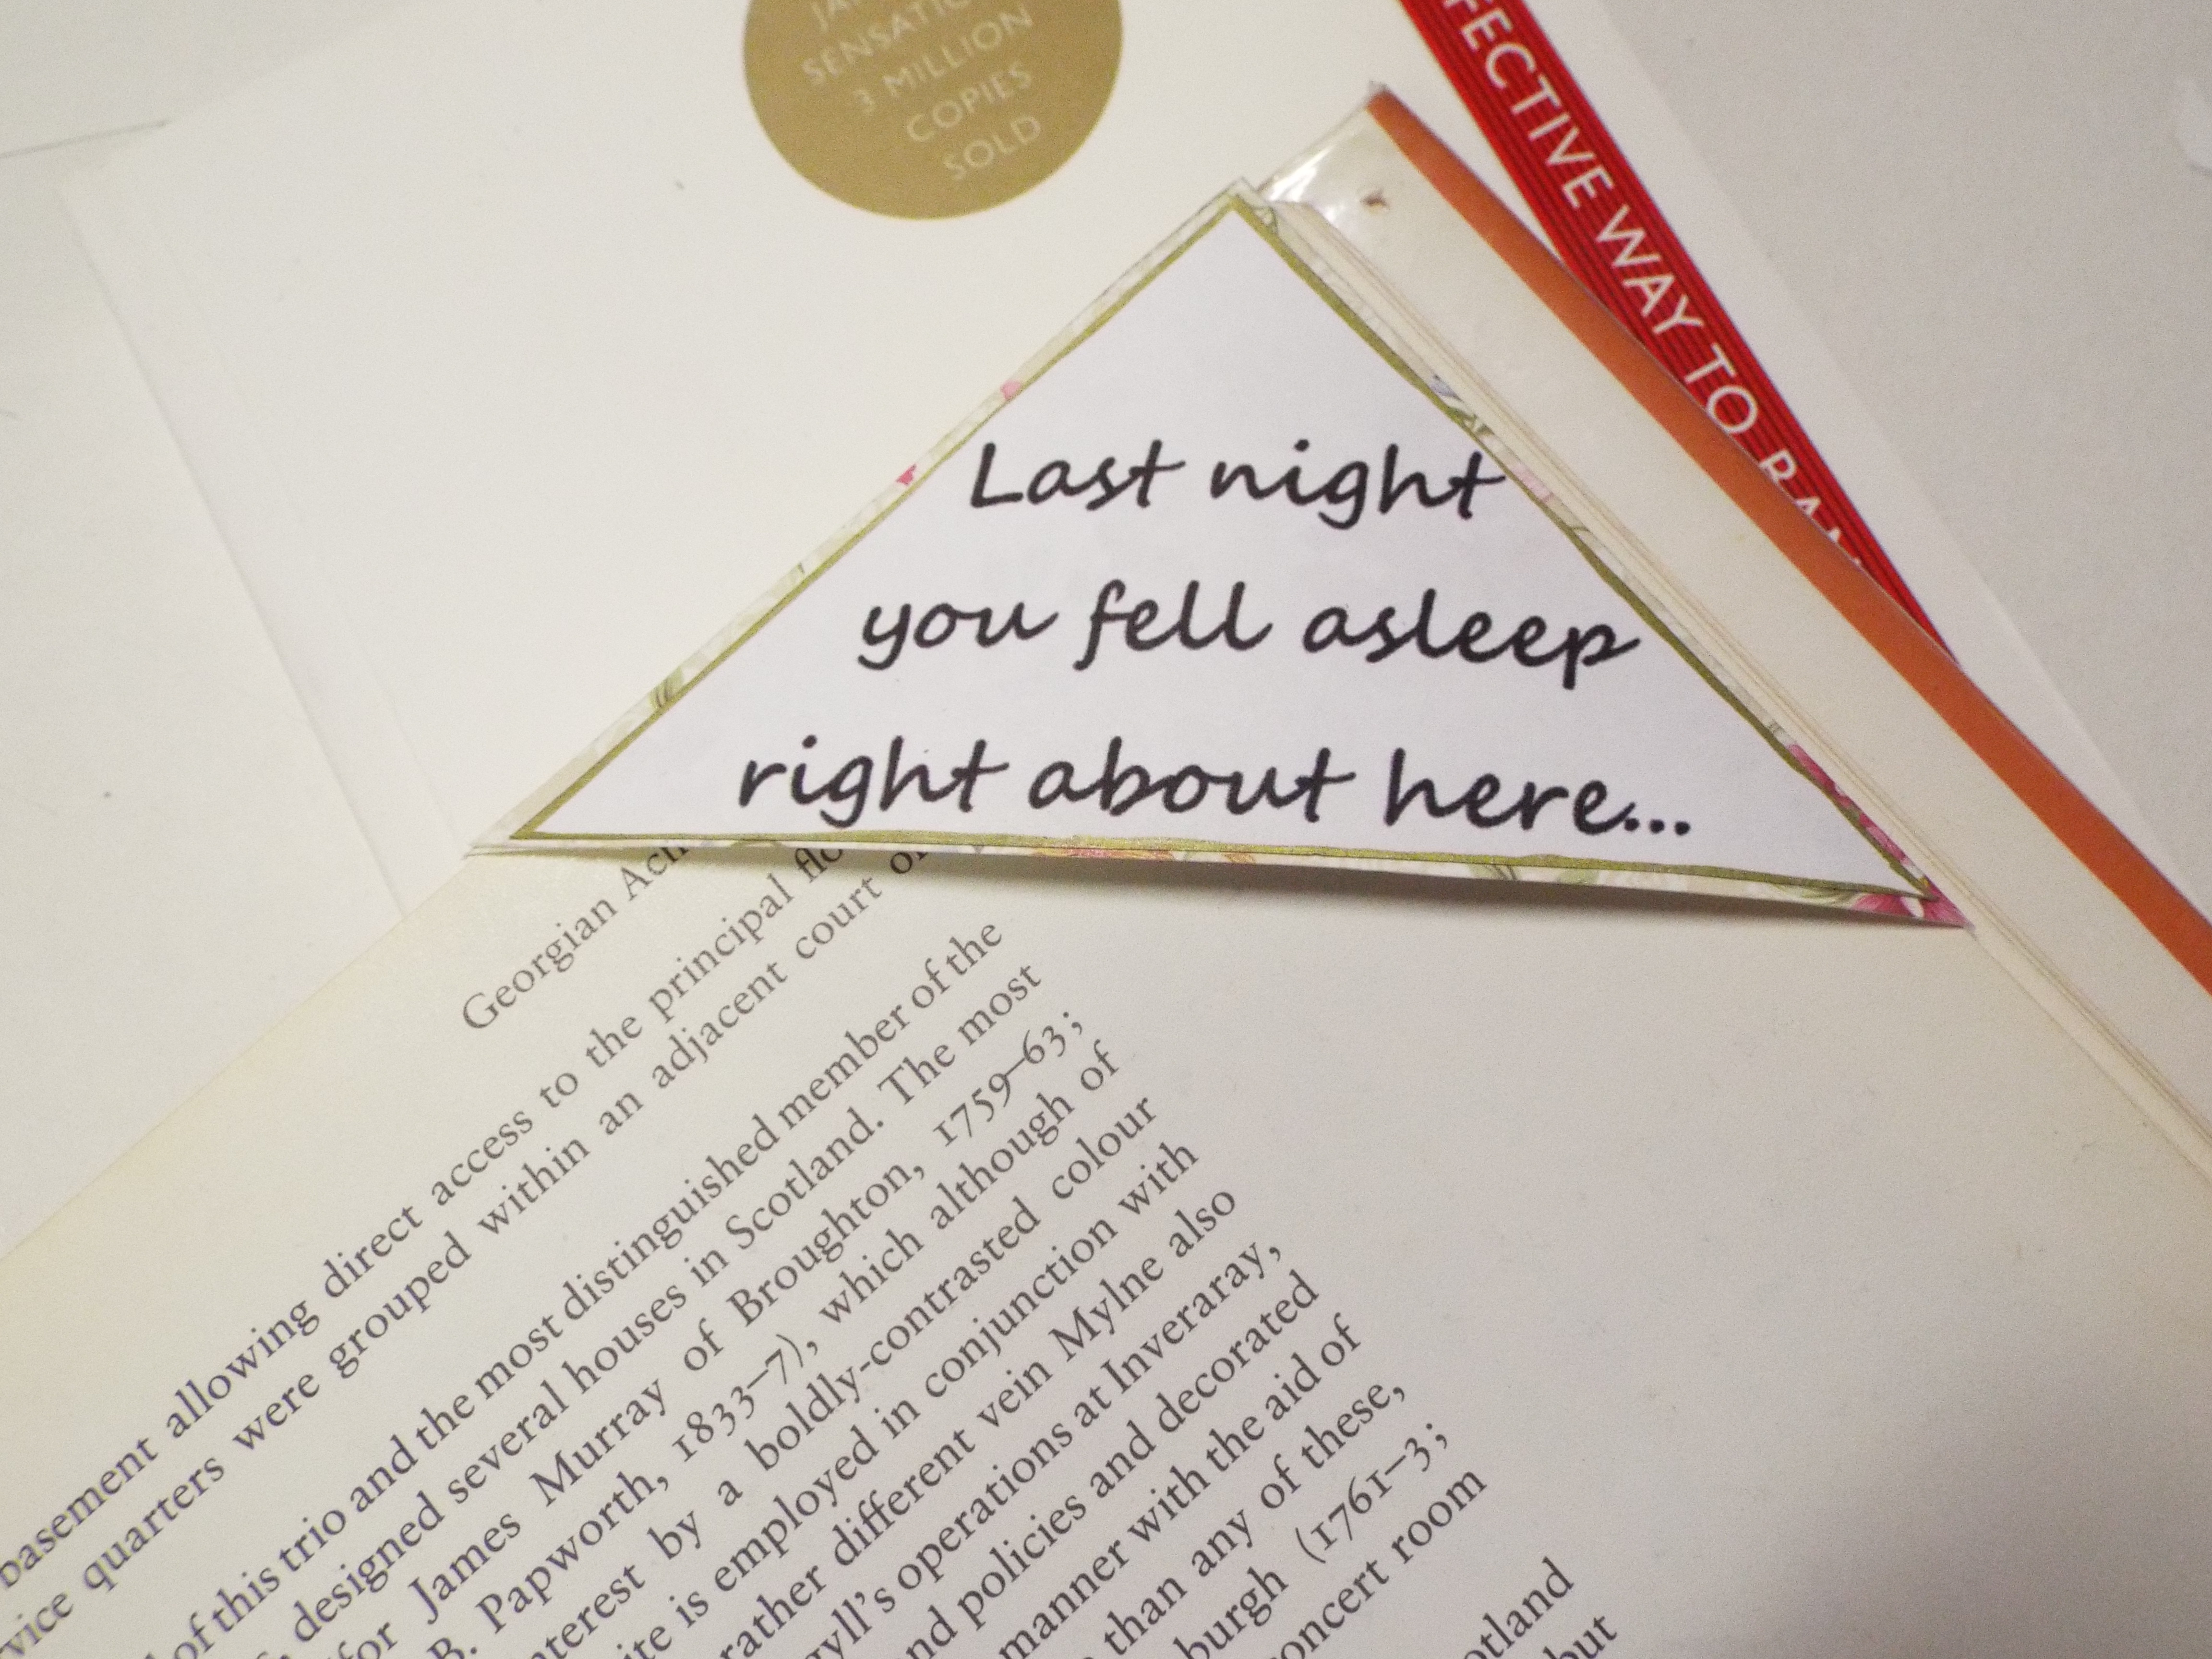
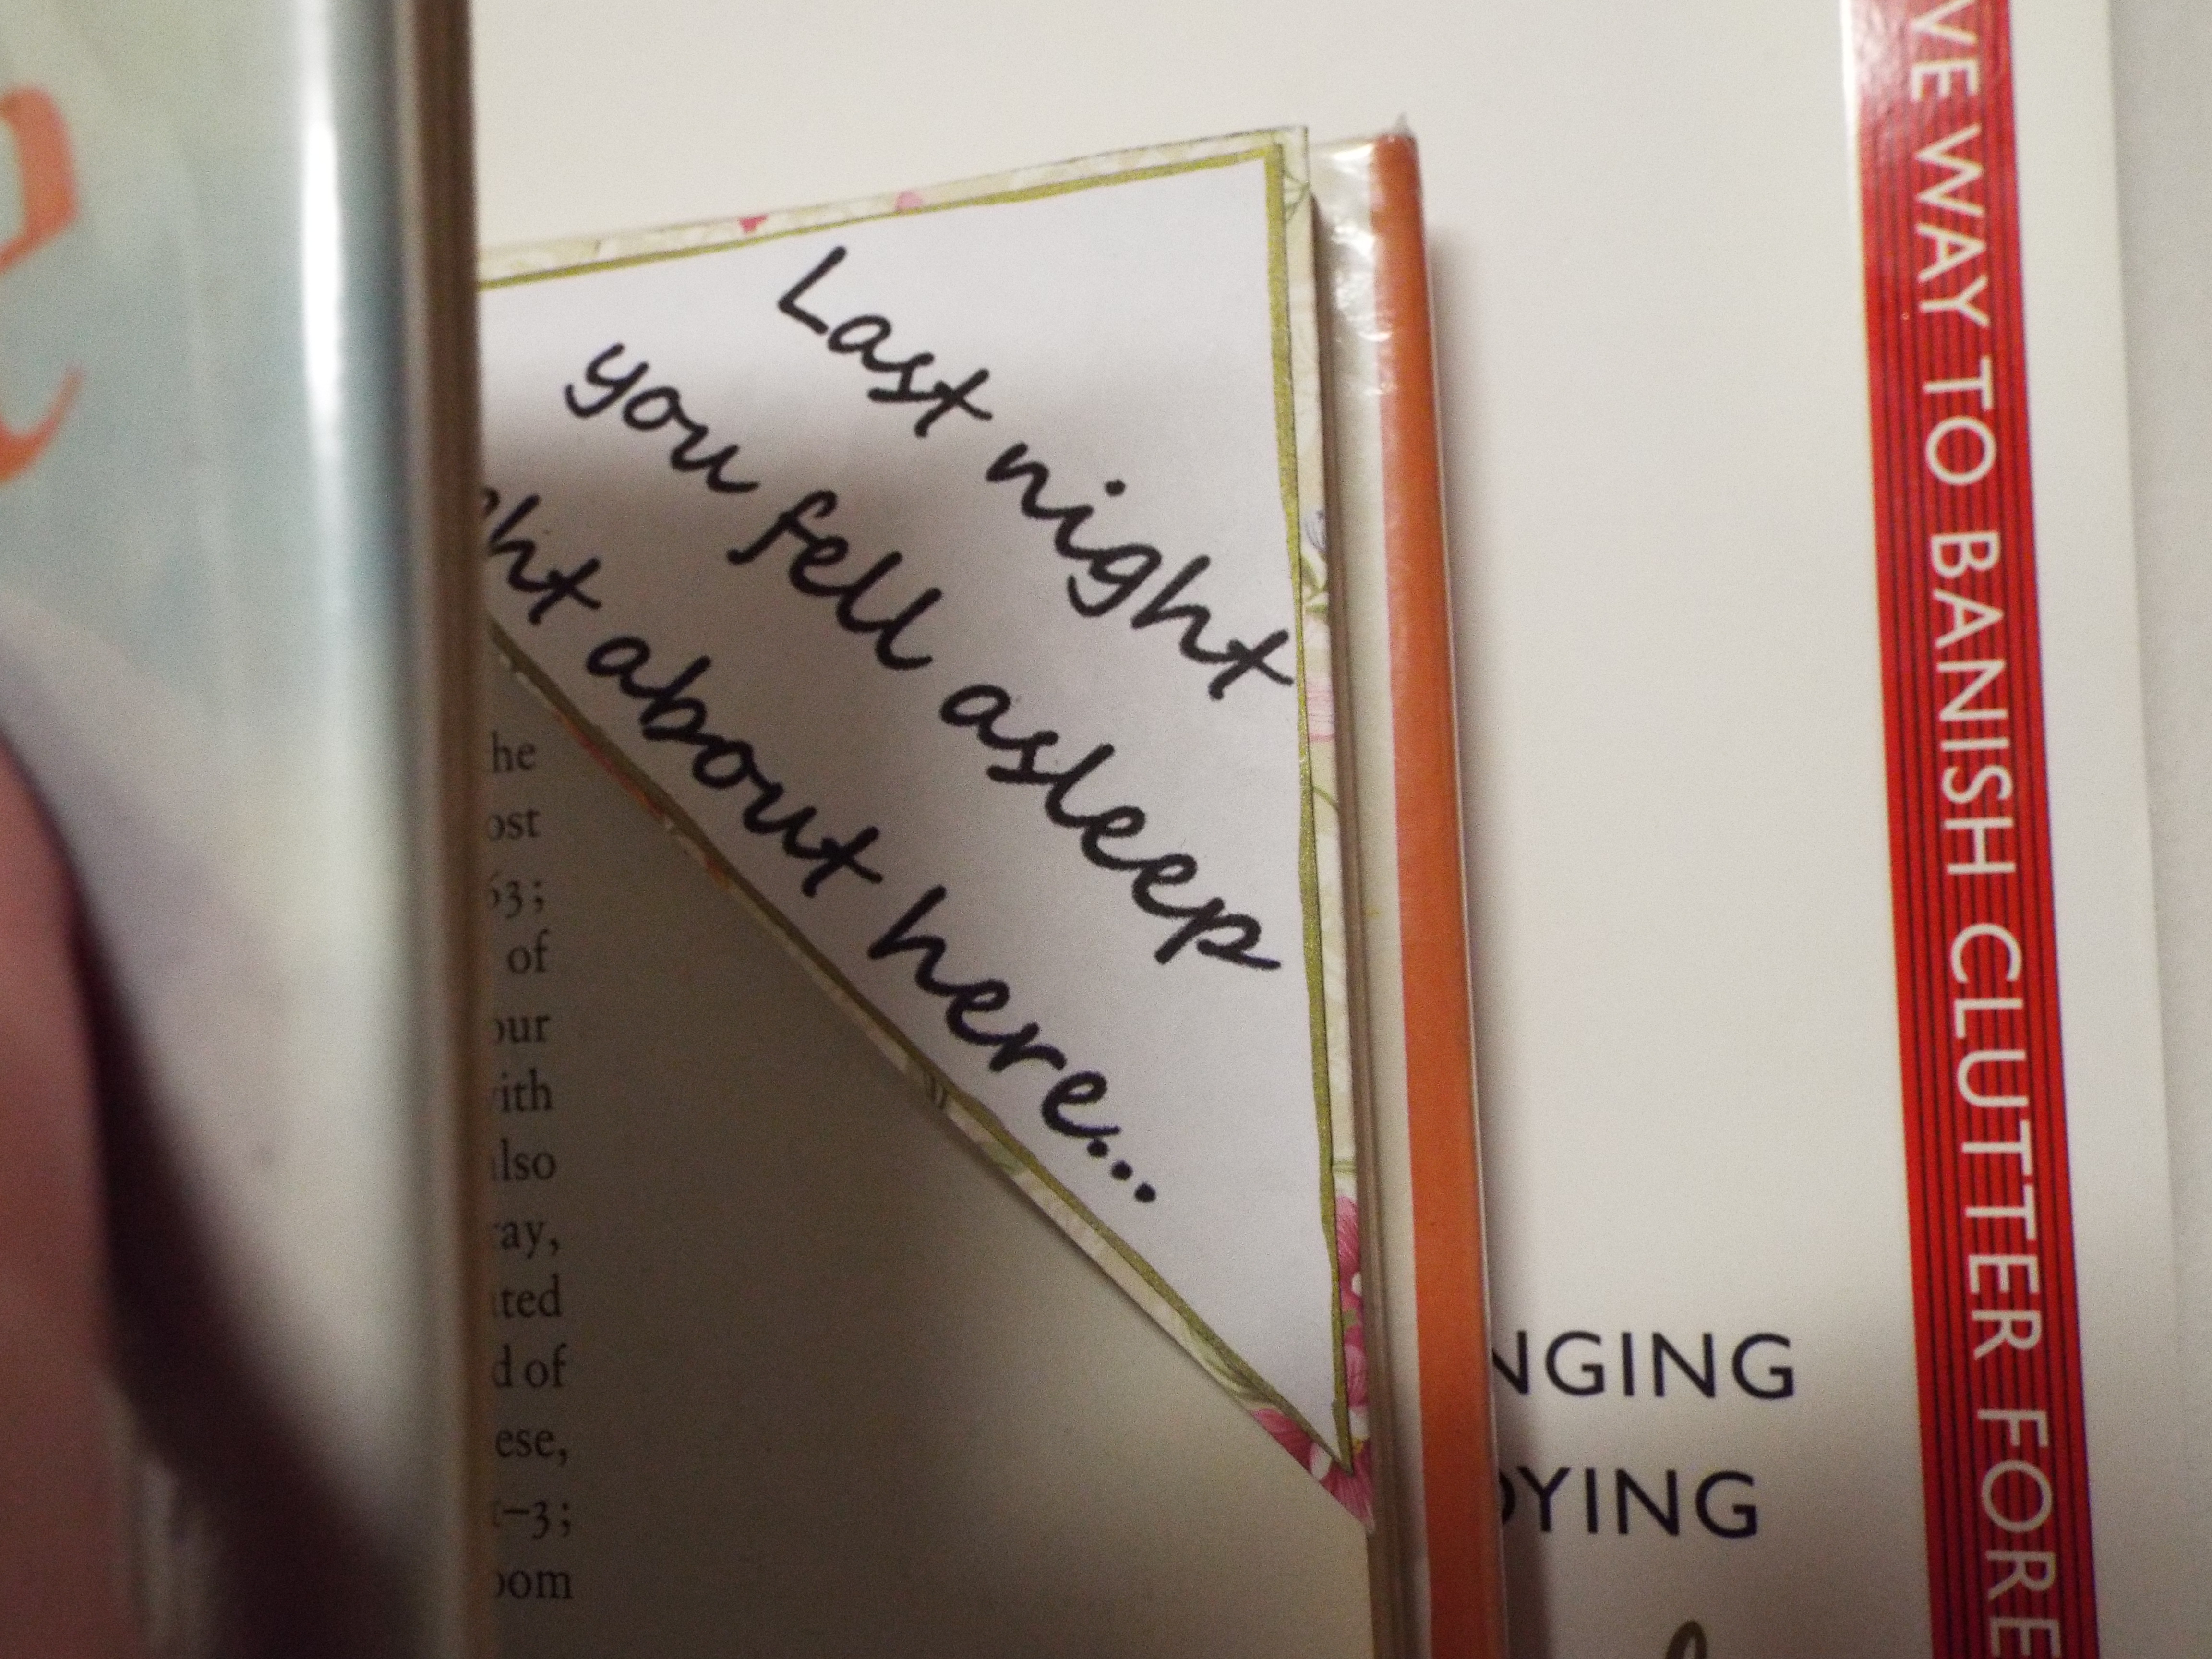
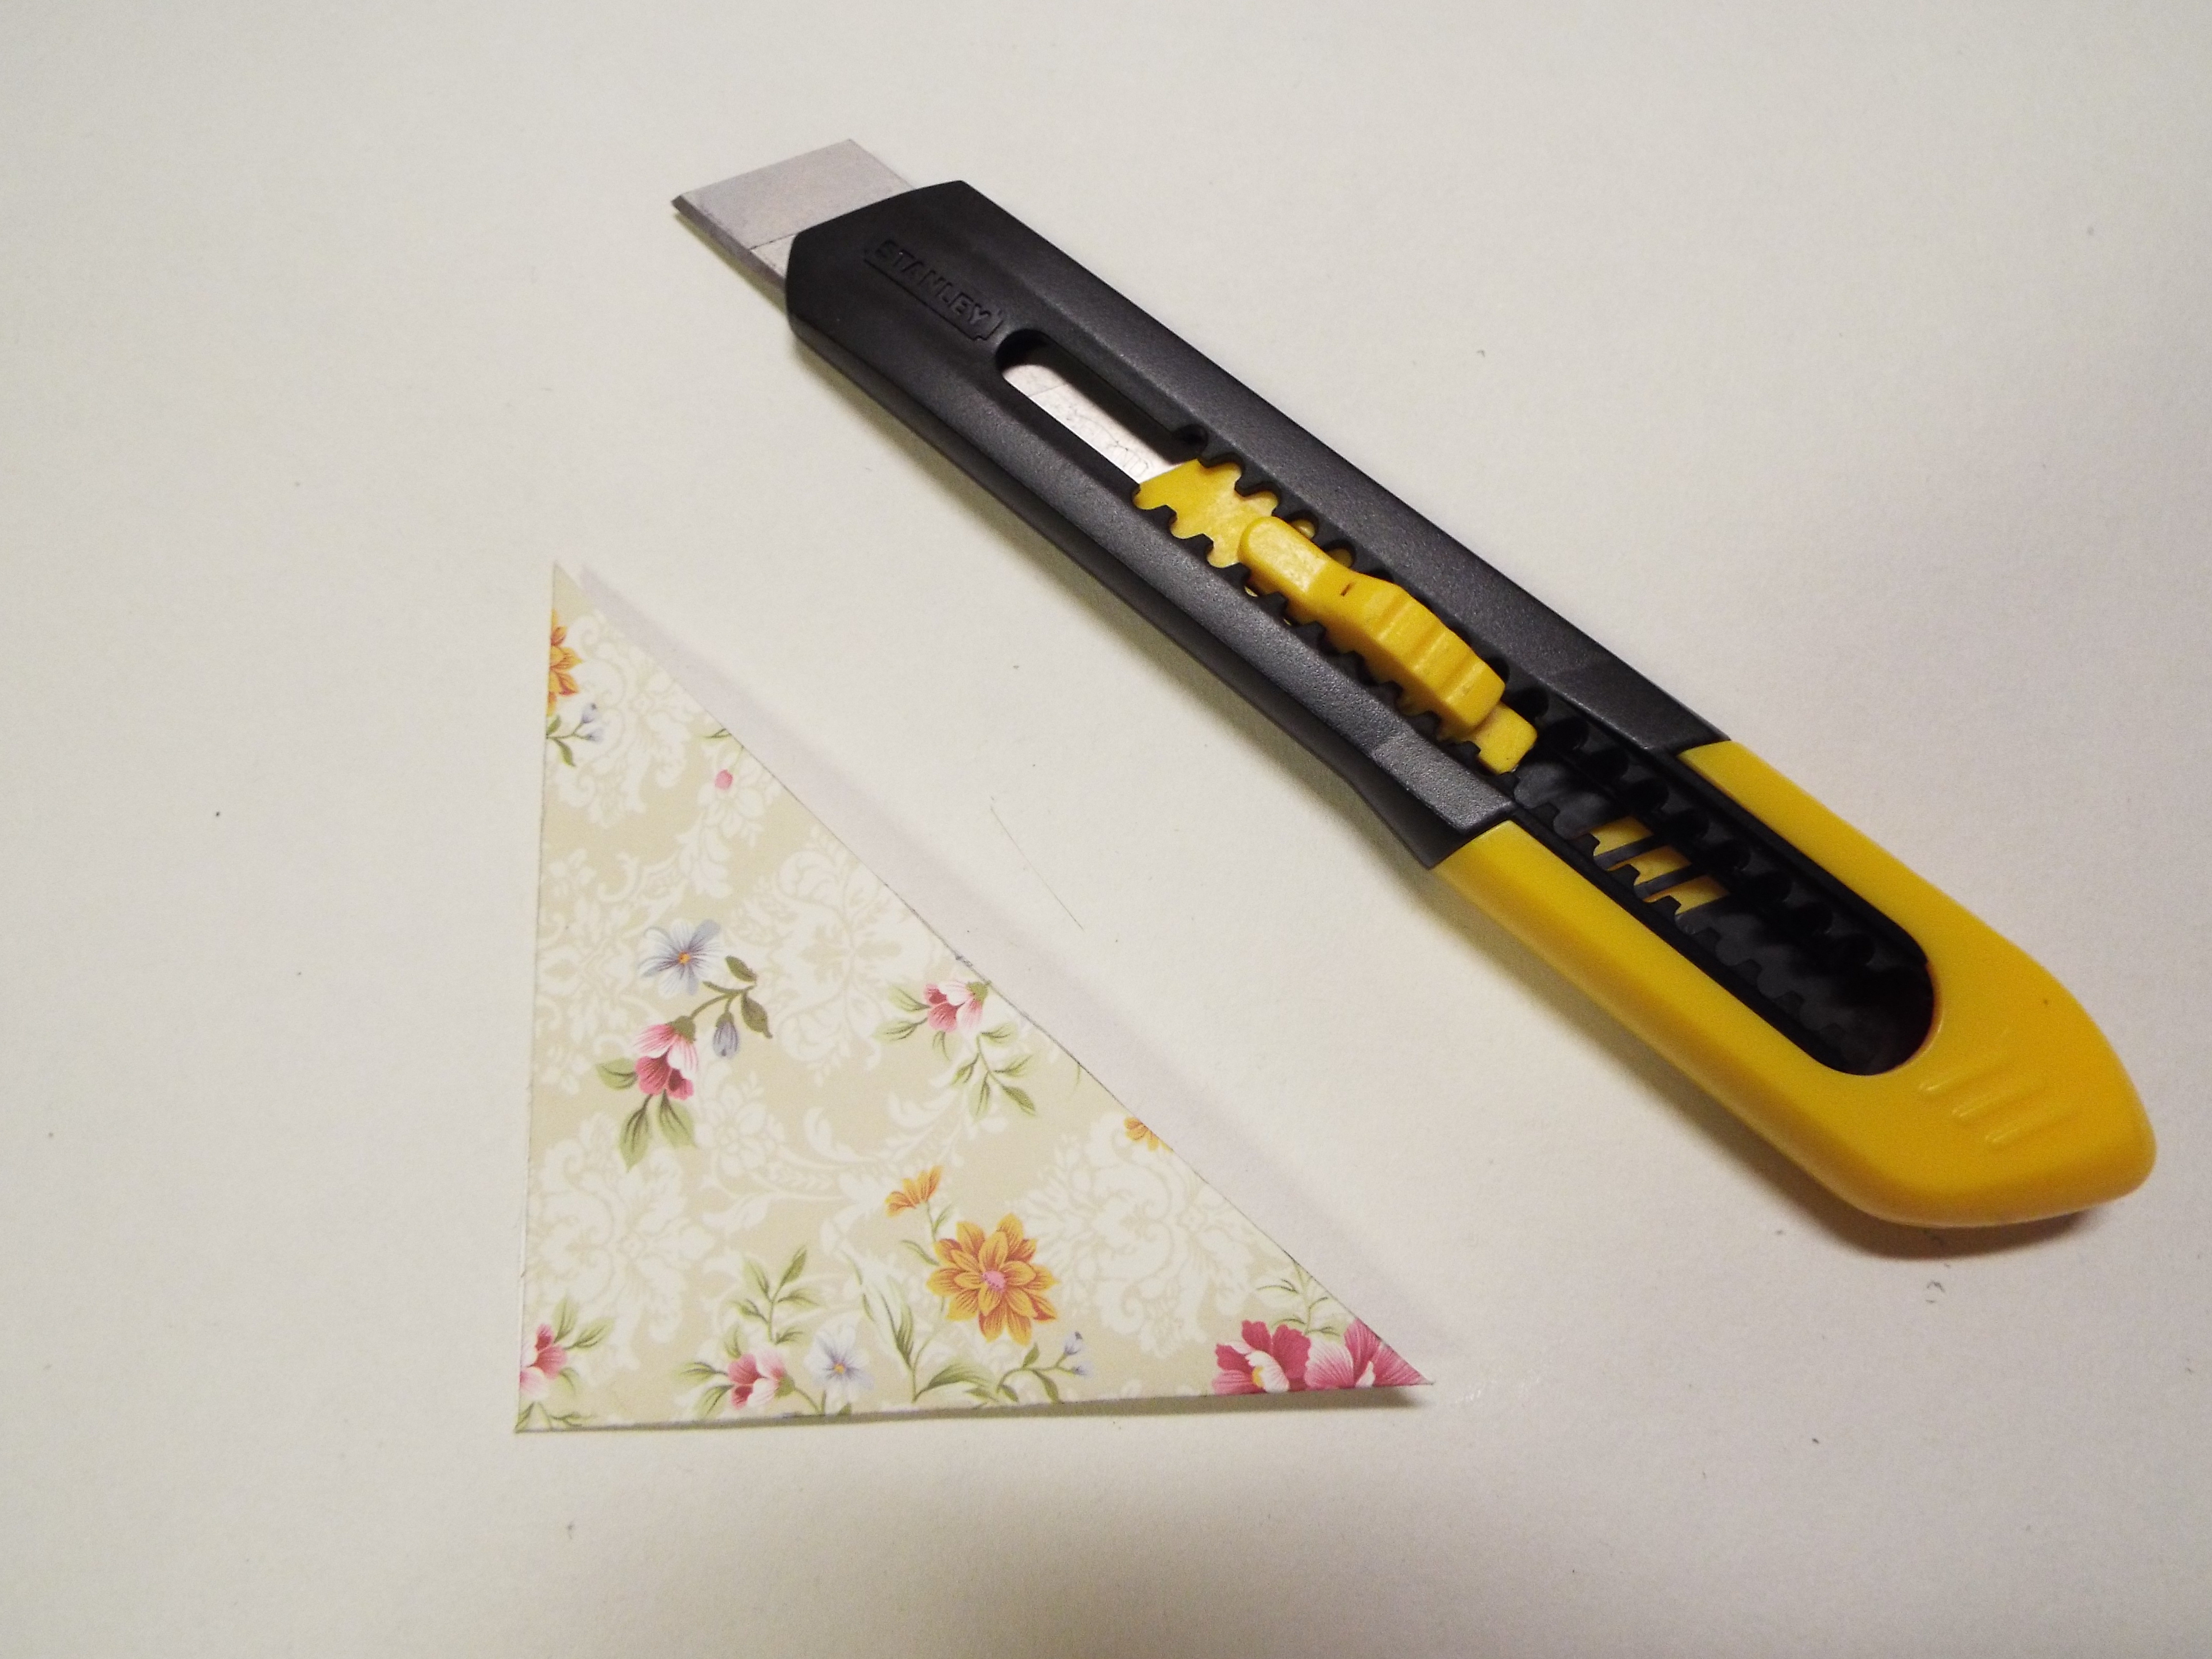 6. Now, you have a corner pocket, but as you can see a little piece of the tab is showing outside the triangle shape. So just cut it out.
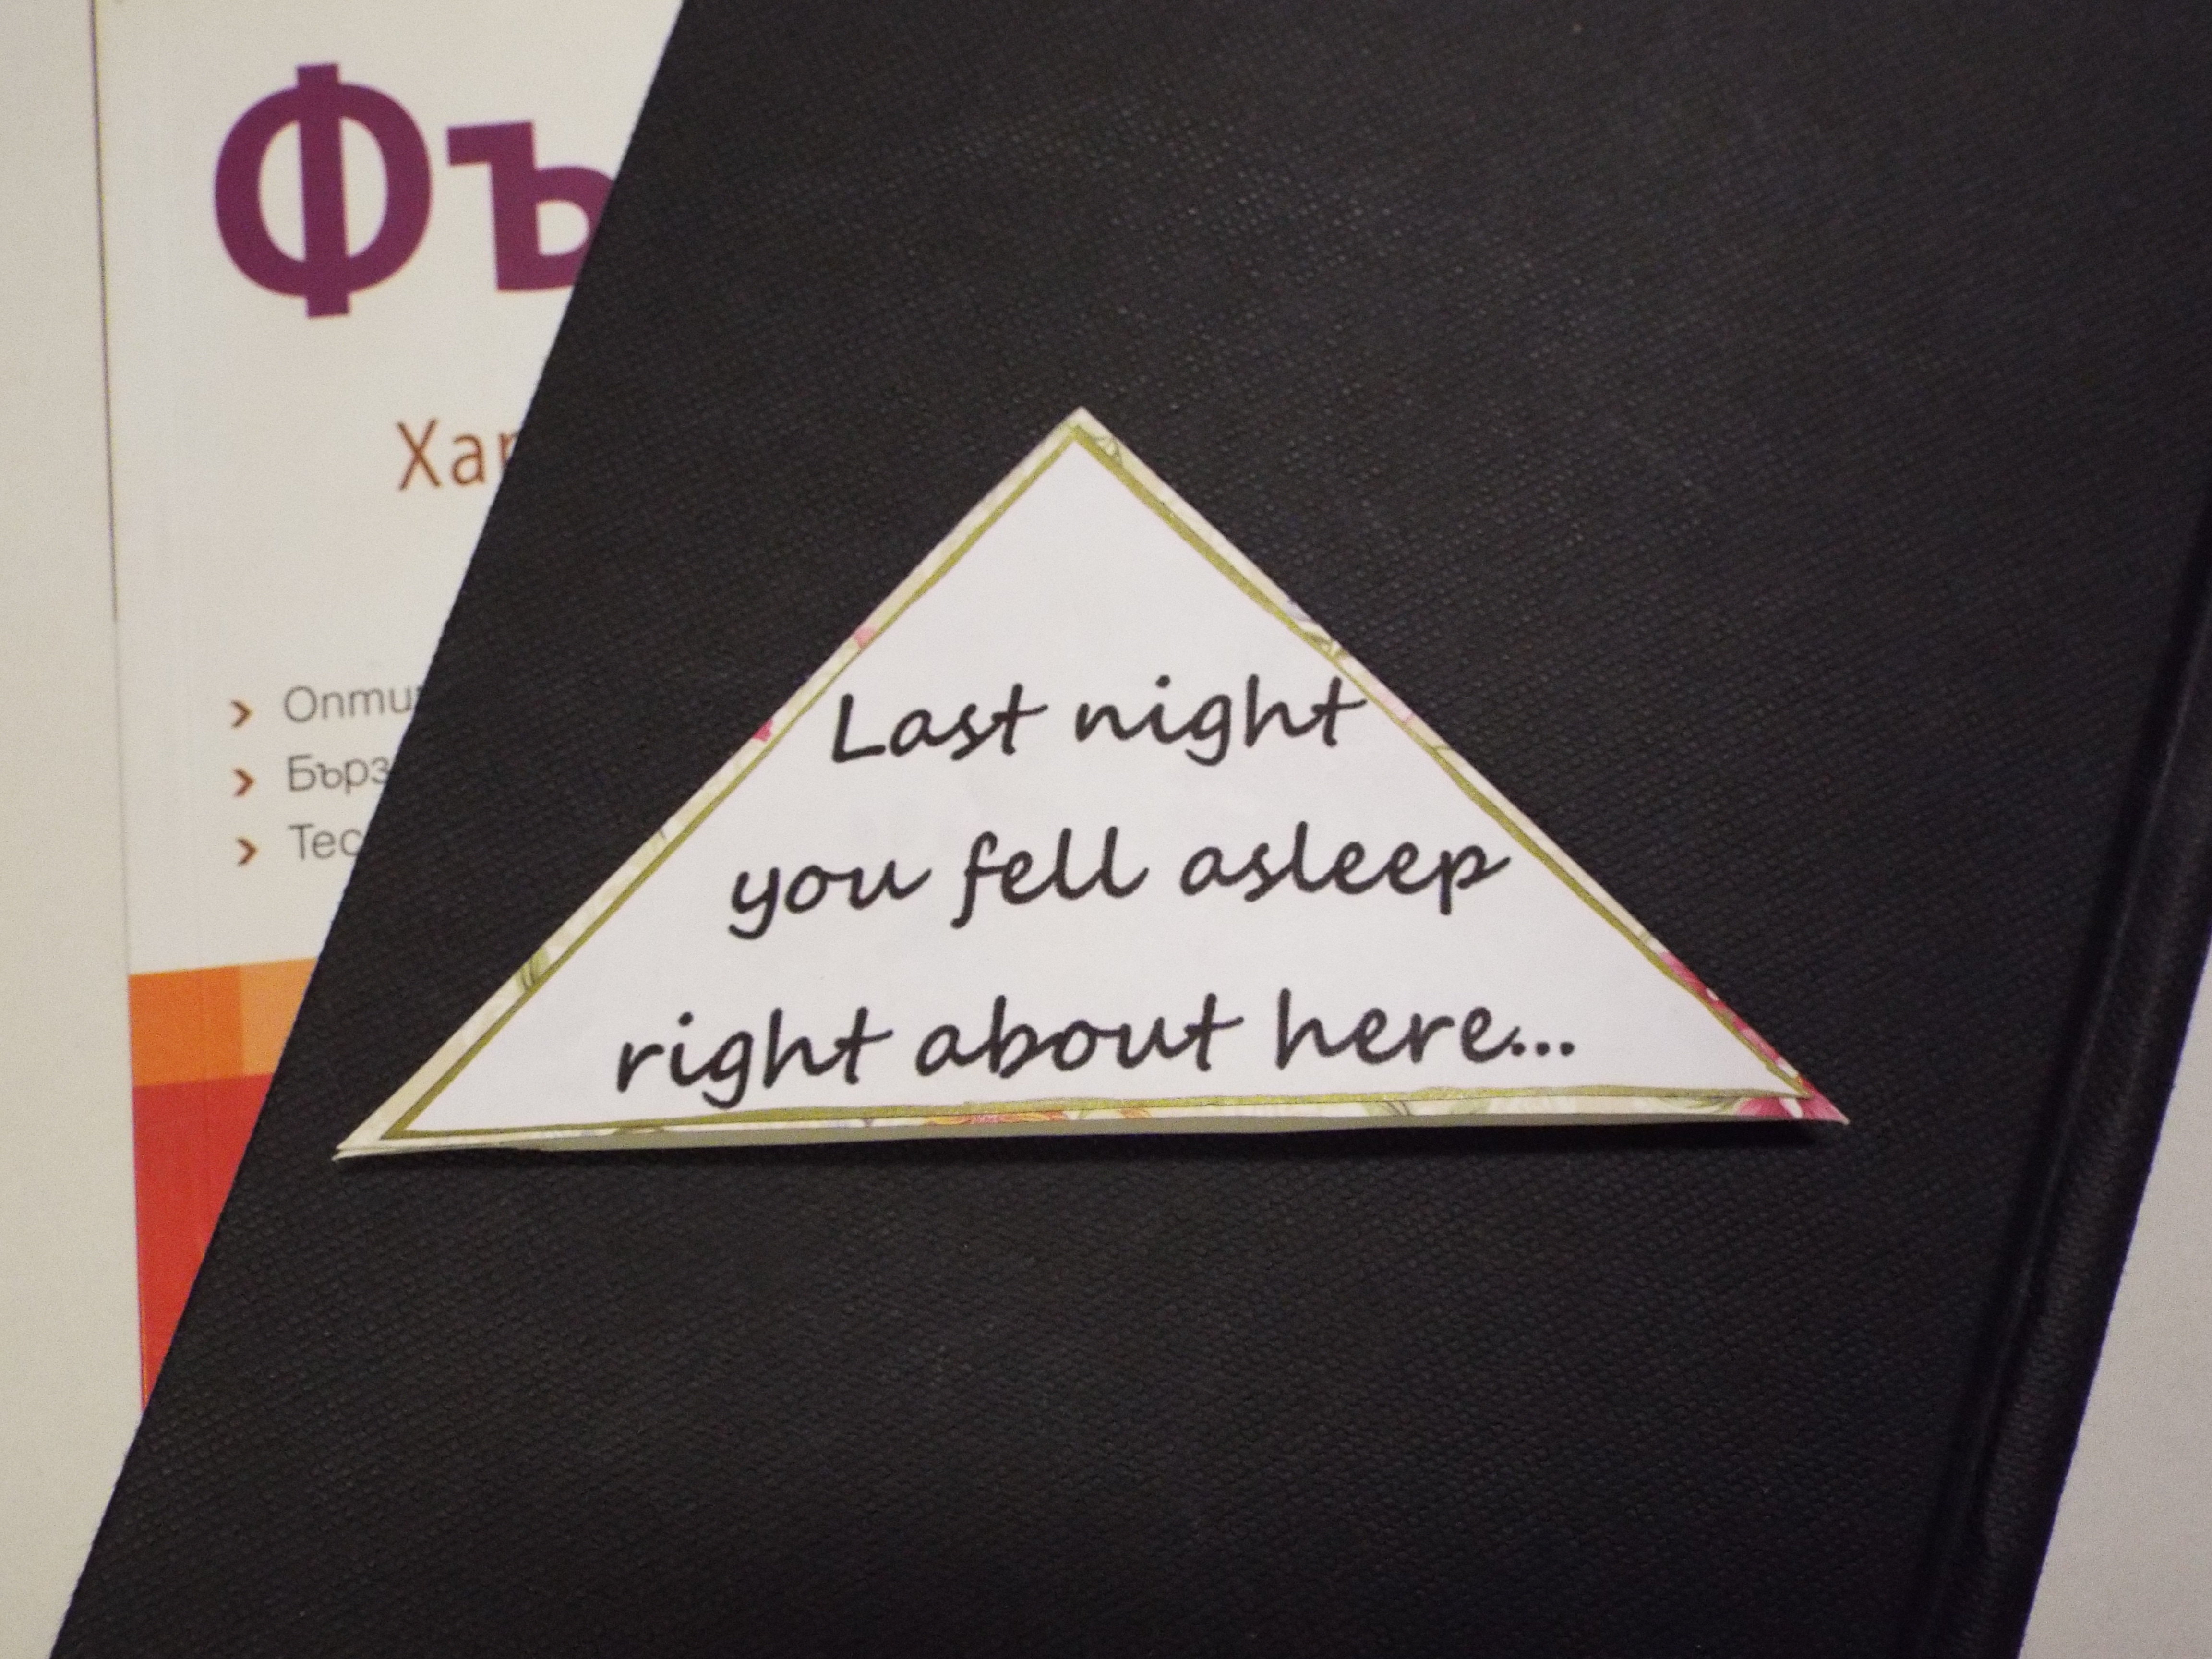
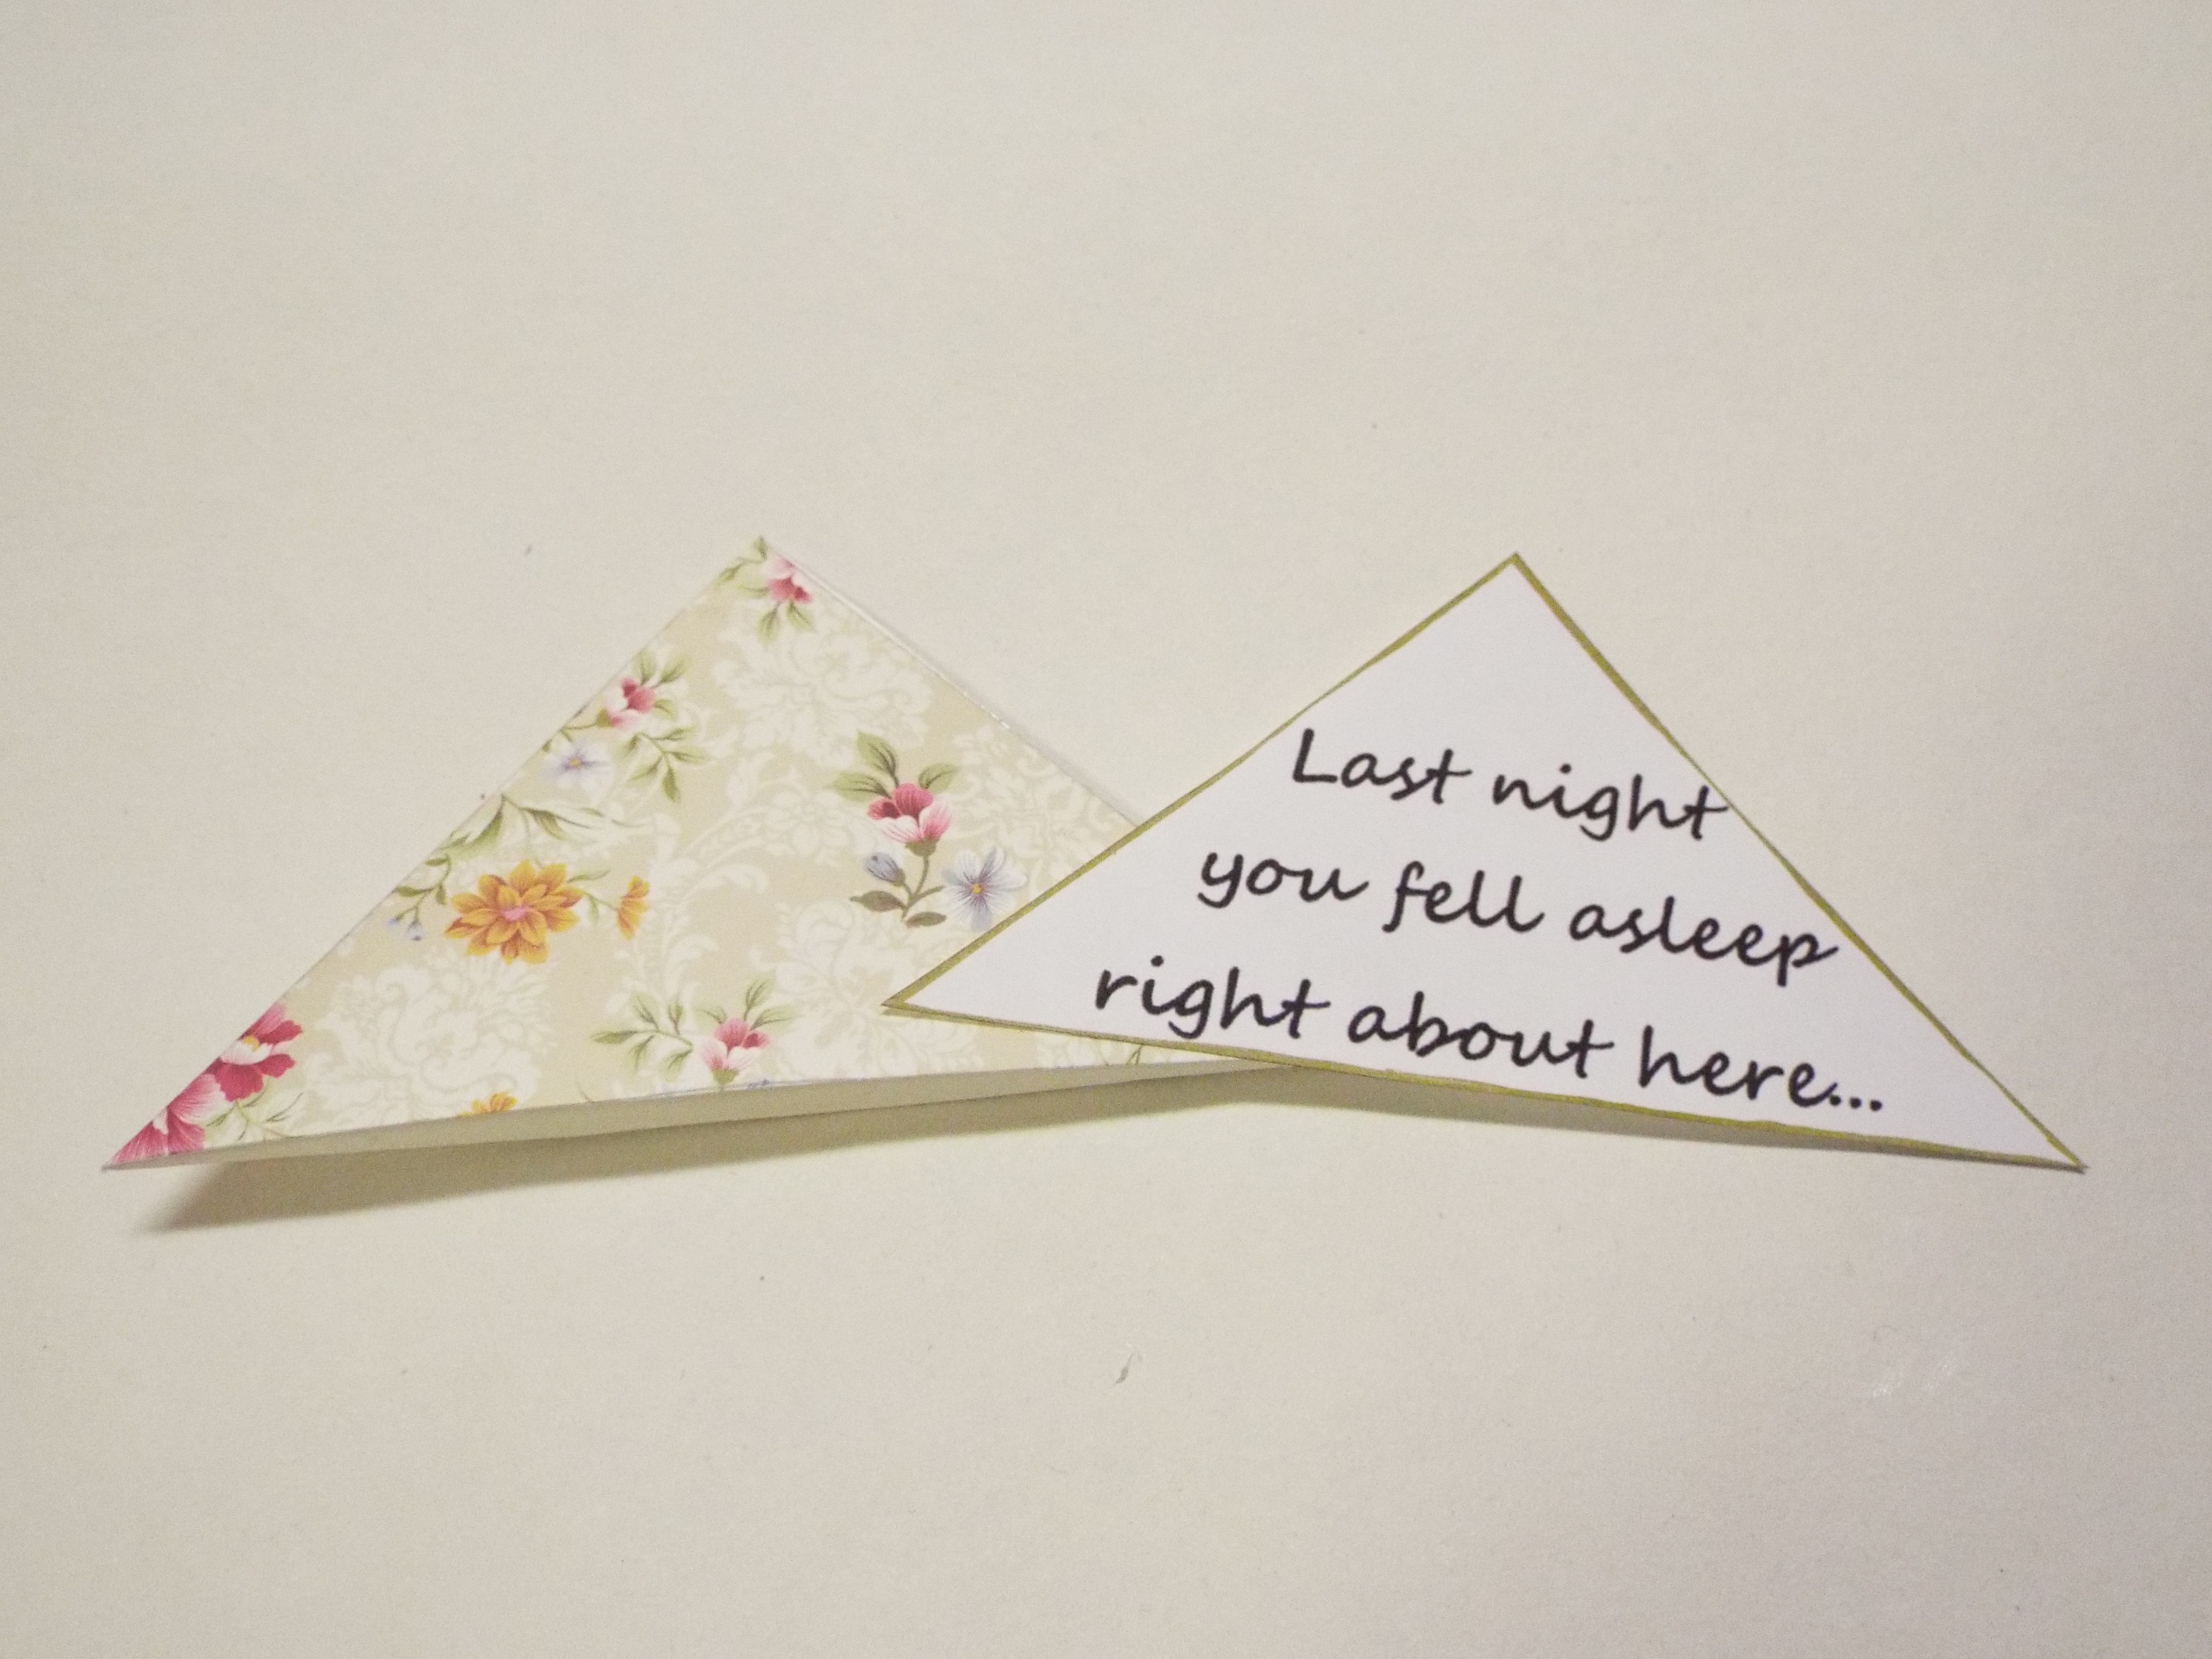 7. To decorate the bookmark you can use the quote I’ve added to the template or write your own.
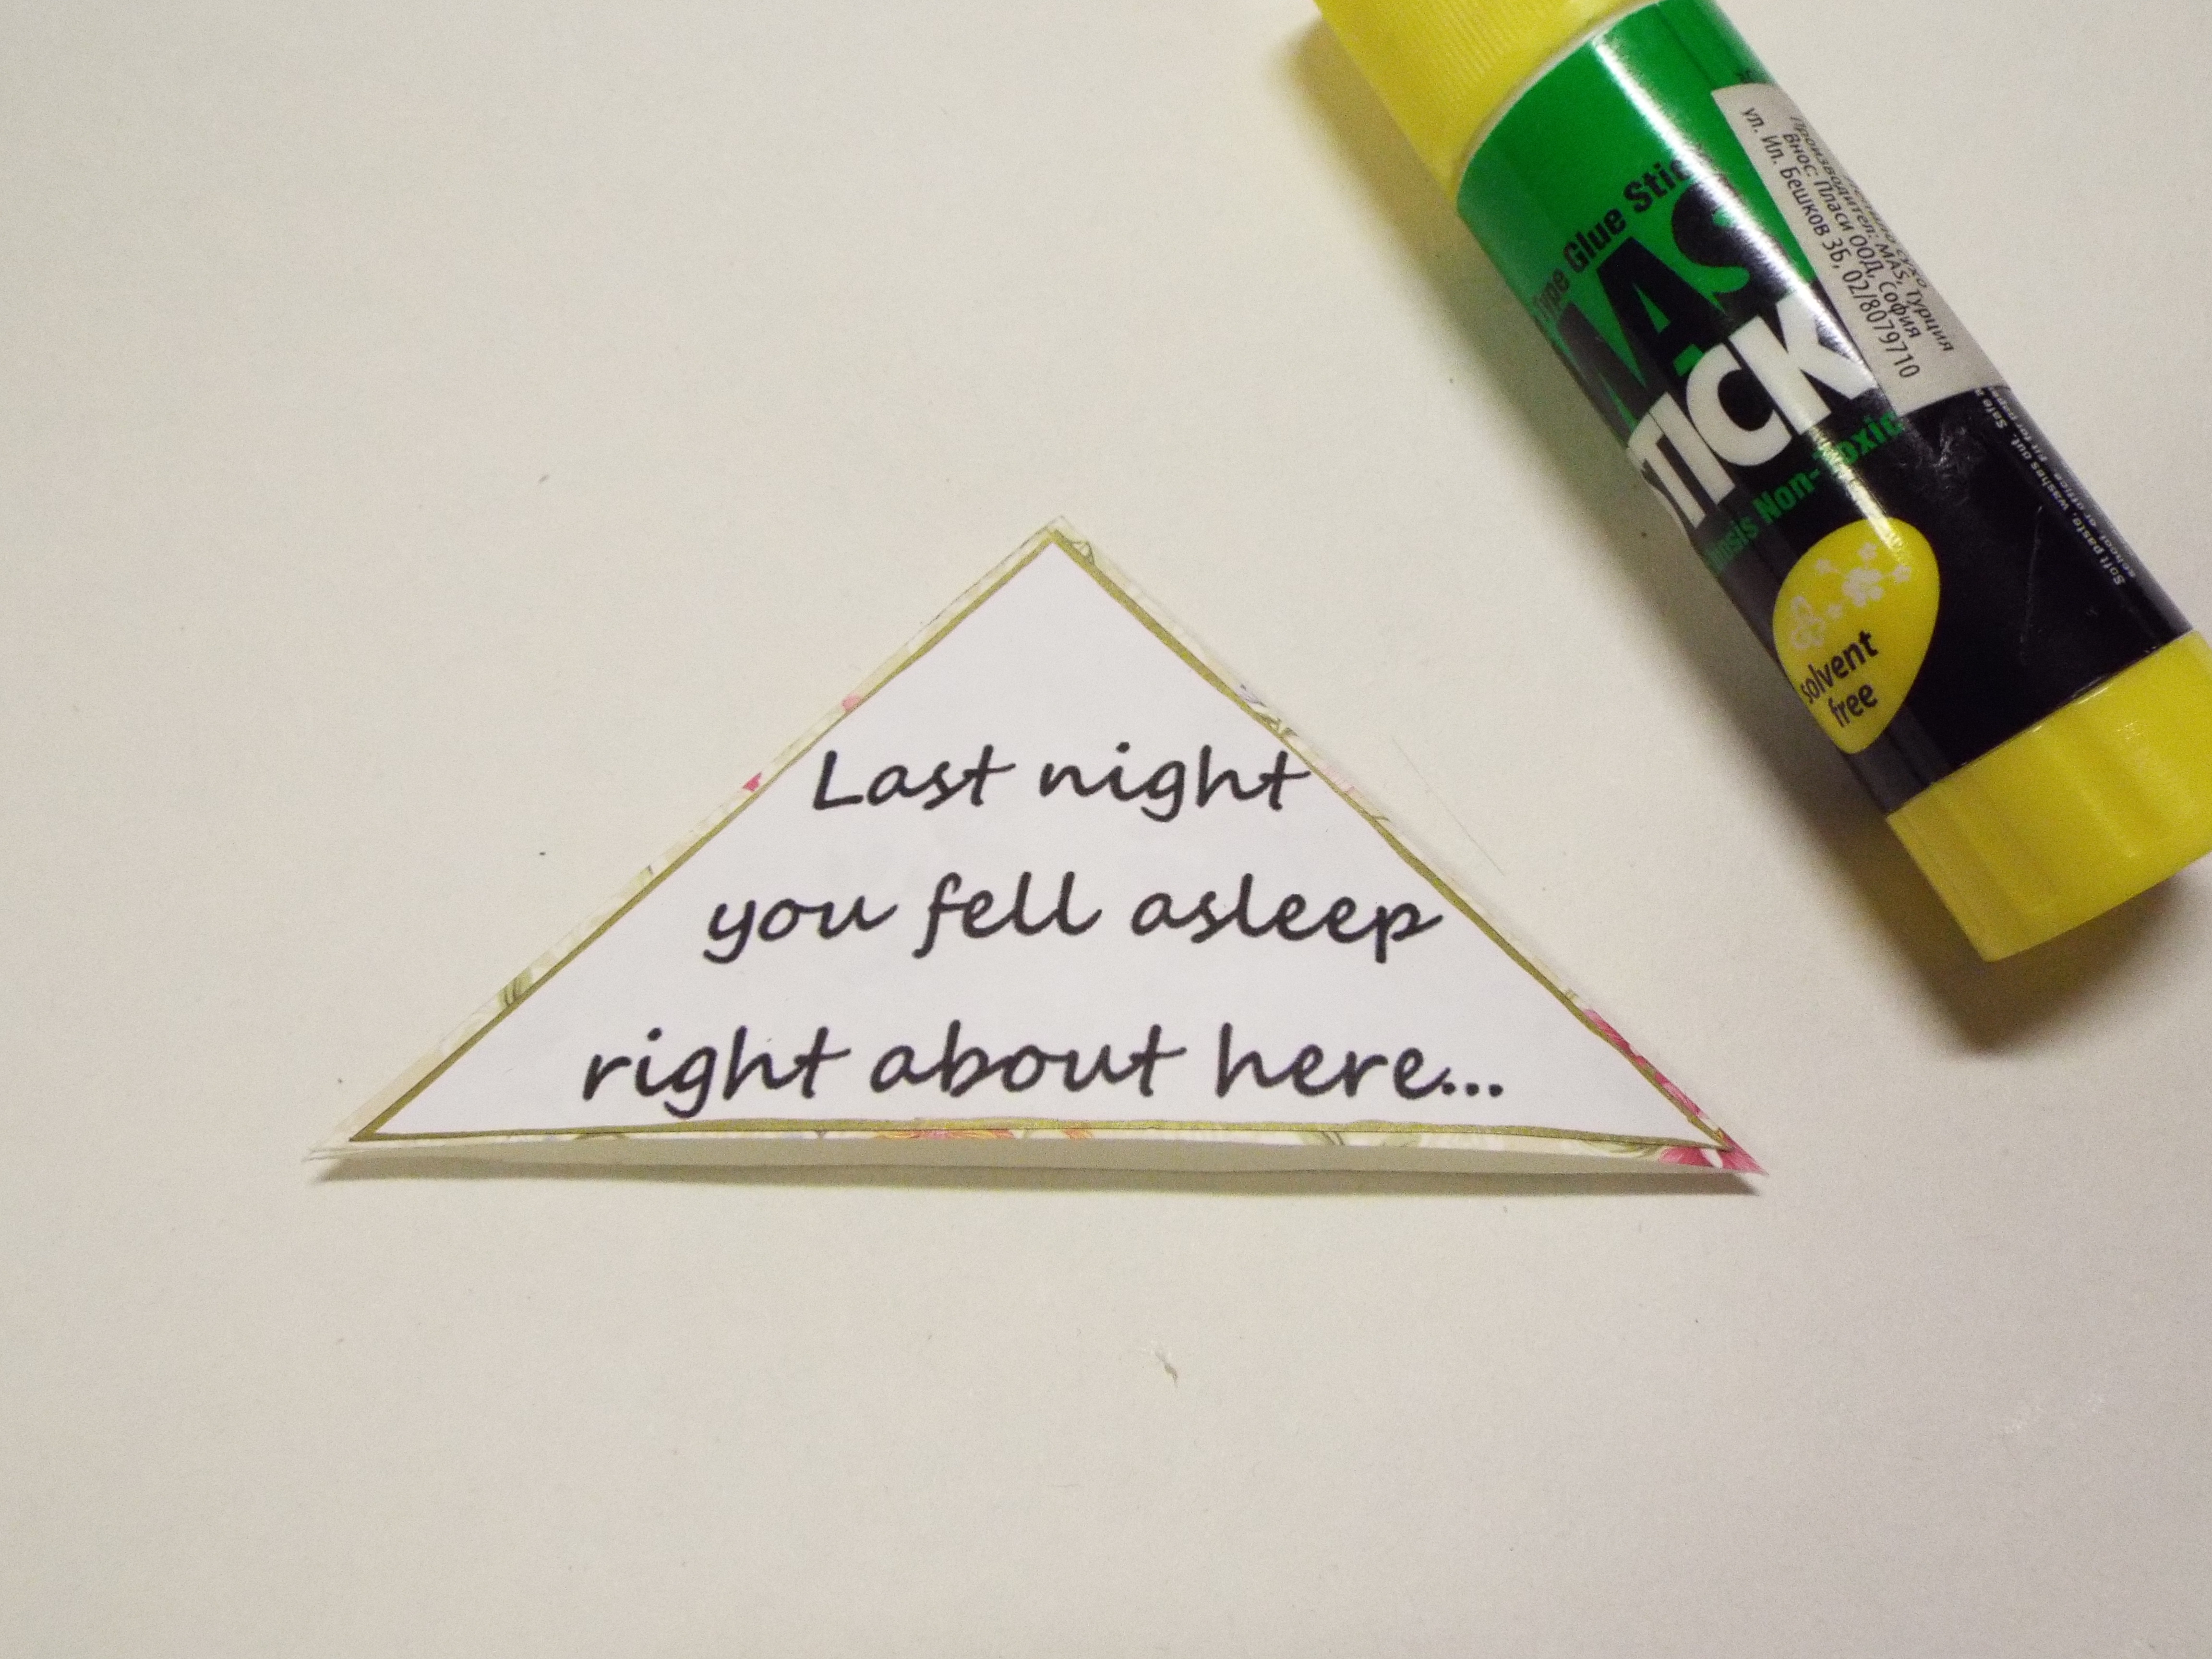 8. To add the quote, simply cut it out and glue it on, as leaving a little frame outside. To make it pop even more I added a golden edges as well. And you are done!