Inspired by the summer and tropical vibes I decided to show you how to make a flamingo room decoration. I used the string art method but change it a little bit.
All you need:
> A cardboard
> An embroidery thread
> Paint
> Flamingo template
> Pushpin, glue and scissors
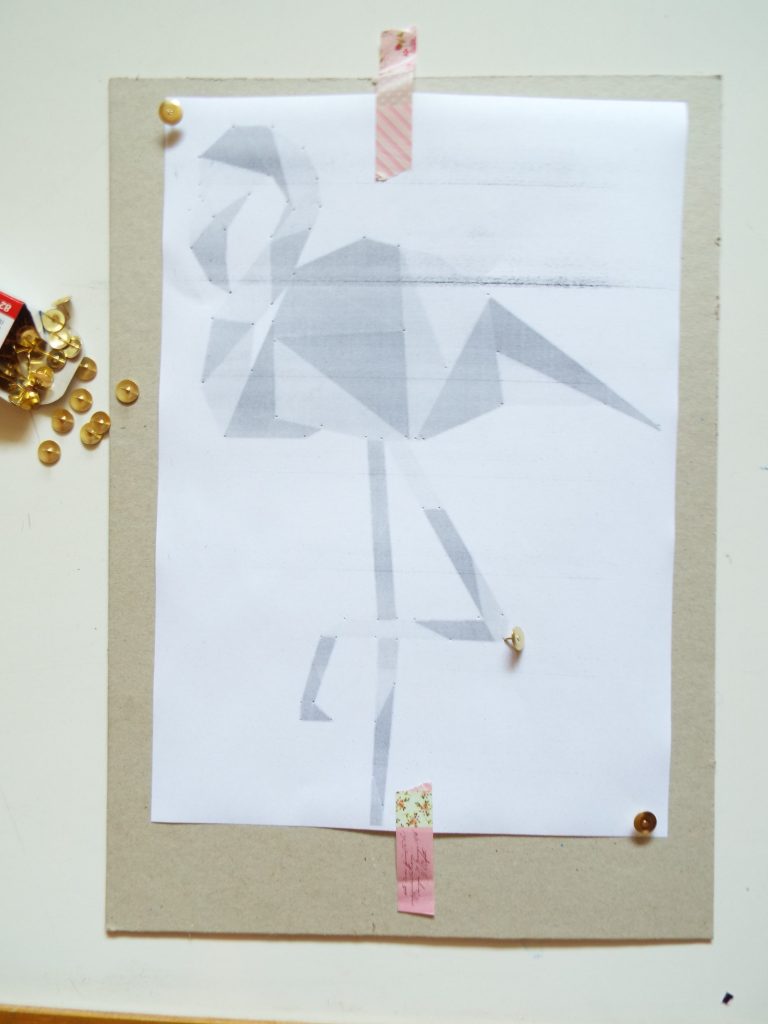 1. Start buy finding a nice piece of cardboard and printing out the flamingo template. I found mine in Google. You can download the PDF file HERE, or find your own one.
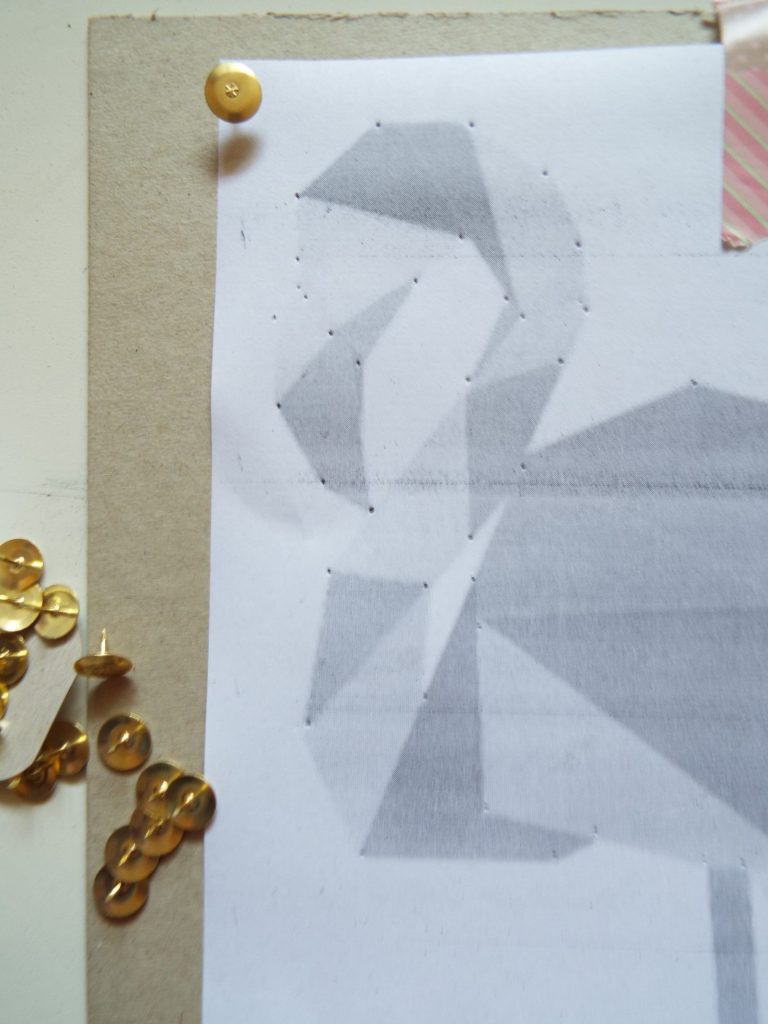 2. Put the template over the cardboard and make small holes where the main points of the flamingo are, using the pushpin. That way these main points will transfer to the cardboard.
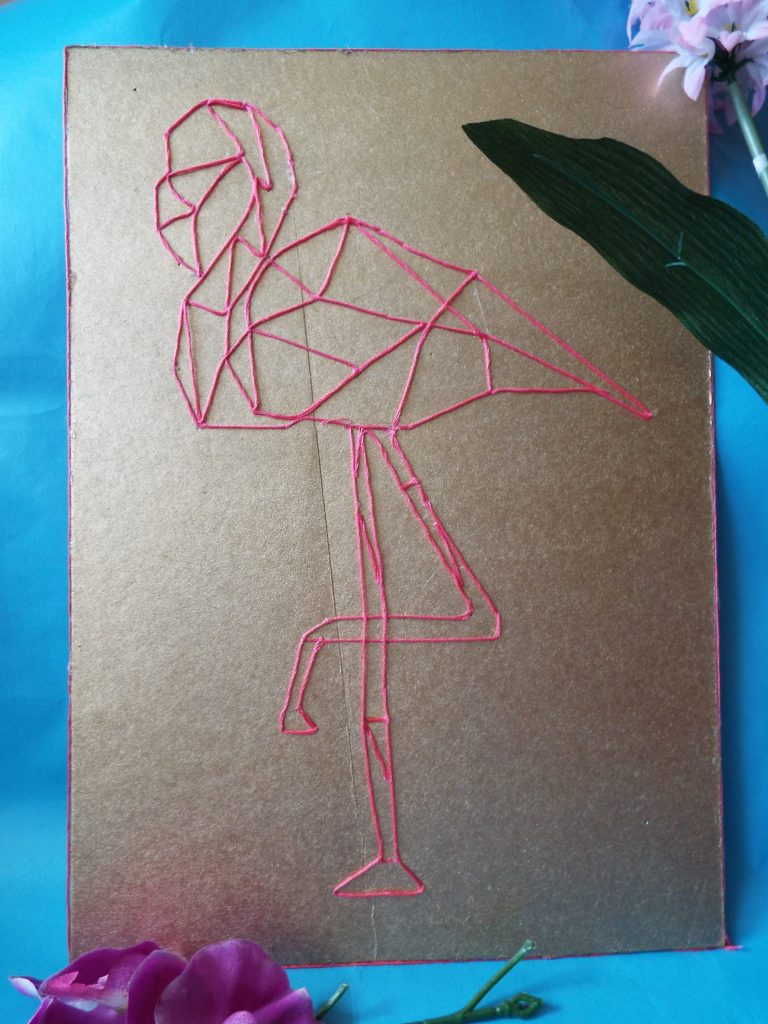
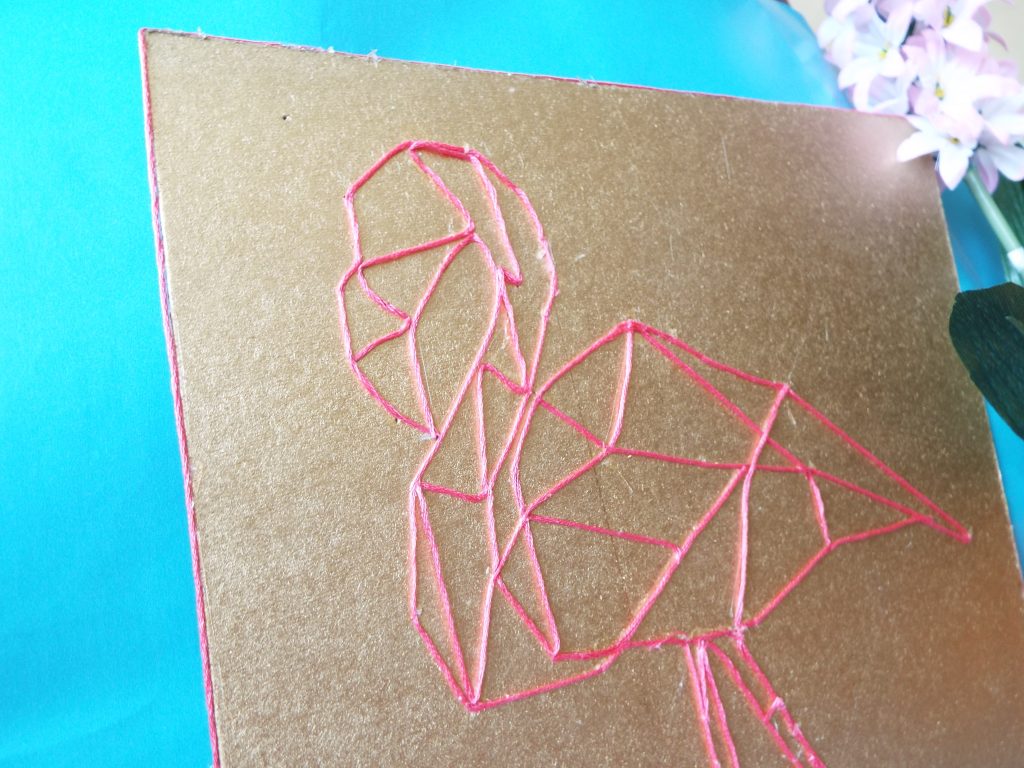
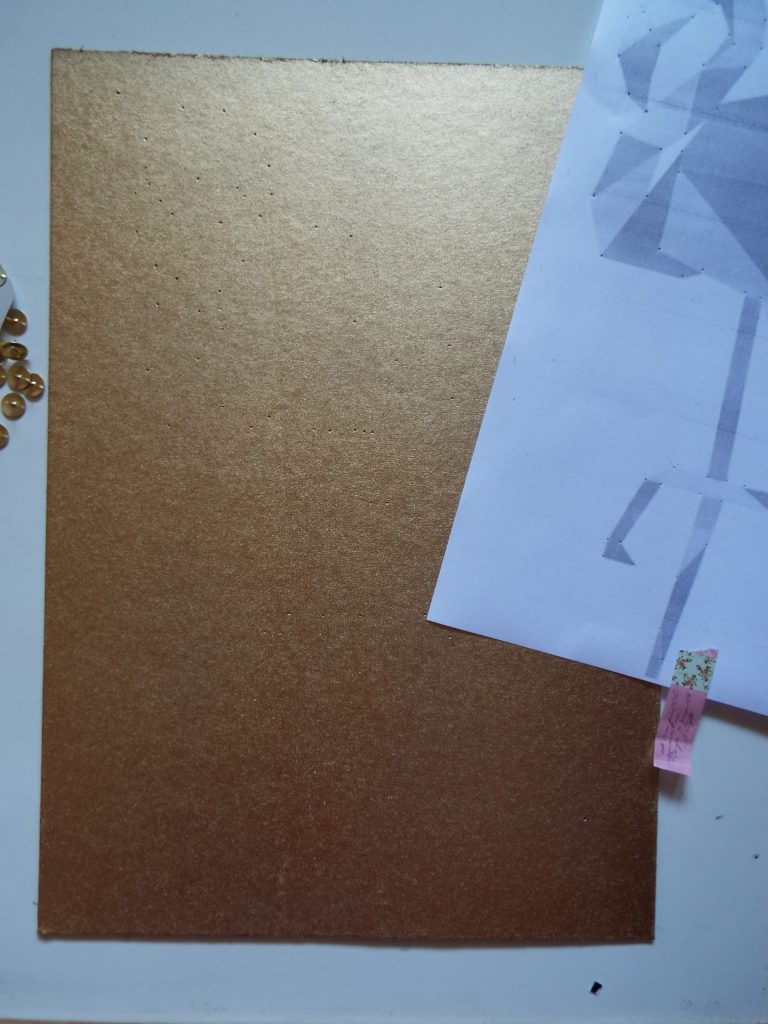 3. Then remove the template and paint the cardboard. Don’t worry – the holes will be still visible after the paint. I used gold colour, but you can opt for mint, yellow, light pink, blue…
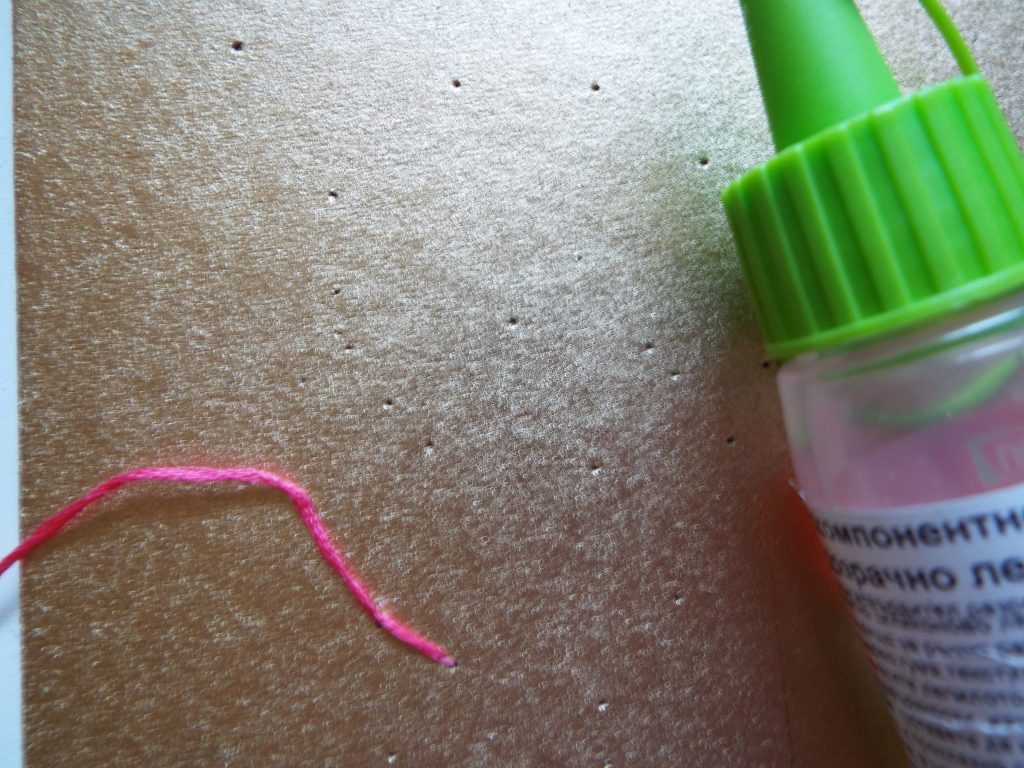 4. Star applying small amount of glue where the holes are and then pressing the thread there. Just like gluing the thread only on the main points. This will make this geometric effect. You can use silicon glue, moment glue or white glue. I chose embroidery thread because it is thicker than the regular one.
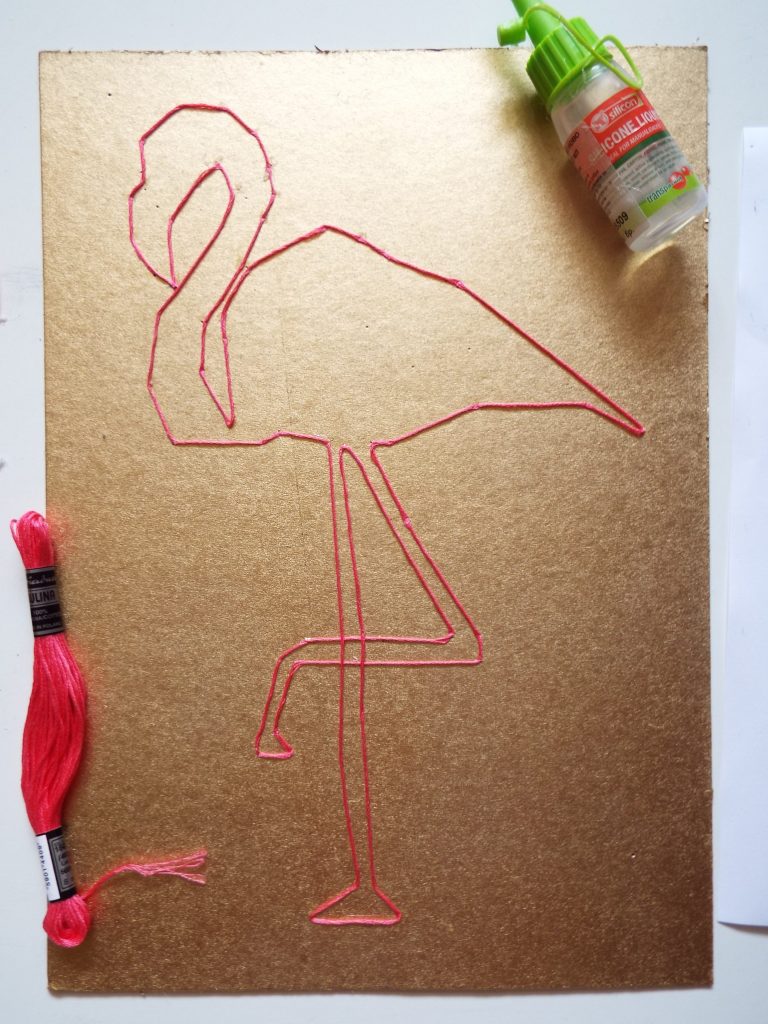 5. Star with the outline of the flamingo. Remember to stretch out the thread before every glue point.
Quick tip —> Use the head of the pushpin to navigate your string. That way you can be more precise and your finger wont be covered in glue.
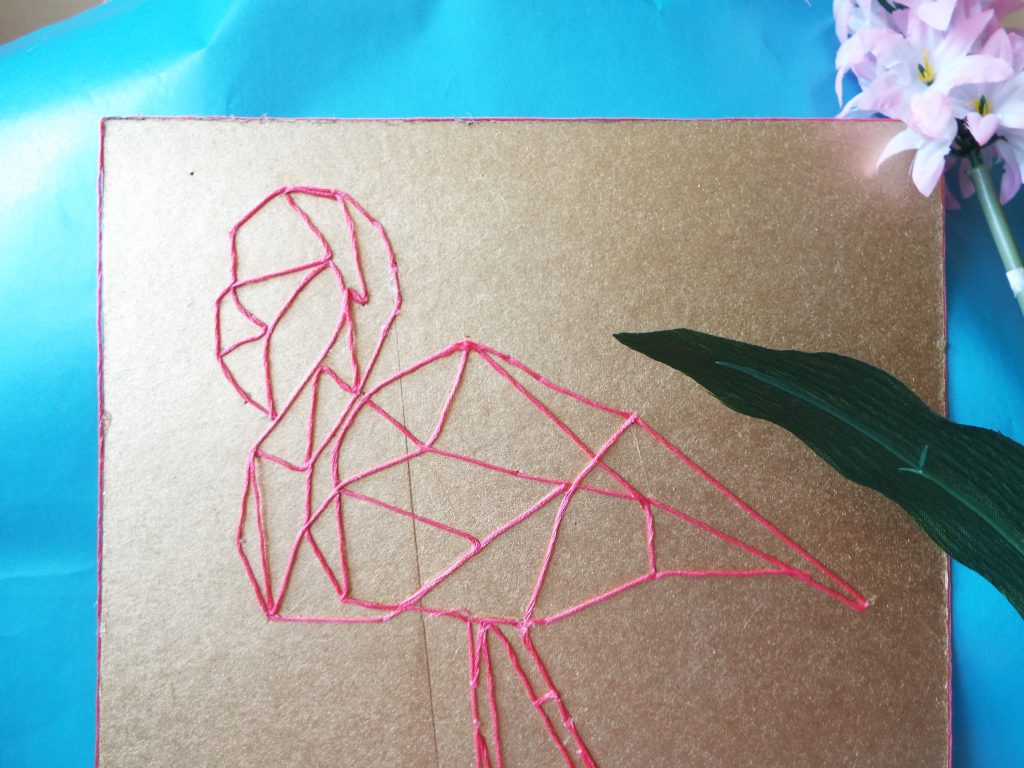
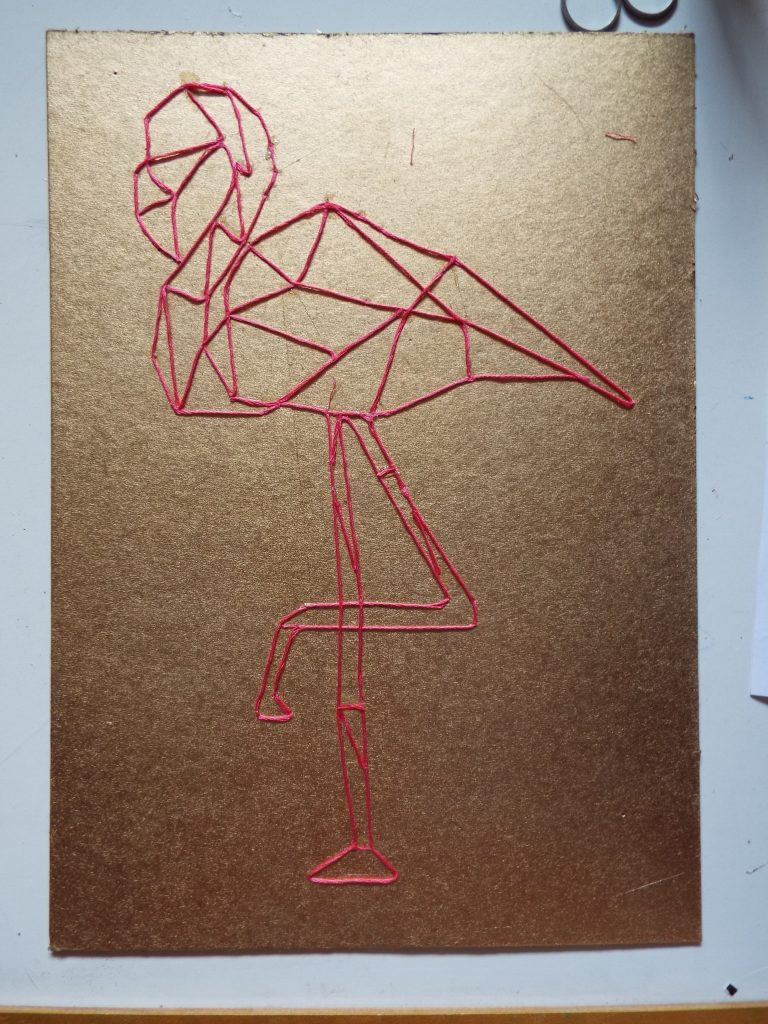 6. When you are done with the outline, move on to the body. Use triangular shapes to fill it in. Wait everything to dry well and you are done!
Don`t forget to share with me your recreation on IG with #yhour
and on my FB page!