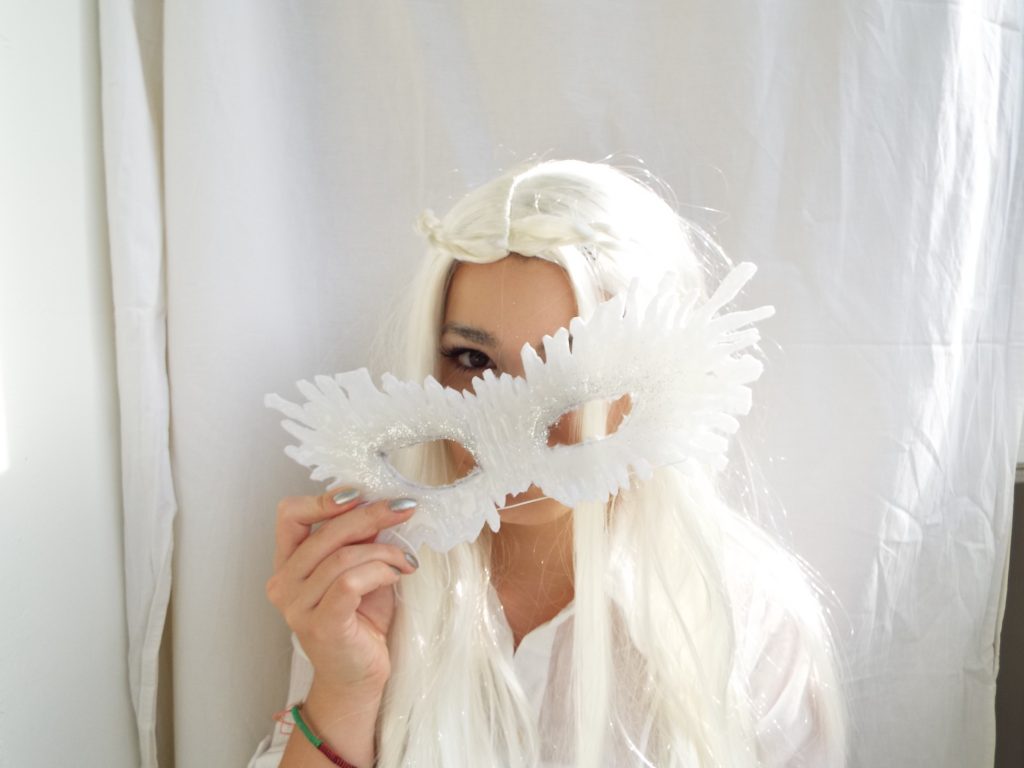
In this Halloween post I present you how to make the mask of the Snow queen. This costume is perfect for pale girls! It`s majestic, magnificent and powerful!
All you need:
> Hot glue gun
> White felt fabric
> A mask, used as a template
> White glue, silver glitter and 2 paint brushes(one of them should be very soft)
> A string, knife, scissors and a pencil
 1. Put the felt fabric over the mask and trace out the eyes and some other main features.
 2. Then put the fabric on a flat surface and trace out the eyes using the hot glue gun. Make a nice even cote. The coat should be quite thick. After that make the nose and just outline the whole shape.
 3. Make one long strike, starting from the out corner of the eye and drag it up. This is your highest point. Then continue to making strikes. They should be a bit shorter every time.
 4. Try to follow this gradient pattern for the all four sides. The part below the eyes should be shorter. When you complete the whole mask let it dry and cool down completely.
 5. Then make some more texture by adding new strikes over the base. For best result do that step with cooling down or warming up hot glue gun. It should not be very hot to make a good texture.
 6. Let it dry again and cut it out. That way you will have a very nice, white and flexible mask. And because of the felt fabric it will be soft in touch.
 7. Now for the decoration: Apply some glue to the areas over the eyes and a little bit on the sides. Concentrate in the inner corners of the eyes. Then dab the soft brush in the glitter and just spread it over the glue. Concentrate in the inner corners again. Let it dry.
I have some issues with cleaning the edges of the eyes because the felt fabric is difficult to be cut sometimes. I smooth out the edges using the white glue.
 8. Make two holes in the sides and put a string trough them. I choose to put two strings which I would tie up on the back of my head to attach the mask to my face. You can use some elastic string. It`s totally up to you. And you are done!


