School is here! And actually this year I`m very excited because this is my last year at school and it is my boyfriend’s first university year. He was so generous to let me do all of his school(university) supplies. I have an idea for this DIY for 1 year already and I’m glad that the moment is here. The main project, which I will show you, is how the set up and organize a binder. Let’s start:
 First thing I did was to talk with my boyfriend about the colours he wanted and the things he want me to include. This is a very important part because you will plan easily that way and
  process will flow smoothly. To organize my purchases and the colour scheme I used my Back To School list. It’s made to help you to create and follow a theme for your school supplies. If you want to know more about this list, how it works and of course to download it check out my previous blog post : Create a theme for your school supplies, and YouTube video.
 So I started with the inside of the binder and I paint in black the middle part and the edges. I used sponge instead of brush and that is my fav technique. I chose to use black self-adhesive paper and it turned out very smooth and nice in touch. I used a ruler to prevent from air bubbles. For the outside you can do everything! You can wrap with with some cool paper, do some collages, draw something or leave it simple.
 So next I bought this colourful dividers which were ten in pack and I chose only the blue and the silver ones but I need 5 subjects so I add the red one, too. I really didn`t like how the tabs were so I adjusted them. And I used the first divider from the pack to make the tabs perfect size.
 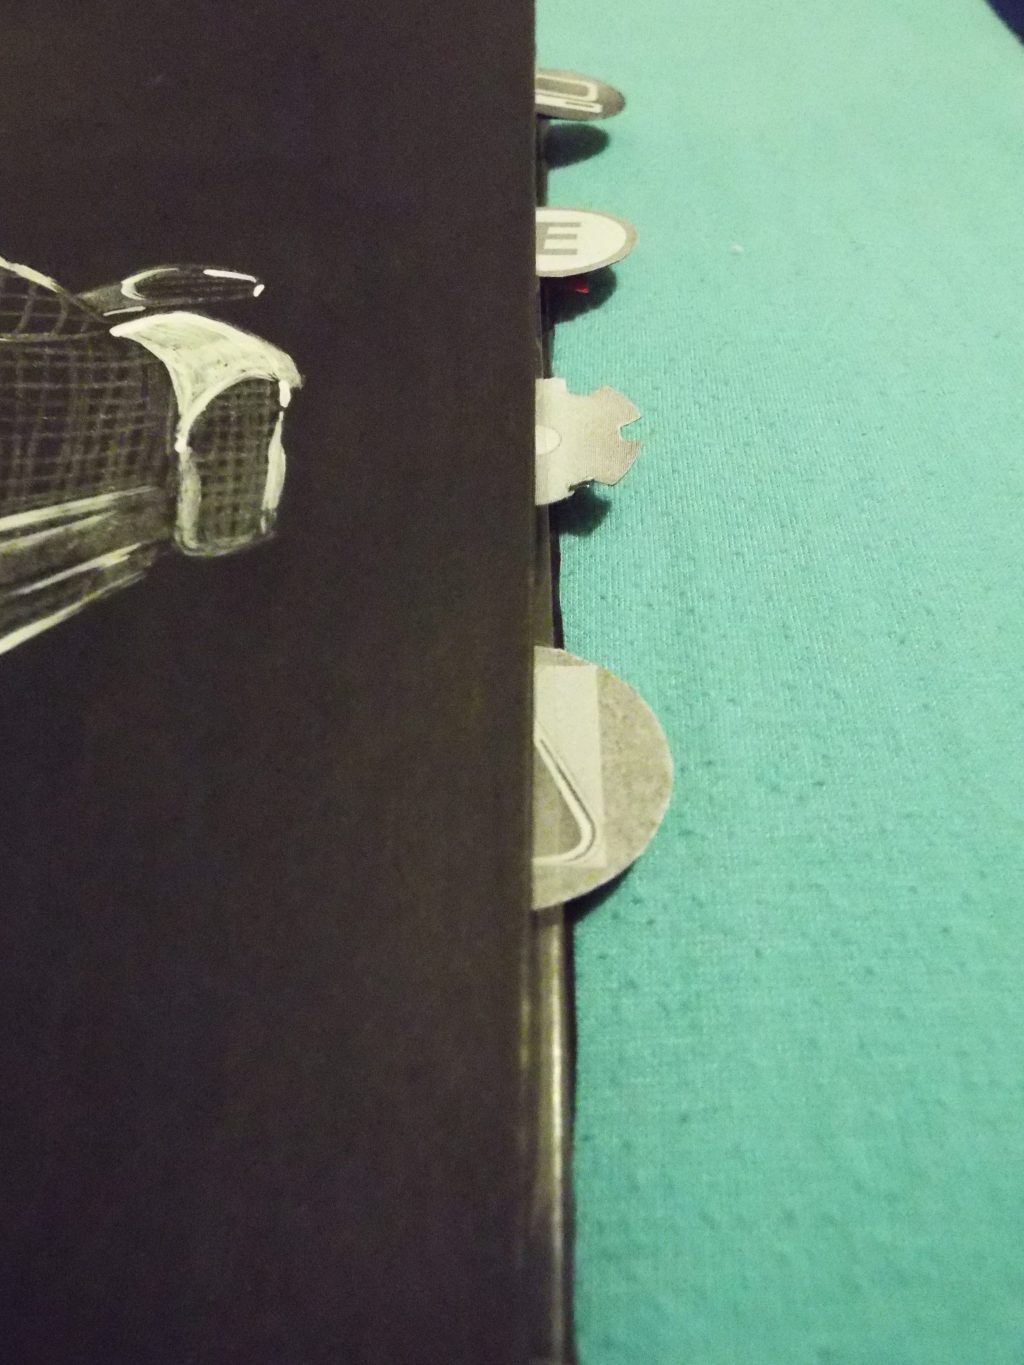 Be creative! Don`t worry to buy something and to make it suitable for you! Then I measure the size of the tabs. Then I go to the computer and I chose 5 pictures from Google that suits the subjects and printed them with this measurements. Then I stick them to black card stock and cut them out. Finally, I glue them over the tabs.
That way I made pretty and practical tabs which are unique. With that method you will find what you need quickly and easily.
If you want to know how to make a labels for your dividers that match every colour scheme, check out my previous blog post : Create a theme for your school supplies, and YouTube video.
 He asked me to make a pocket or something like that, so I
  took this clear folder and made it in a shape I wanted. I outlined the pocket and cut it out. I also cut a little part from the top of the clear folder just to close one of the sides. There were some texts which I waned to hide. So I took two designs paper. I had used them for a card I had made.
  They are basically printed patterns on regular paper. I chose to use the blue one just bch it gives a fresh look. I cut it out and glue it with glue stick in the inside on the back of the pocket. Finally, I glue the side that was open and I glue the pocket to the binder. I like that its a pocket but you can still se trough it. Its a perfect place for some important things.
 My last advice is to add in your binder the campus map and your schedule. This is the first year in university form my boyfriend I believe that this will be so helpful for him. I recommend to do that especially if you are freshman. I laminated them and hole punch them.
 And finally put everything in your binder. And don’t forget to make cute front part and put your name at. That way everybody will know who is the owner of this cool binder.


And don’t forget to share with me your recreations on Instagram with #yhour