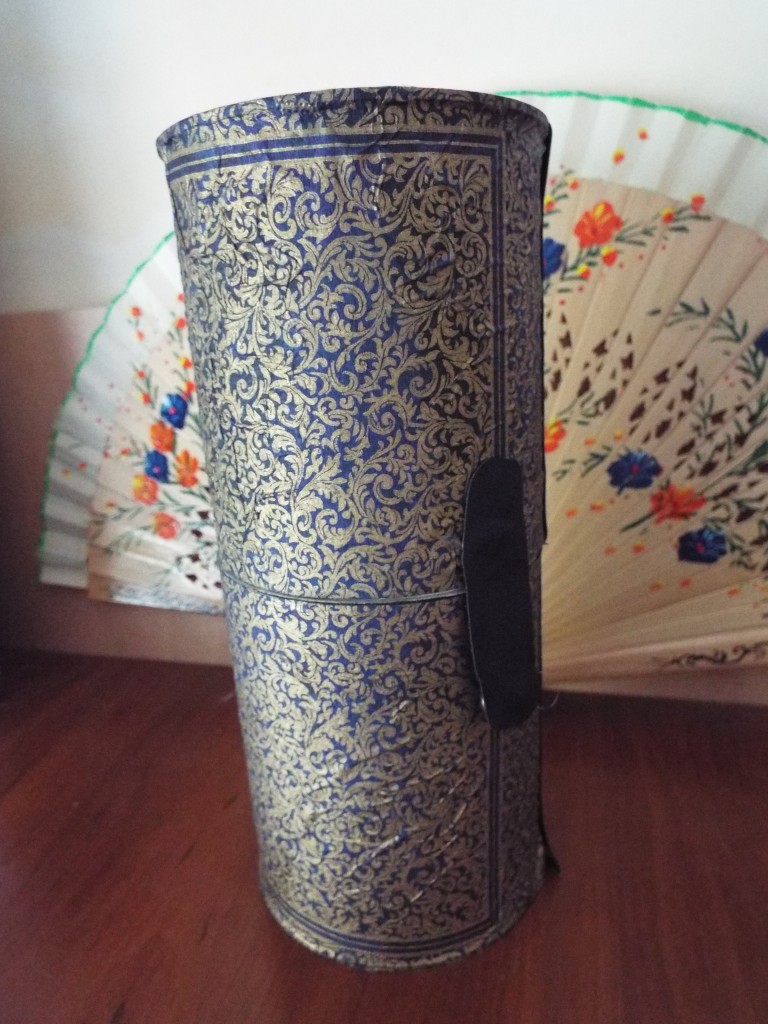
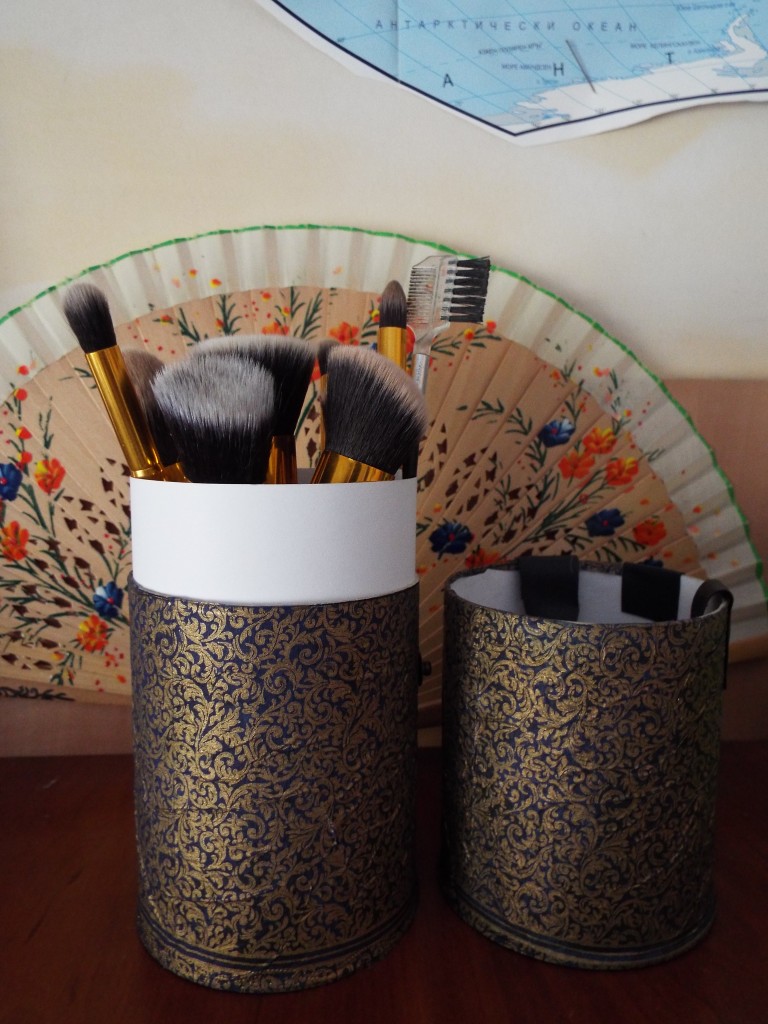
You love to experiment with your make-up? But you have some struggles with storaging your colection? And you are in panic attack while traveling, because you think your blush or make-up brushes will get broken? But still you don`t want t invest so much in this passion? Don`t worry girl! I have the perfect solution for you! I present you how to make your very own make-up brushes case, which is perfect for traveling!
All you need:
> Appropriet box
> Decorative paper or napkin
> Whithe glue, paint brush and scissors
> 2 sets snap buttons
> Thick paper sheet
> Piece of leather or fabric
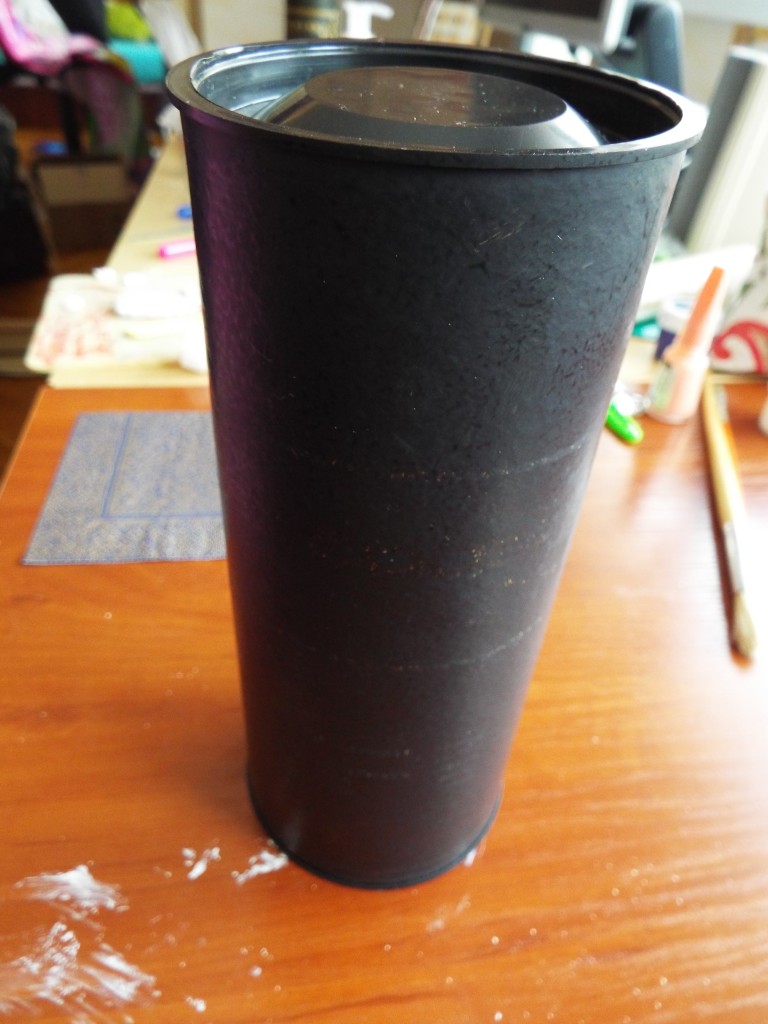 1. First find an appropriet box. It`s best to be cylinder but if you want you can experiment with other shape.
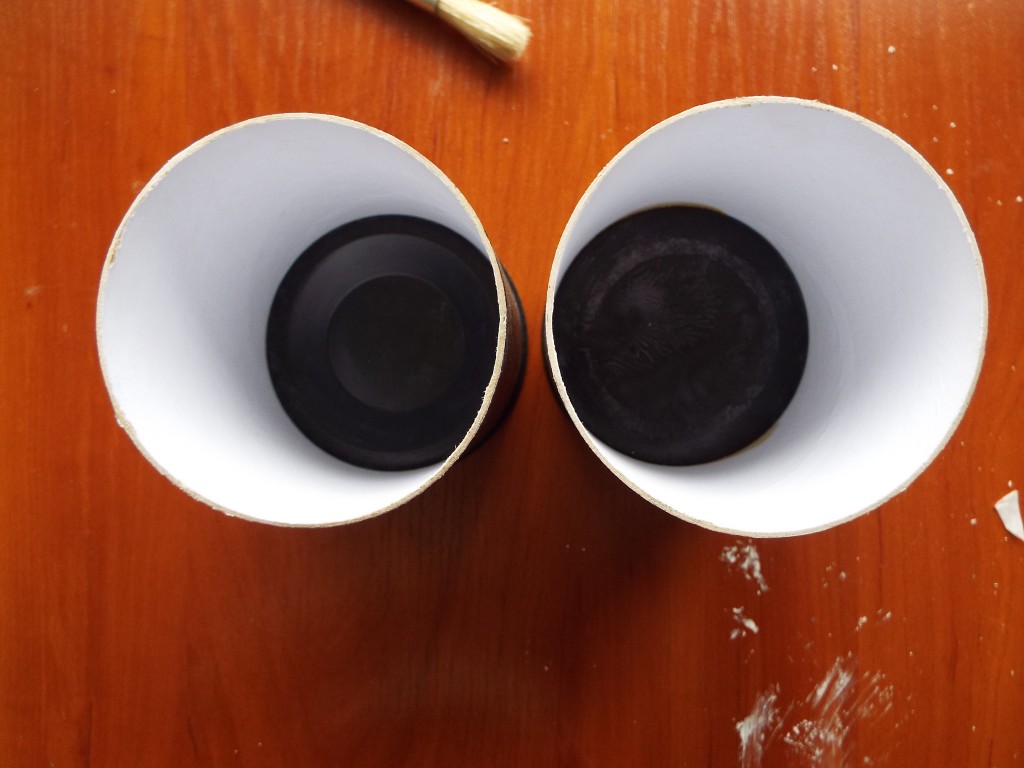 2. Cut it in half. If you want yu can cut the lower part higher. In that way you will bring stability to your case. And now is the time to paint it if there is any text or pictures on the box. Consider your paint with your decorative paper or napkin. I`m usng dark napkin s I painted the box black.
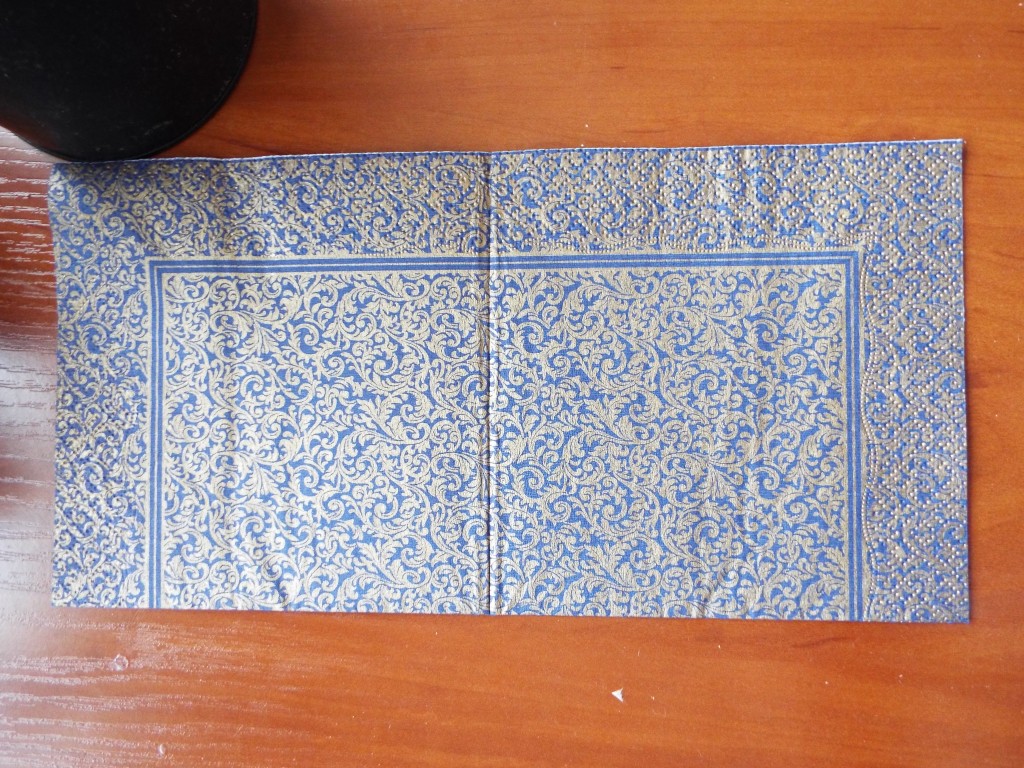 3. Choose will you use decorative paper, napkin, printed picture or you will draw something on your own. If you will use napkin, it`s best to be triple-layered.
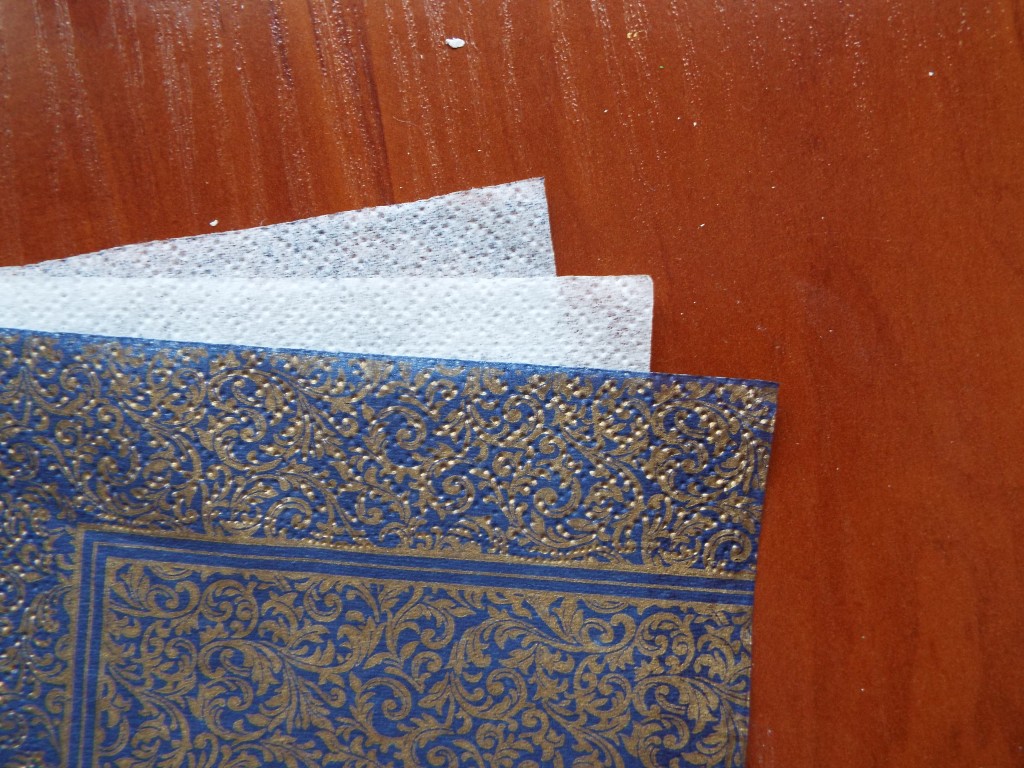 4. Cut the napkin according to your box parts. Then remove all napkin`s layers and use the upper one.
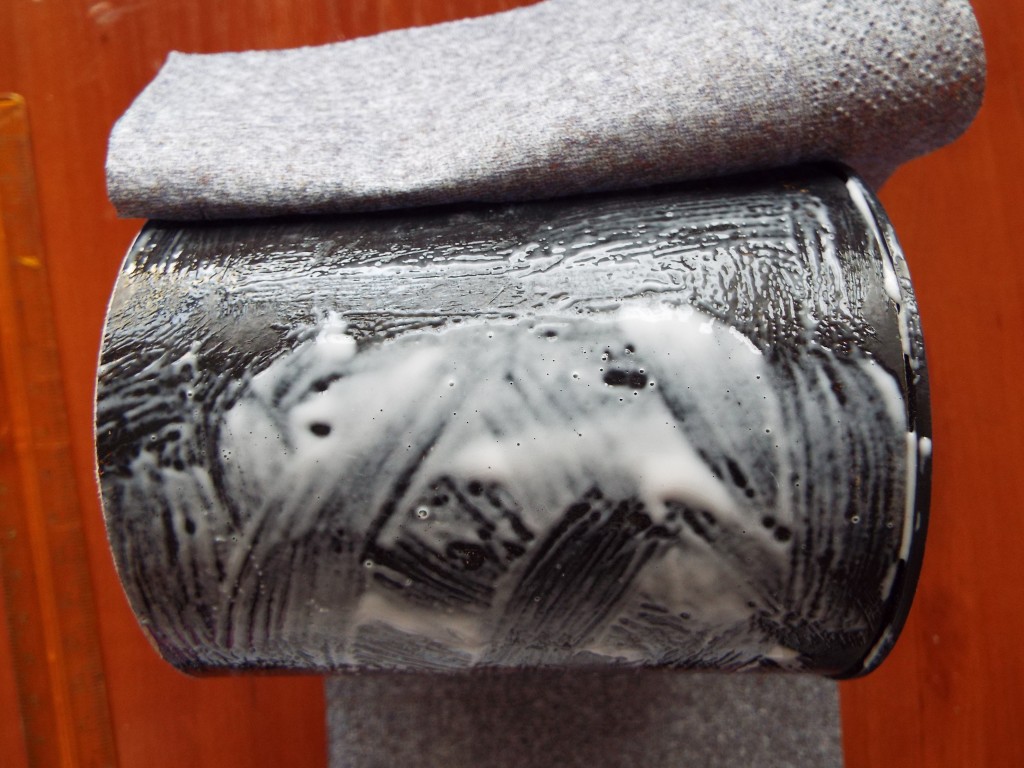 5. Apply some glue (but not so much as I did) using paint brush. It`s OK to work in parts.
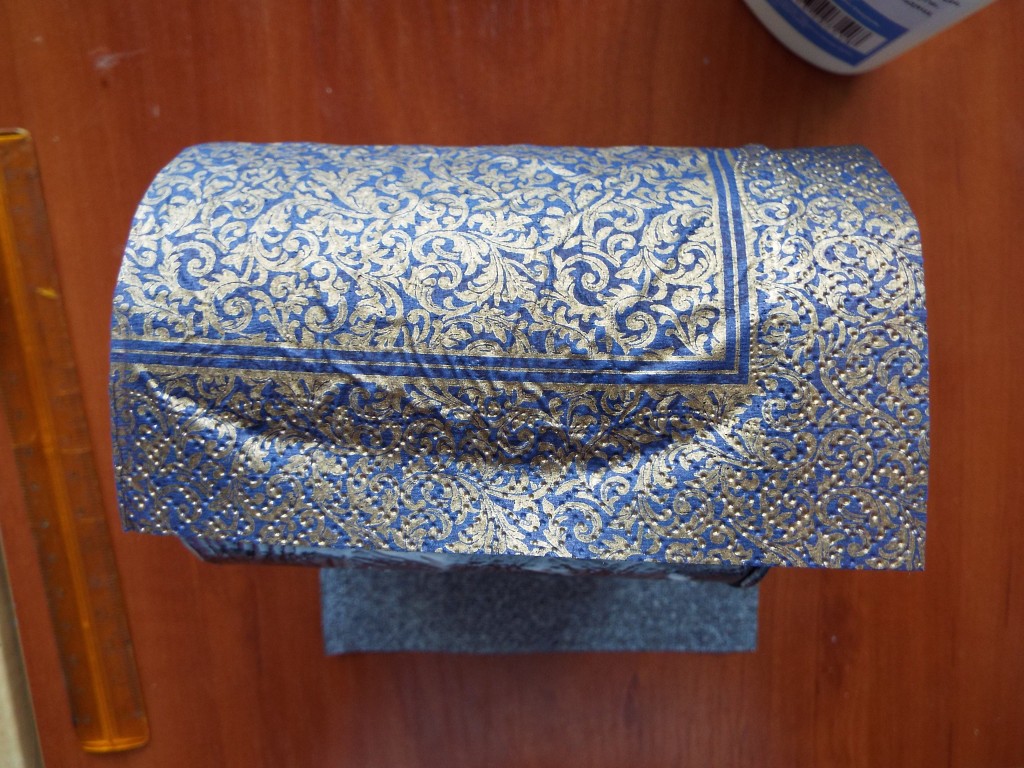 6. Then carefuly put the napkin ove the glue. When you are done, sing the same brush with little glue on it, pass over any wrinkles. If you want to have better protection for your brushes case – do it all over the napkin, but after the first coat is completly dry.
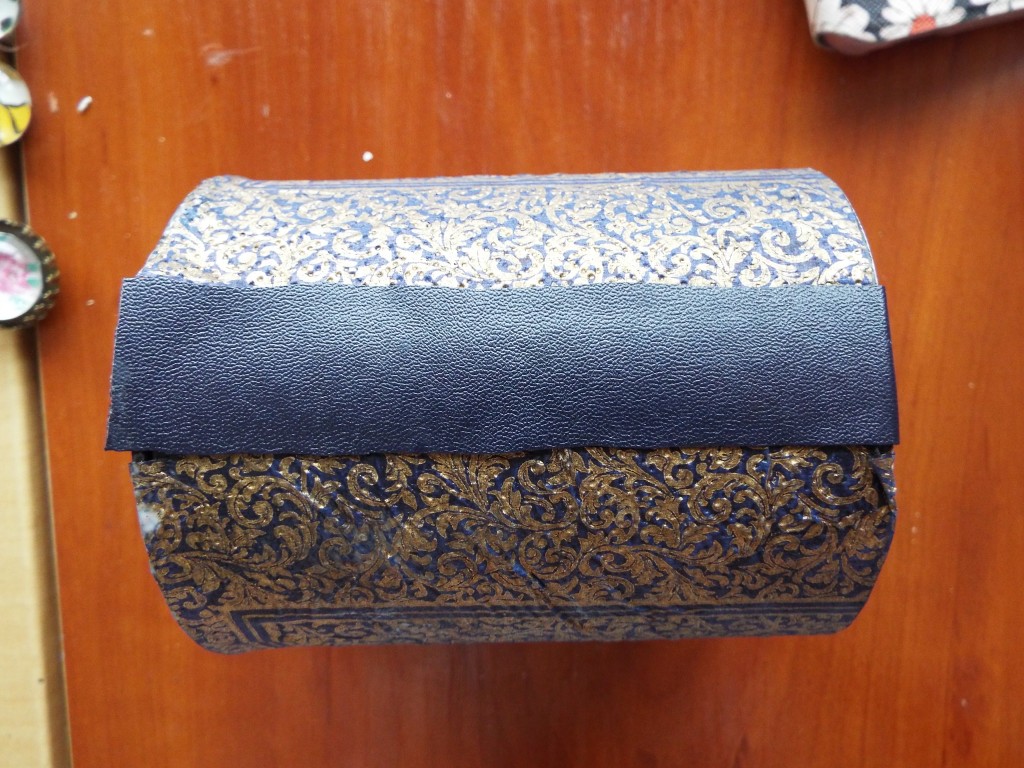 7. My napkin was too short so I added a piece of leather.
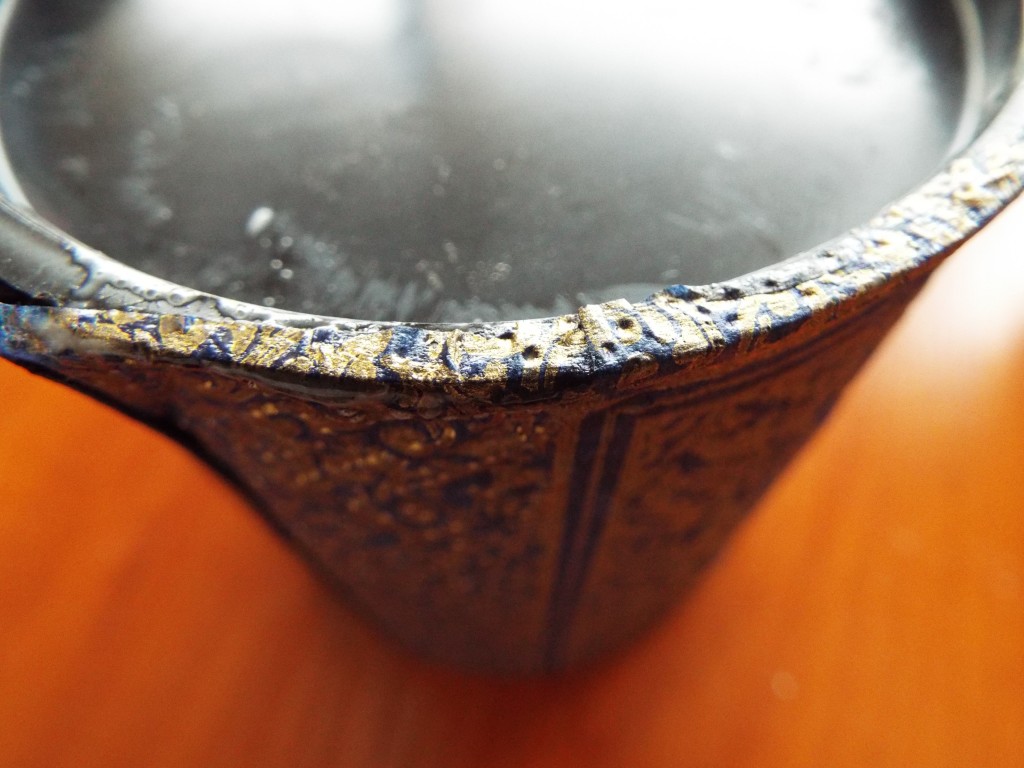 8. Finally cut the exes. Using the paint brush and little bit of glue pres the napkin`s edges to the box`s rim.
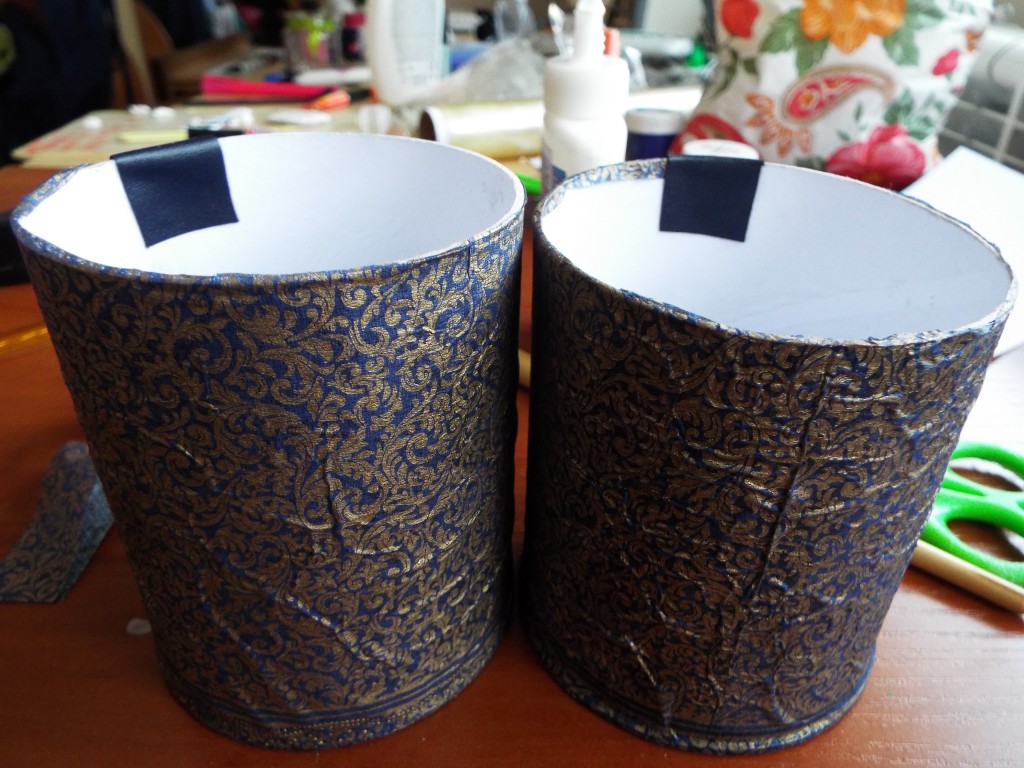 9. Repeat all the steps for the other half of the box.
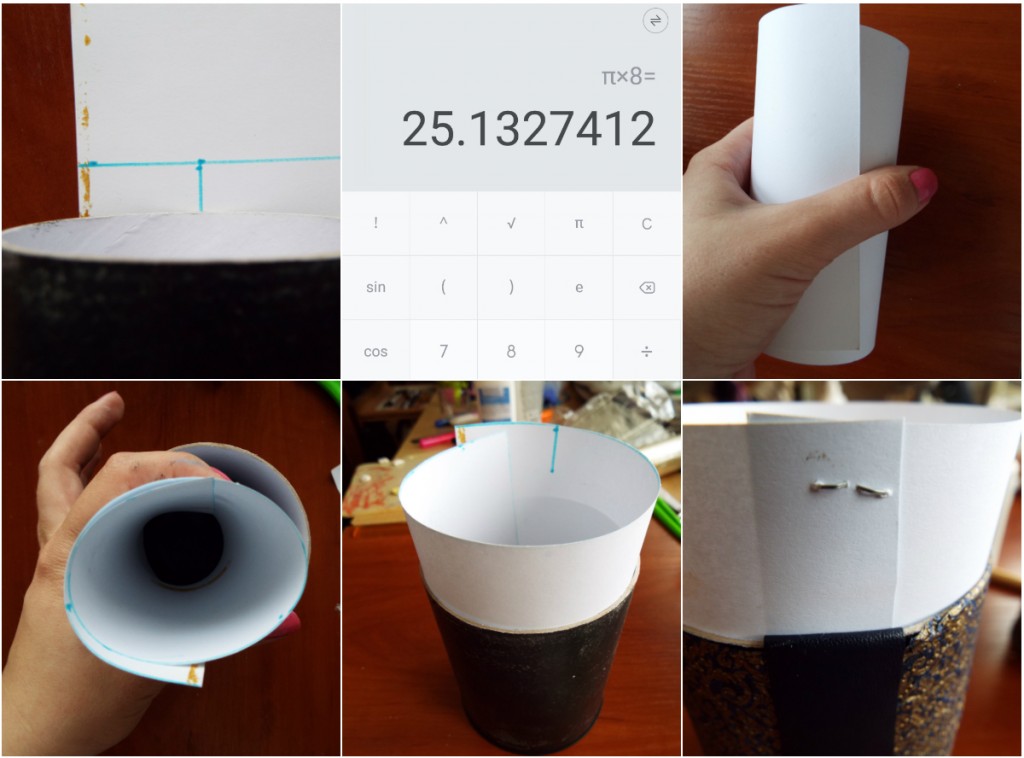 10. The next step is to add the thick paper sheet to the lower half of the box. Mesure the height of the lower half f the box and add 2 cm to it. Thats your final height. Calculate the width by multiplying the diameter of the box with π. For assurance add to the width ne more cm. Cut and roll up in your hand. Then put it inside the lower half of the box. It should shape itself. Then glue it or staple it. In that way the closing of the box will be more smooth. If you want you can paint it.
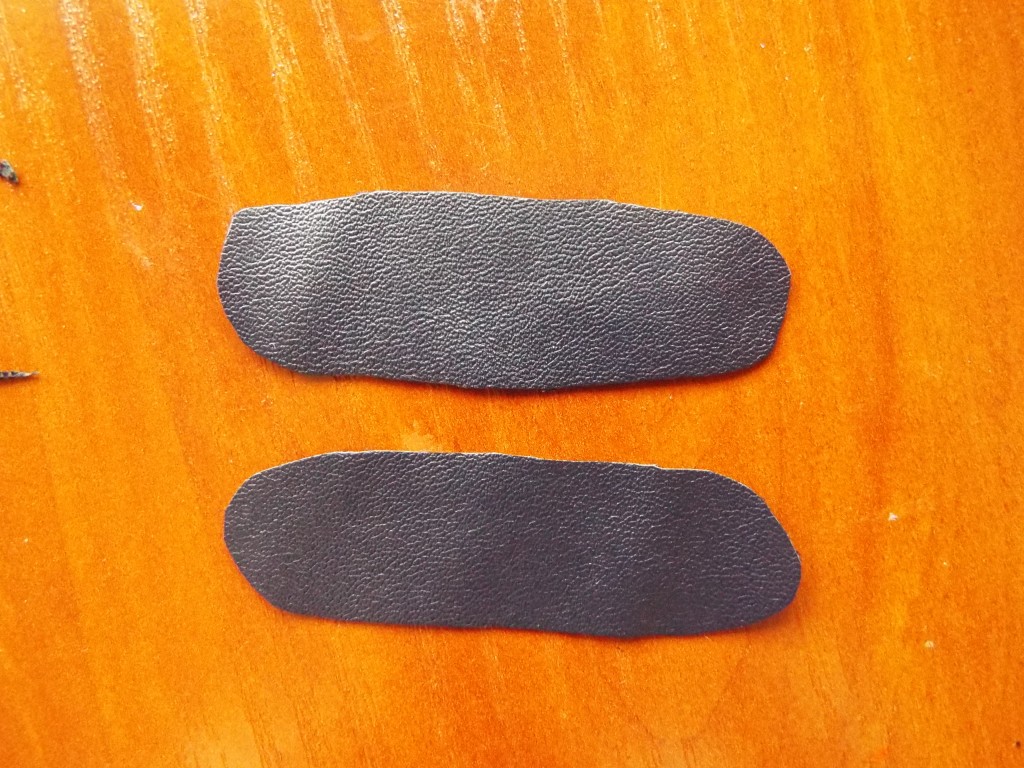 11. Cut from the leather (or your piece of fabric) two rectangles. Mine were 2cm/6cm. If you want you can round their corners.
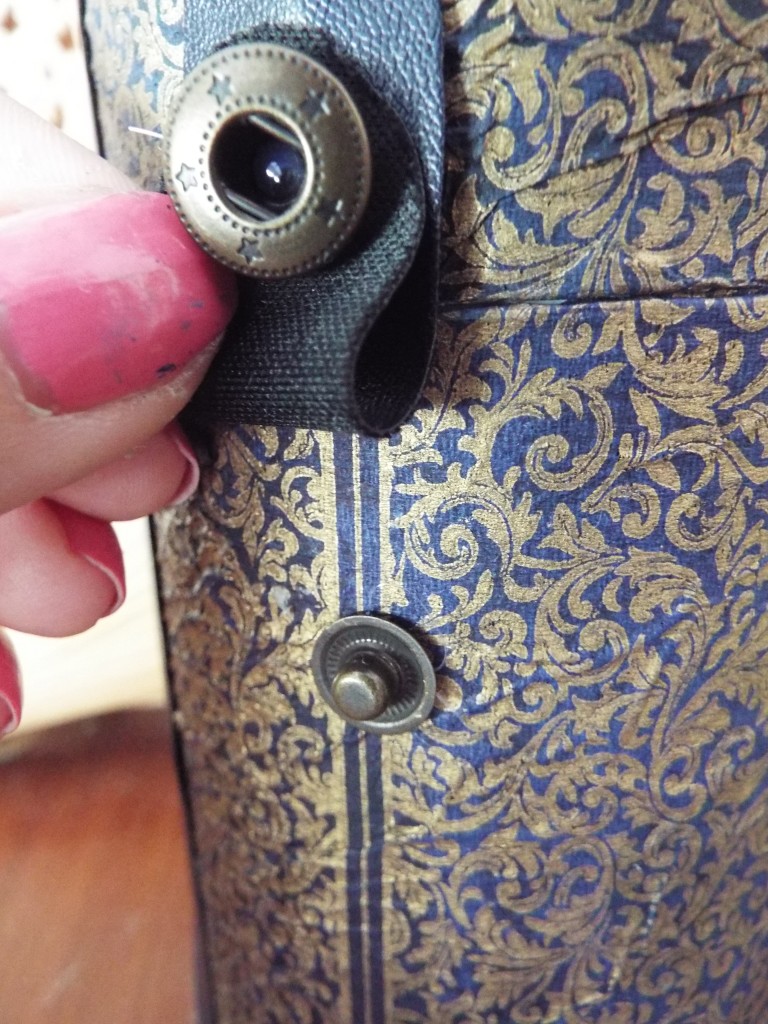 12. Glue them so the half of them to be in the upper part of the box. Glue one of the parts of the snap button on the inside of the leather. Mesure where exactly should be the other piece of the shap button and glue it on the box. Do the same thing with other piece of leather and other snap button. And you are done!
