More and more girls are experimenting with their make-up. And me as well.
The contour and highlight are increasingly common and I decided to try this technique. I made a little research and I found out that the powder highlighter and contour is better for a greenie like me and also for an every day make-up. But after awhile I decided that I want to try the cream contour and highlight too but also I don`t want to spend too much money on something that I`m not so sure about. And I figured out a solution – I`ll make it by myself. I present you a really cheap and easy way to make your own contour and highlight sticks:
All you need:
> A lipbalm
> Dark brown matte eyeshadow
> White or champagne shimmery eyeshadow
> A clean lipstick/lipbalm container
 1. Put out all of the lipbalm using a knife or a toothpick. Melt it in a microwave oven. For the contour stick I recommend a no-colour lipbalm.
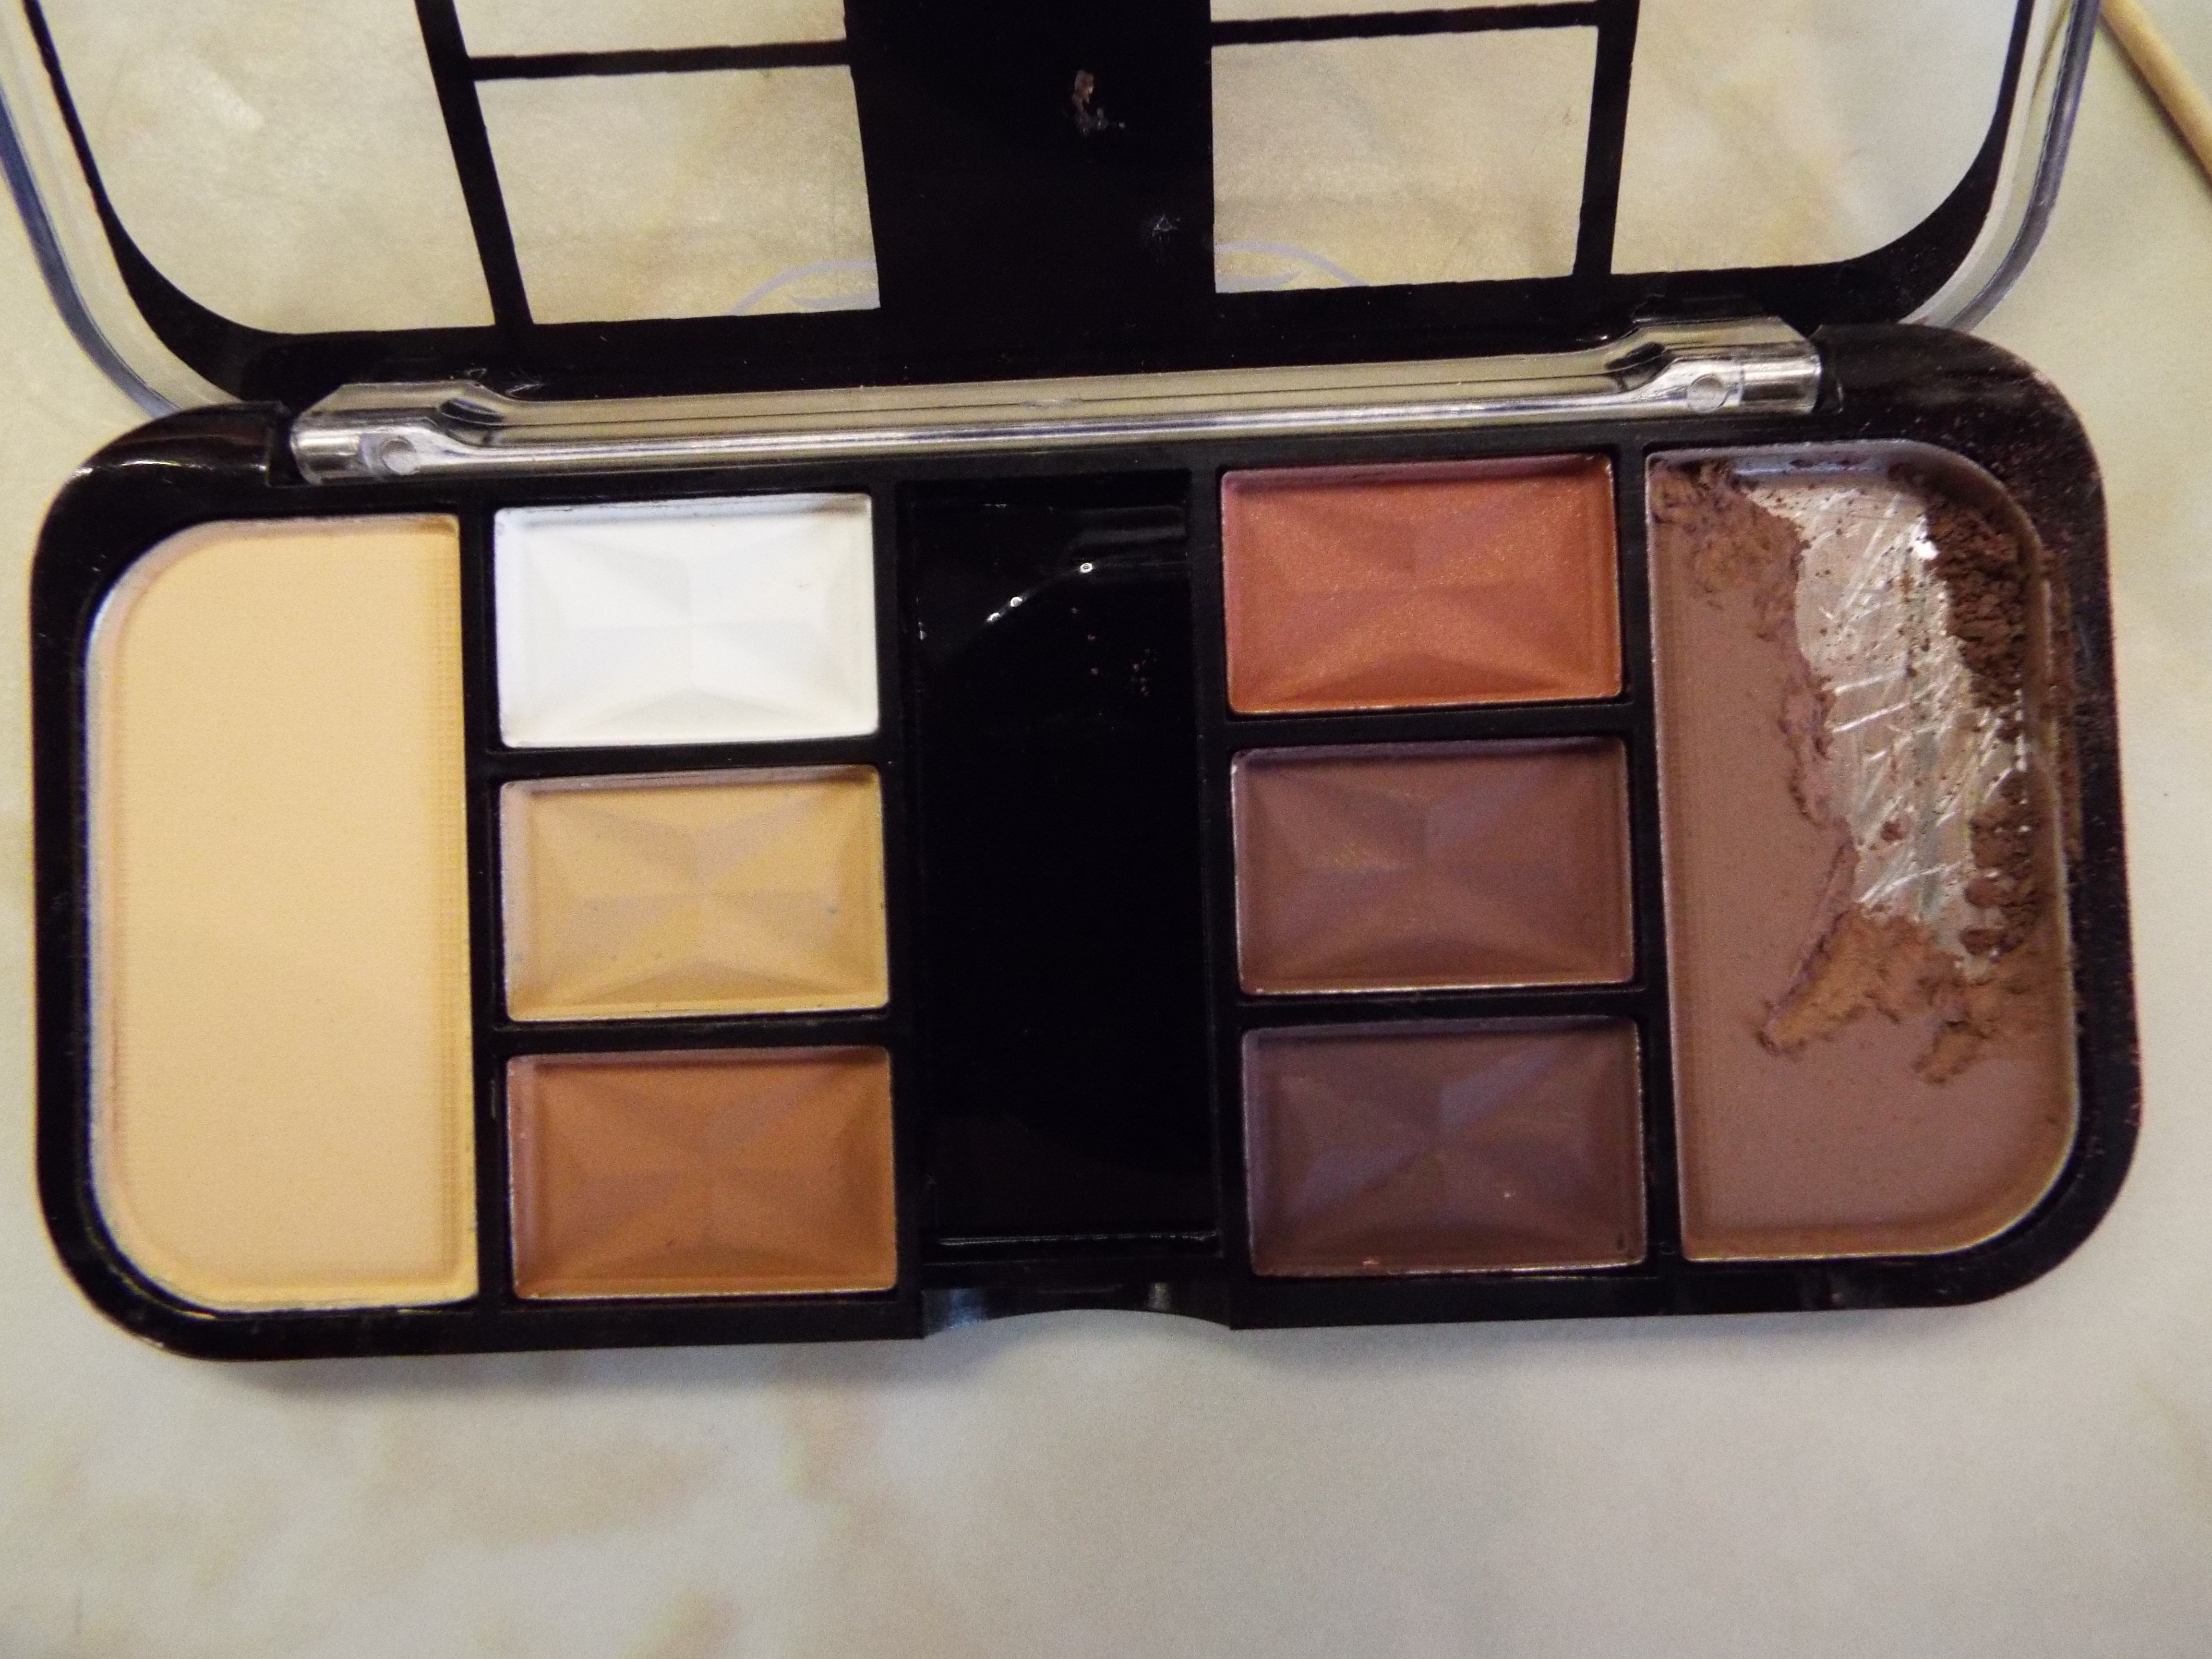 2. Choose an eyeshadow. It should be cool brown shade. Avoid using eyeshadows with orange undertone. Using toothpick shredding the eyeshadow.
 3. Mix the eyeshadow with melted lipbalm. And put it again in microwave.
 4. You should have very smooth mixture. If you think that you need more mixture just melt another lipbalm and ad more eyeshadow.
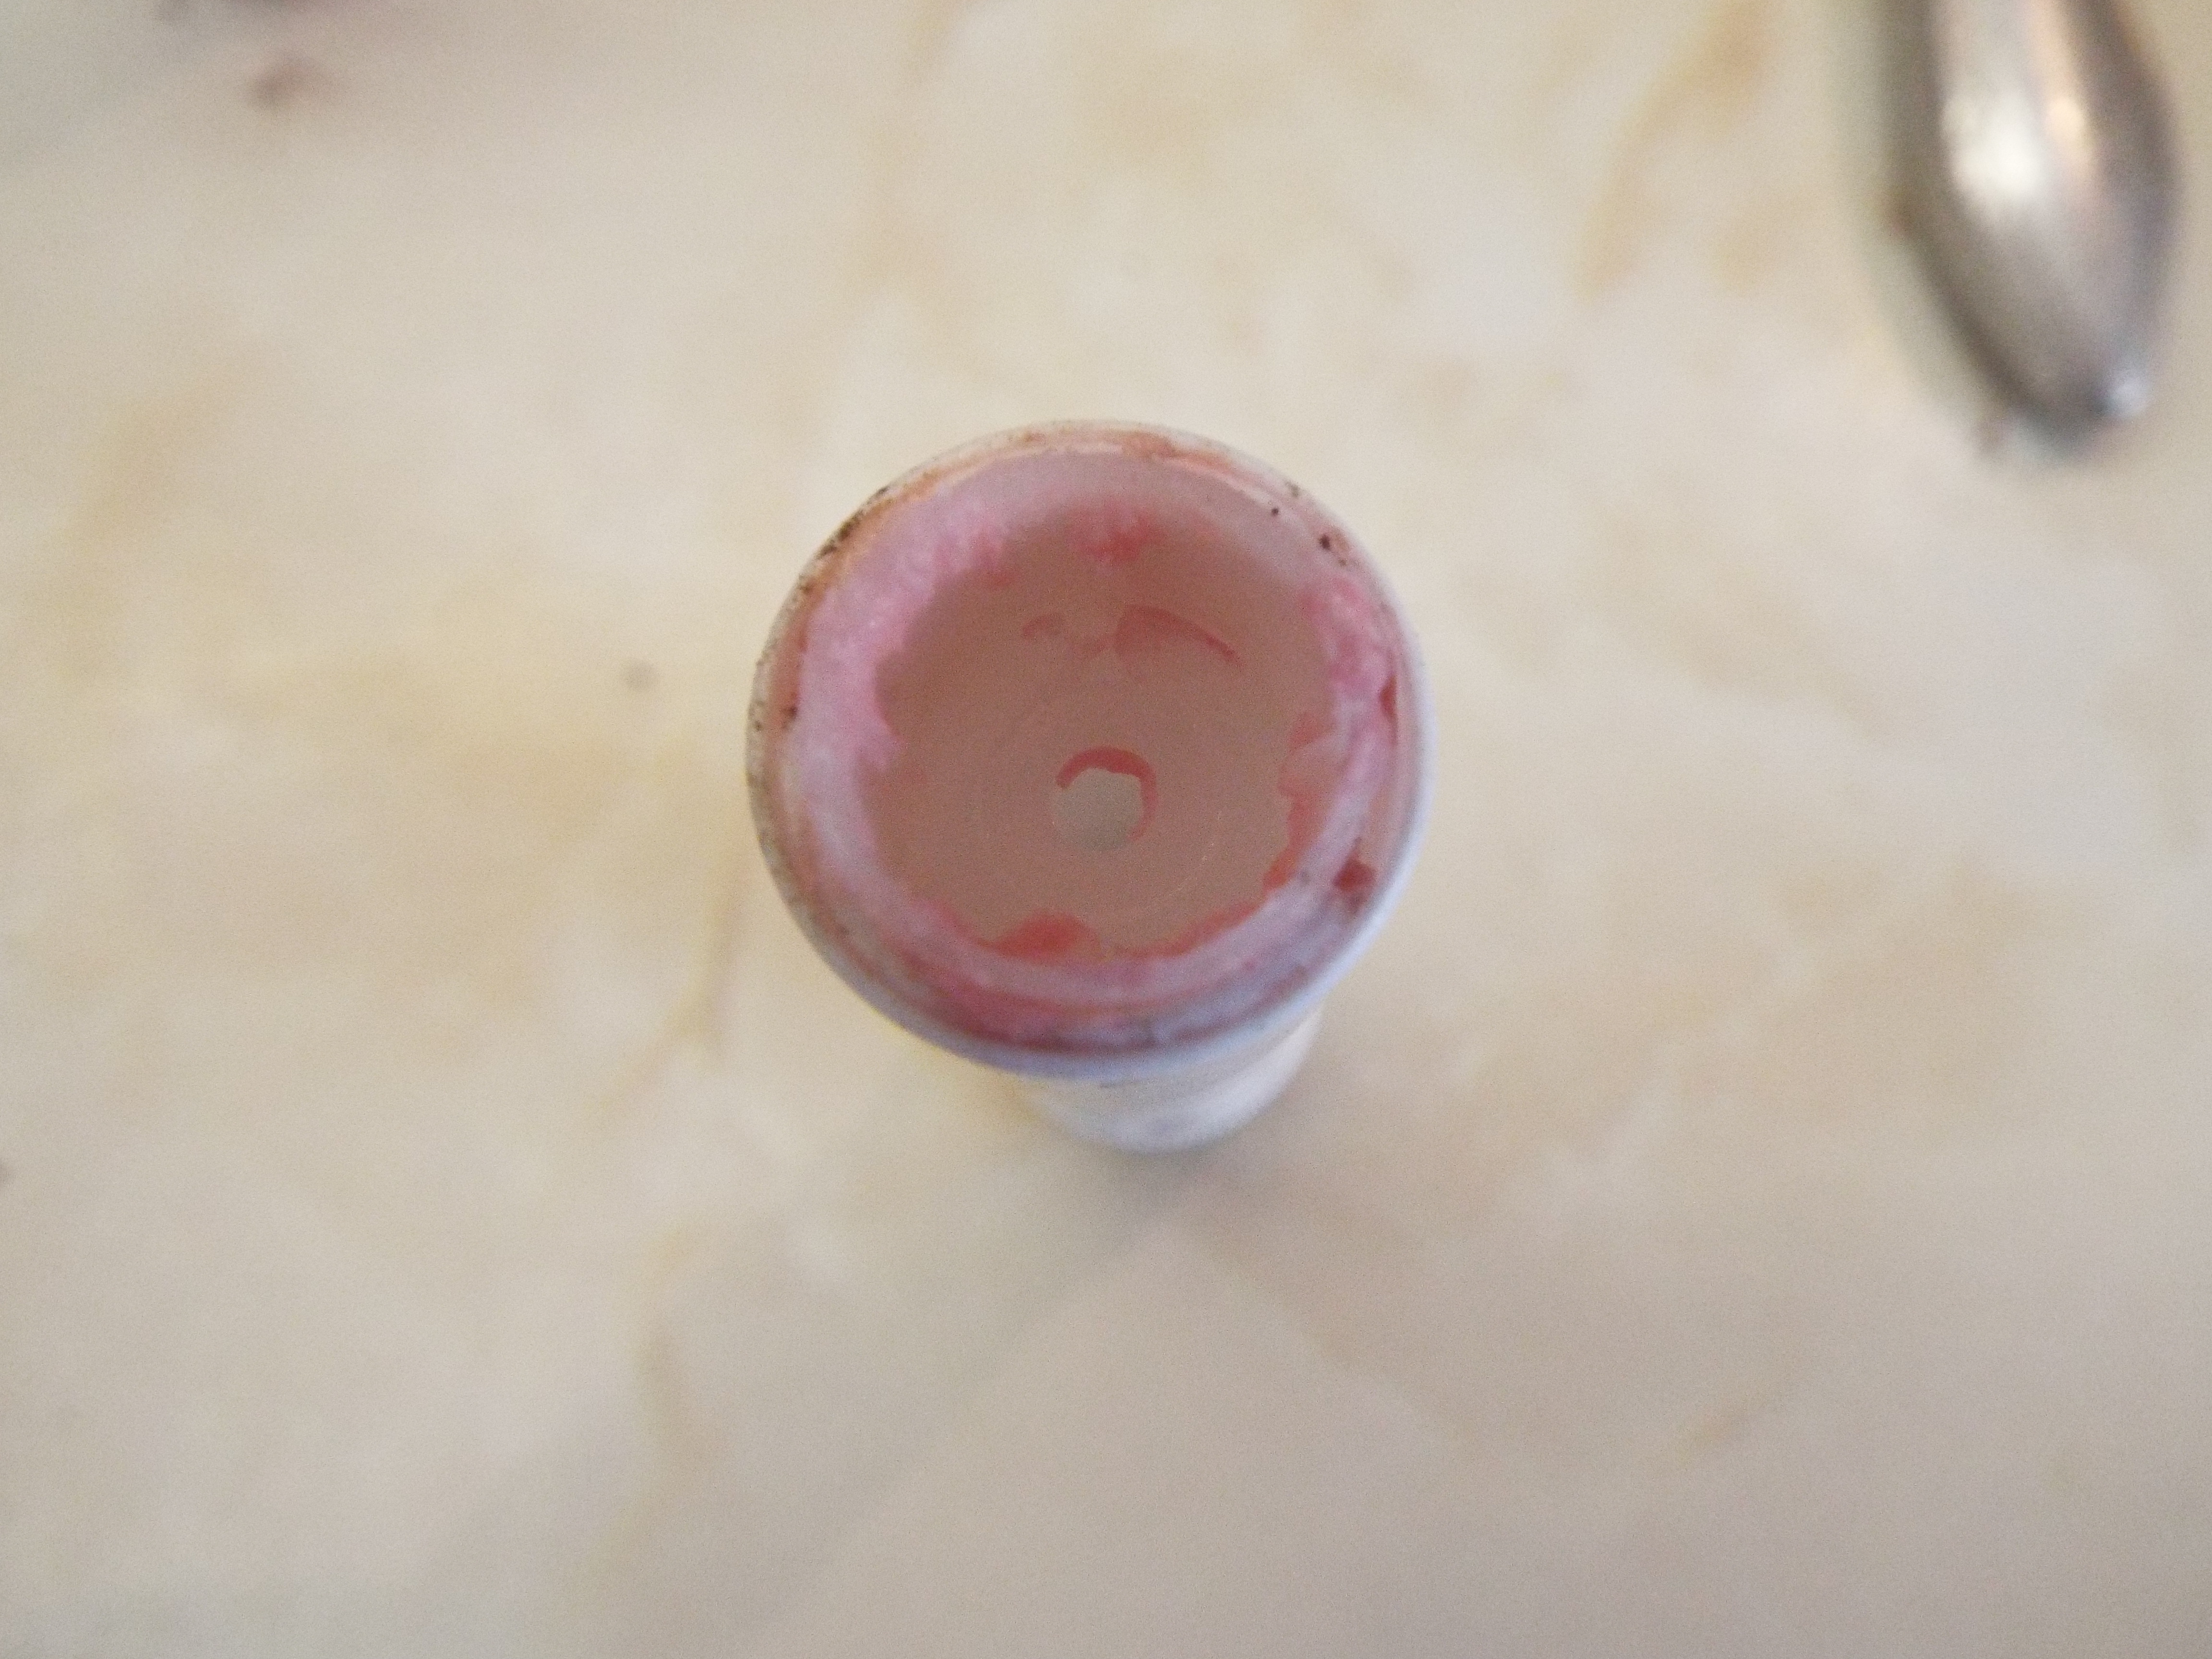 5. You should prepare your lipstick container. If you have a little hole inside it you shoulde fill it. If you don`t do it you will have a big mess and you won`t be able to use your contour stick (there won`t be anything like contour stick!). I`m glad that I had some troubles and failures so now I can tell you the resolutions.
 6. To avoid the mess simple fill the hole with a layer of unmelted lipbalm ot lipstick or like in my case – concealer.
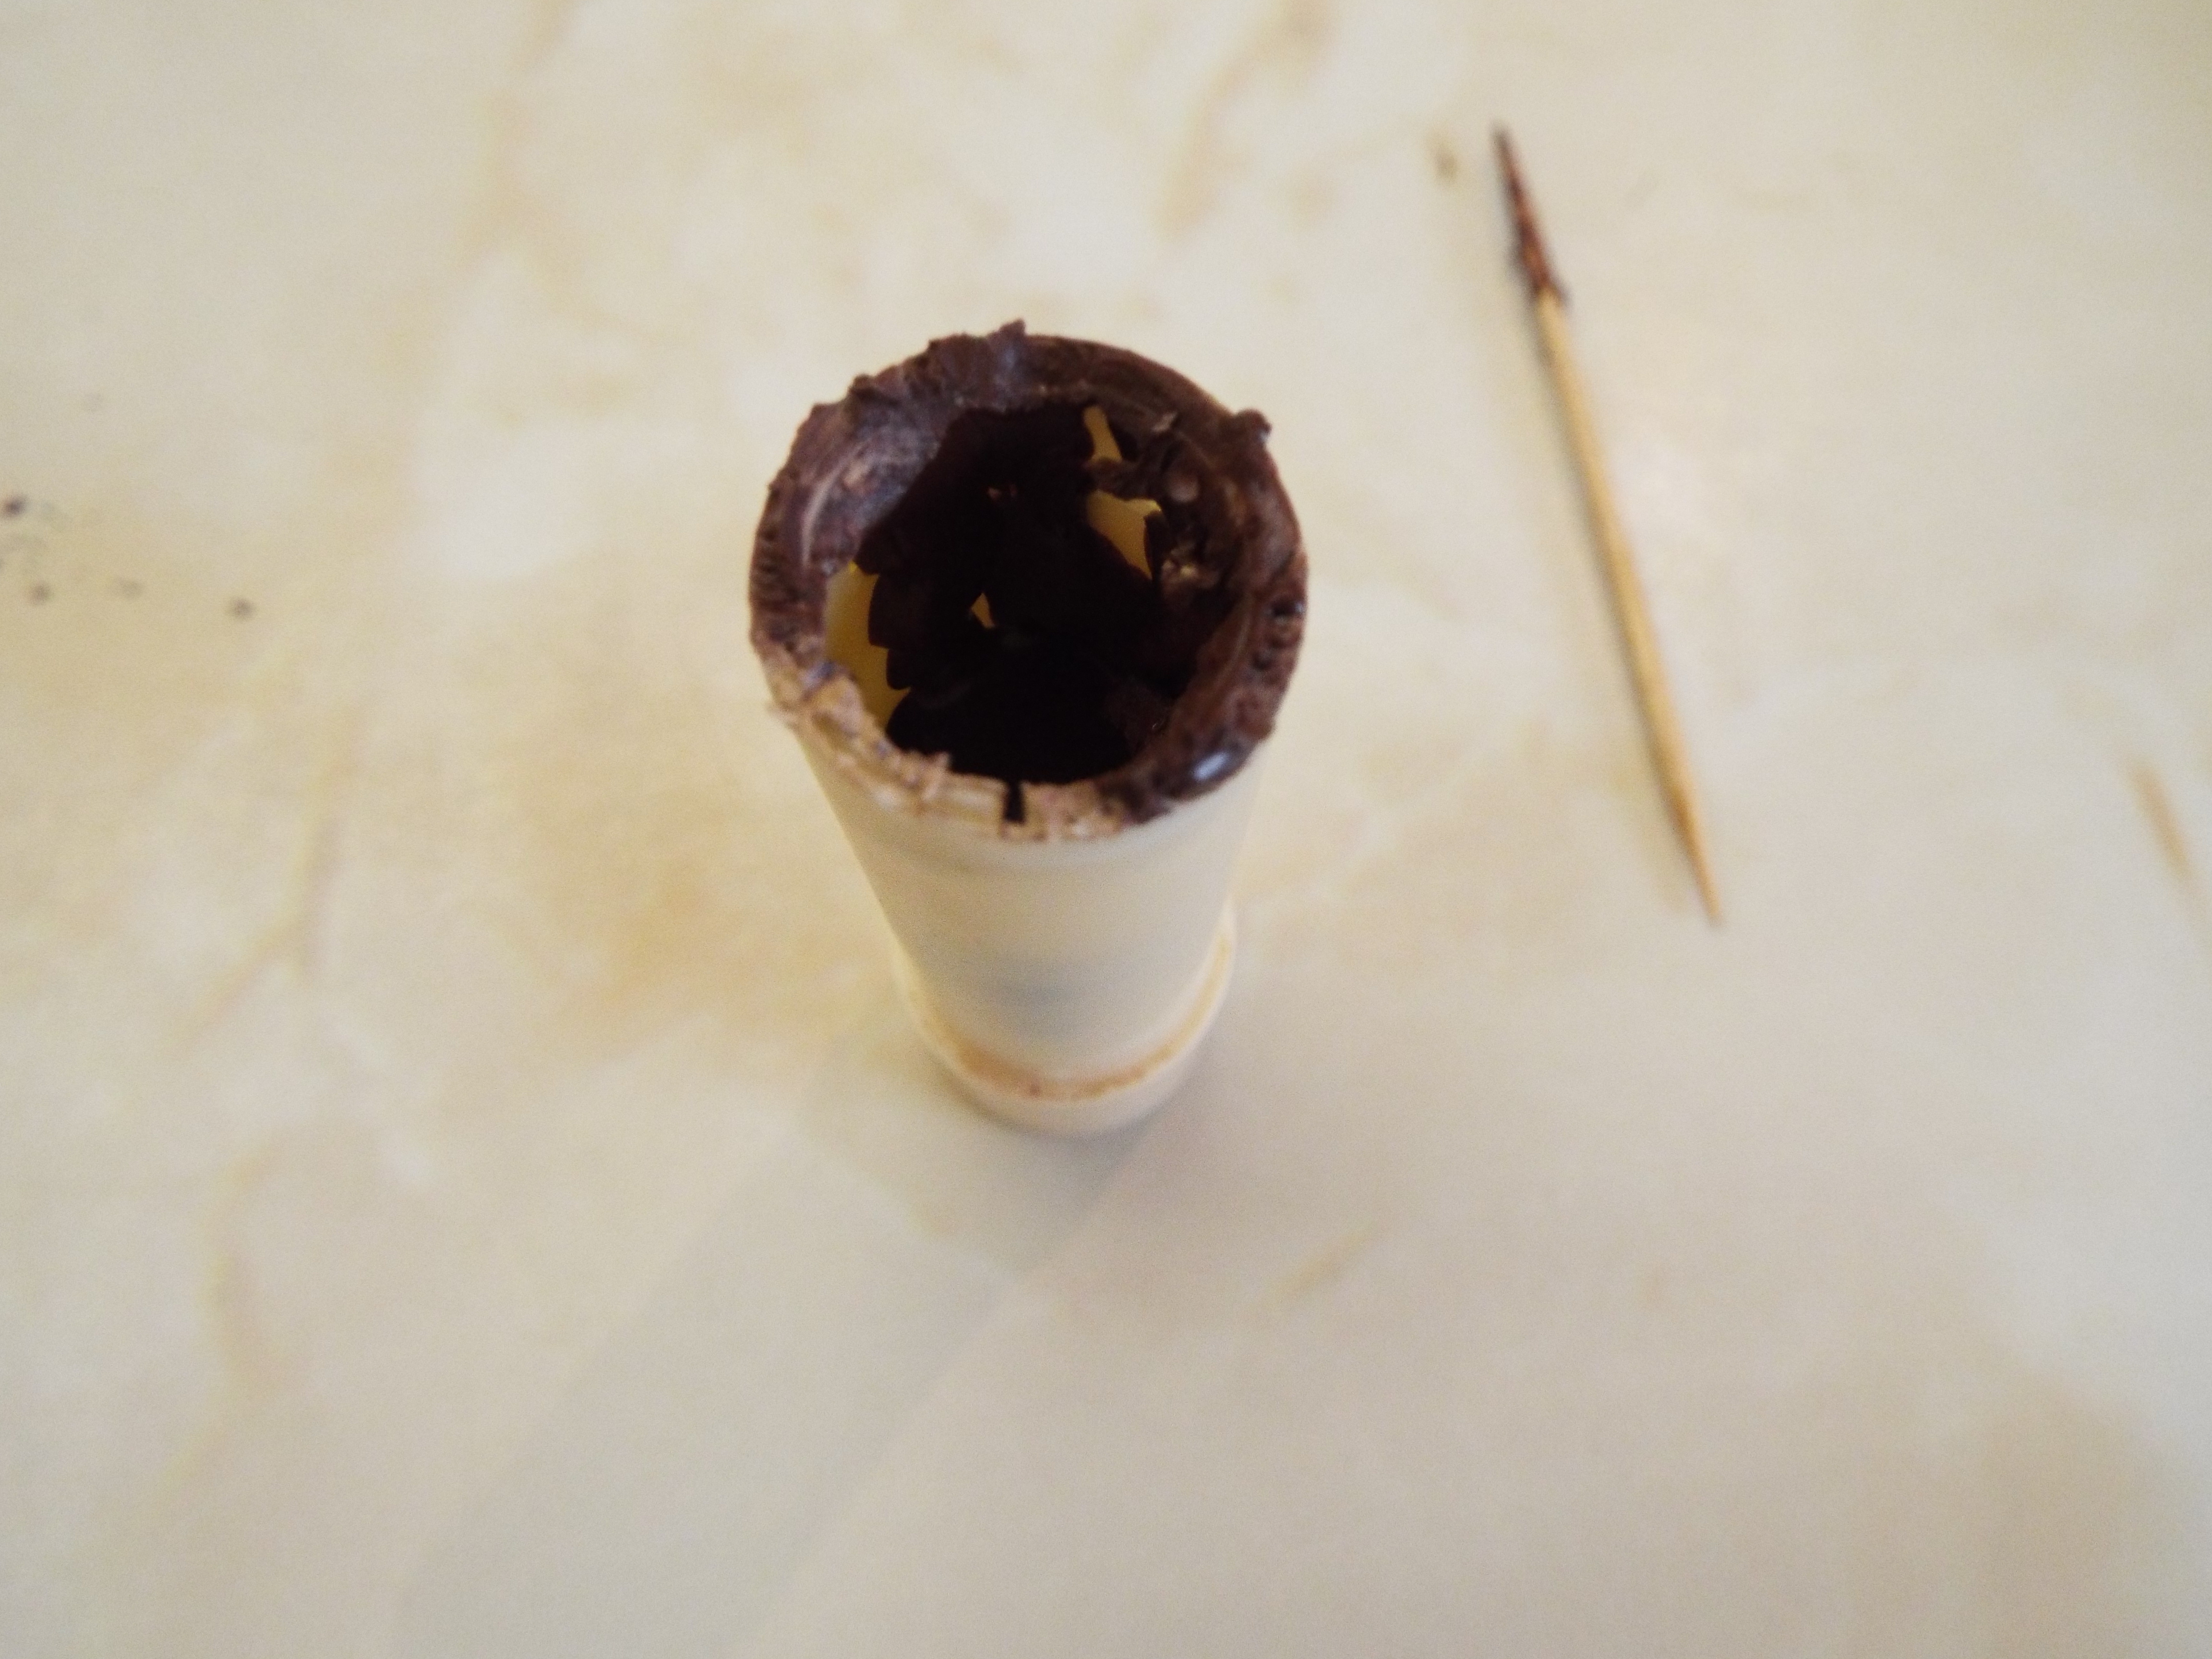 7. Twist in the lipbalm/lipstick container and fill it withe the melted mixture. Put it in the freezer for about 10 min. I know that it look horrible and scary but trust me later on it will become better. And also this is homemade contour stick – you can`t have hight expectations!
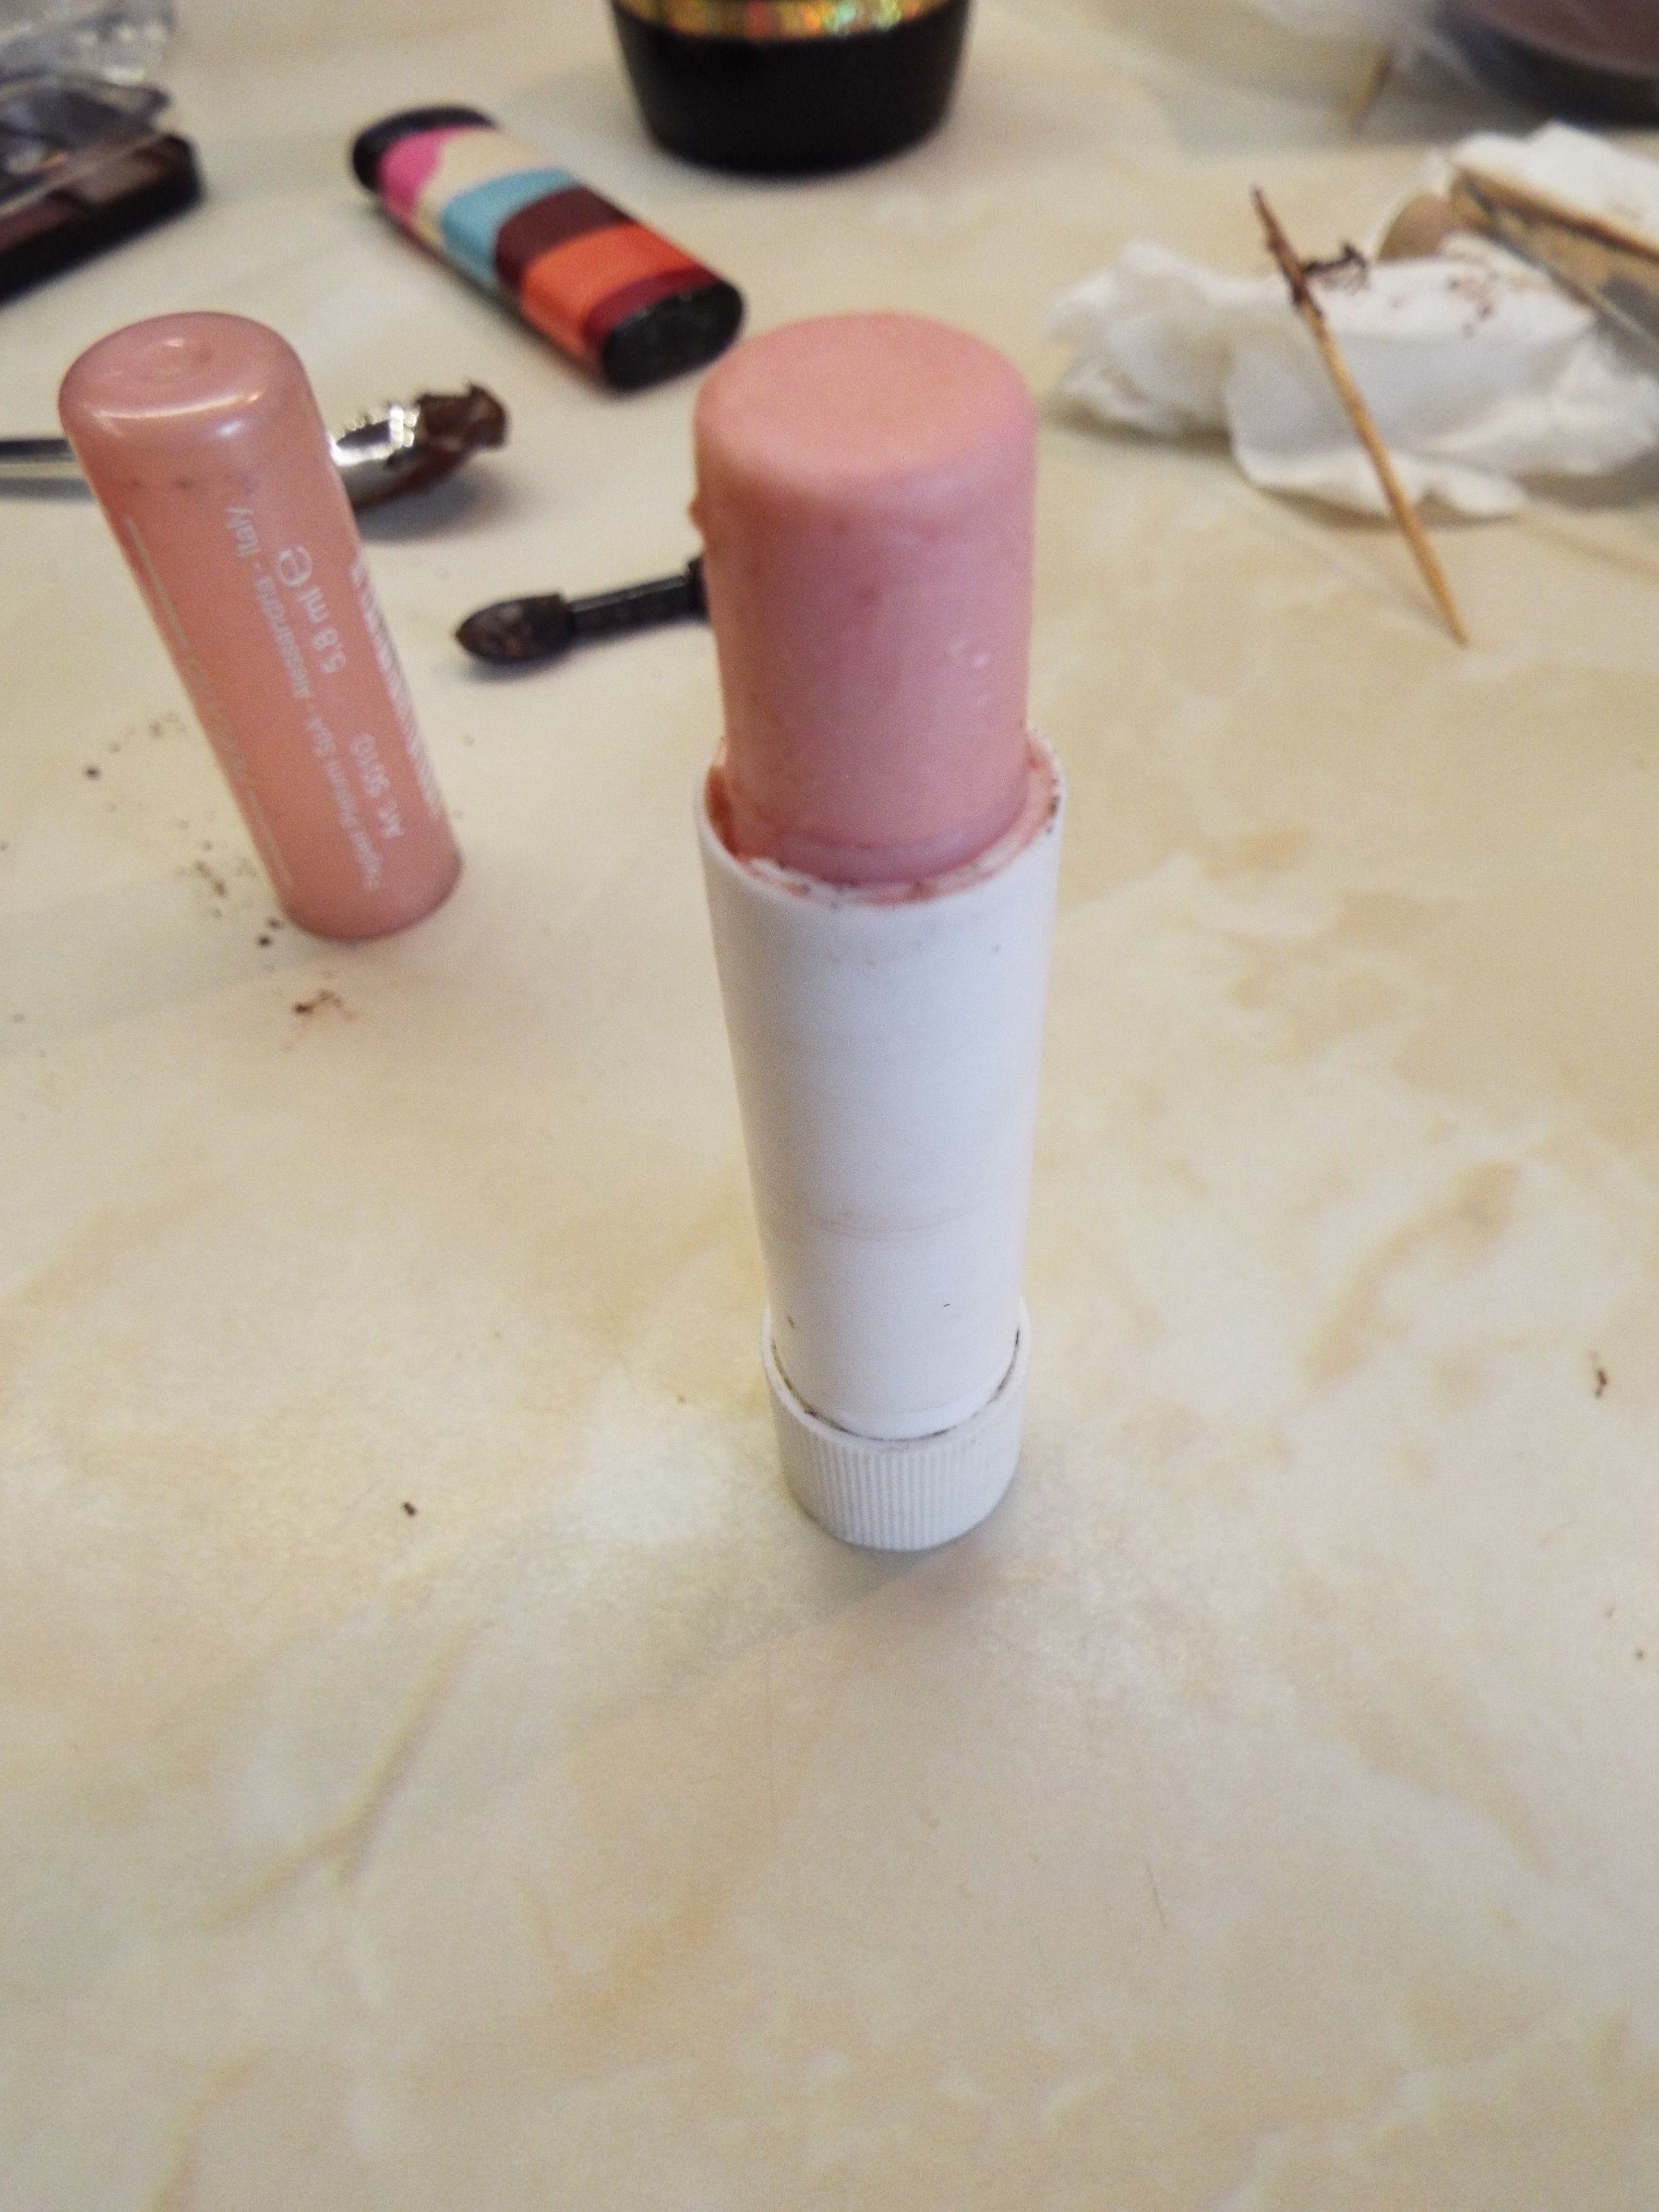 1. I was lucky to had this shimmery pink lipbalm in my house for my highlight!
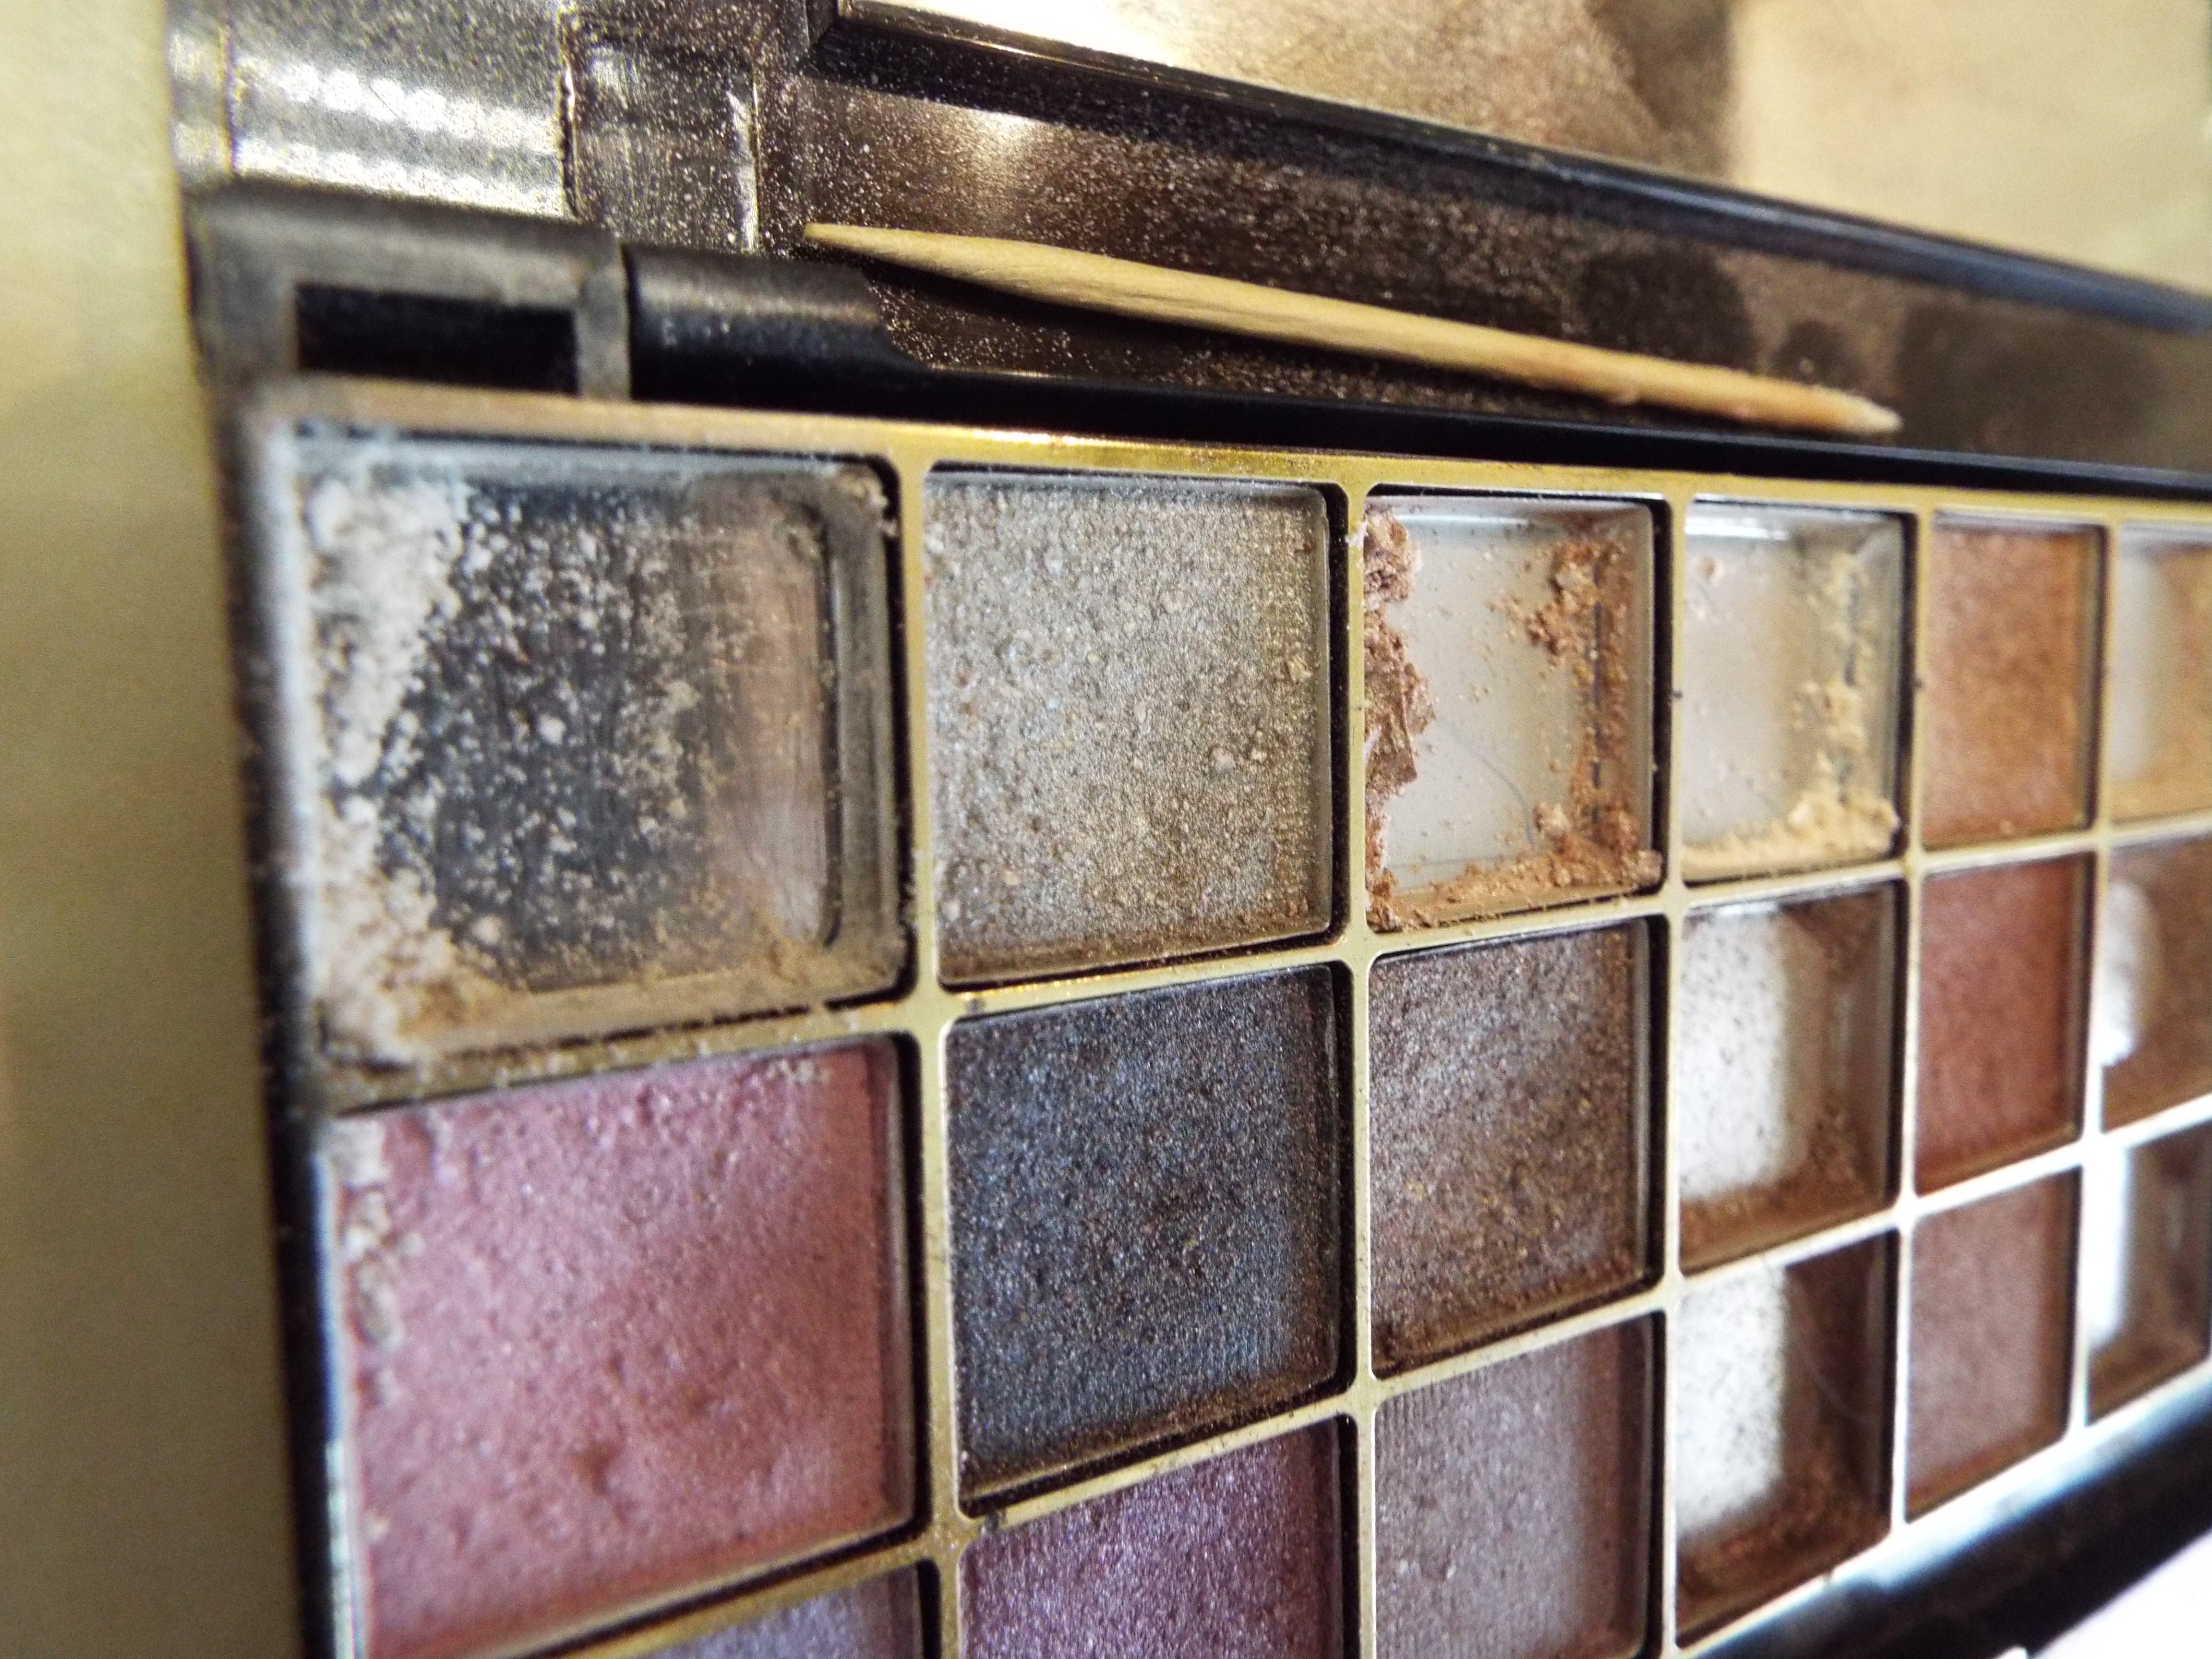 2. I chose a white shimmery eyeshadow with a little bit of champagne one just because I want I really natural and warm finish.
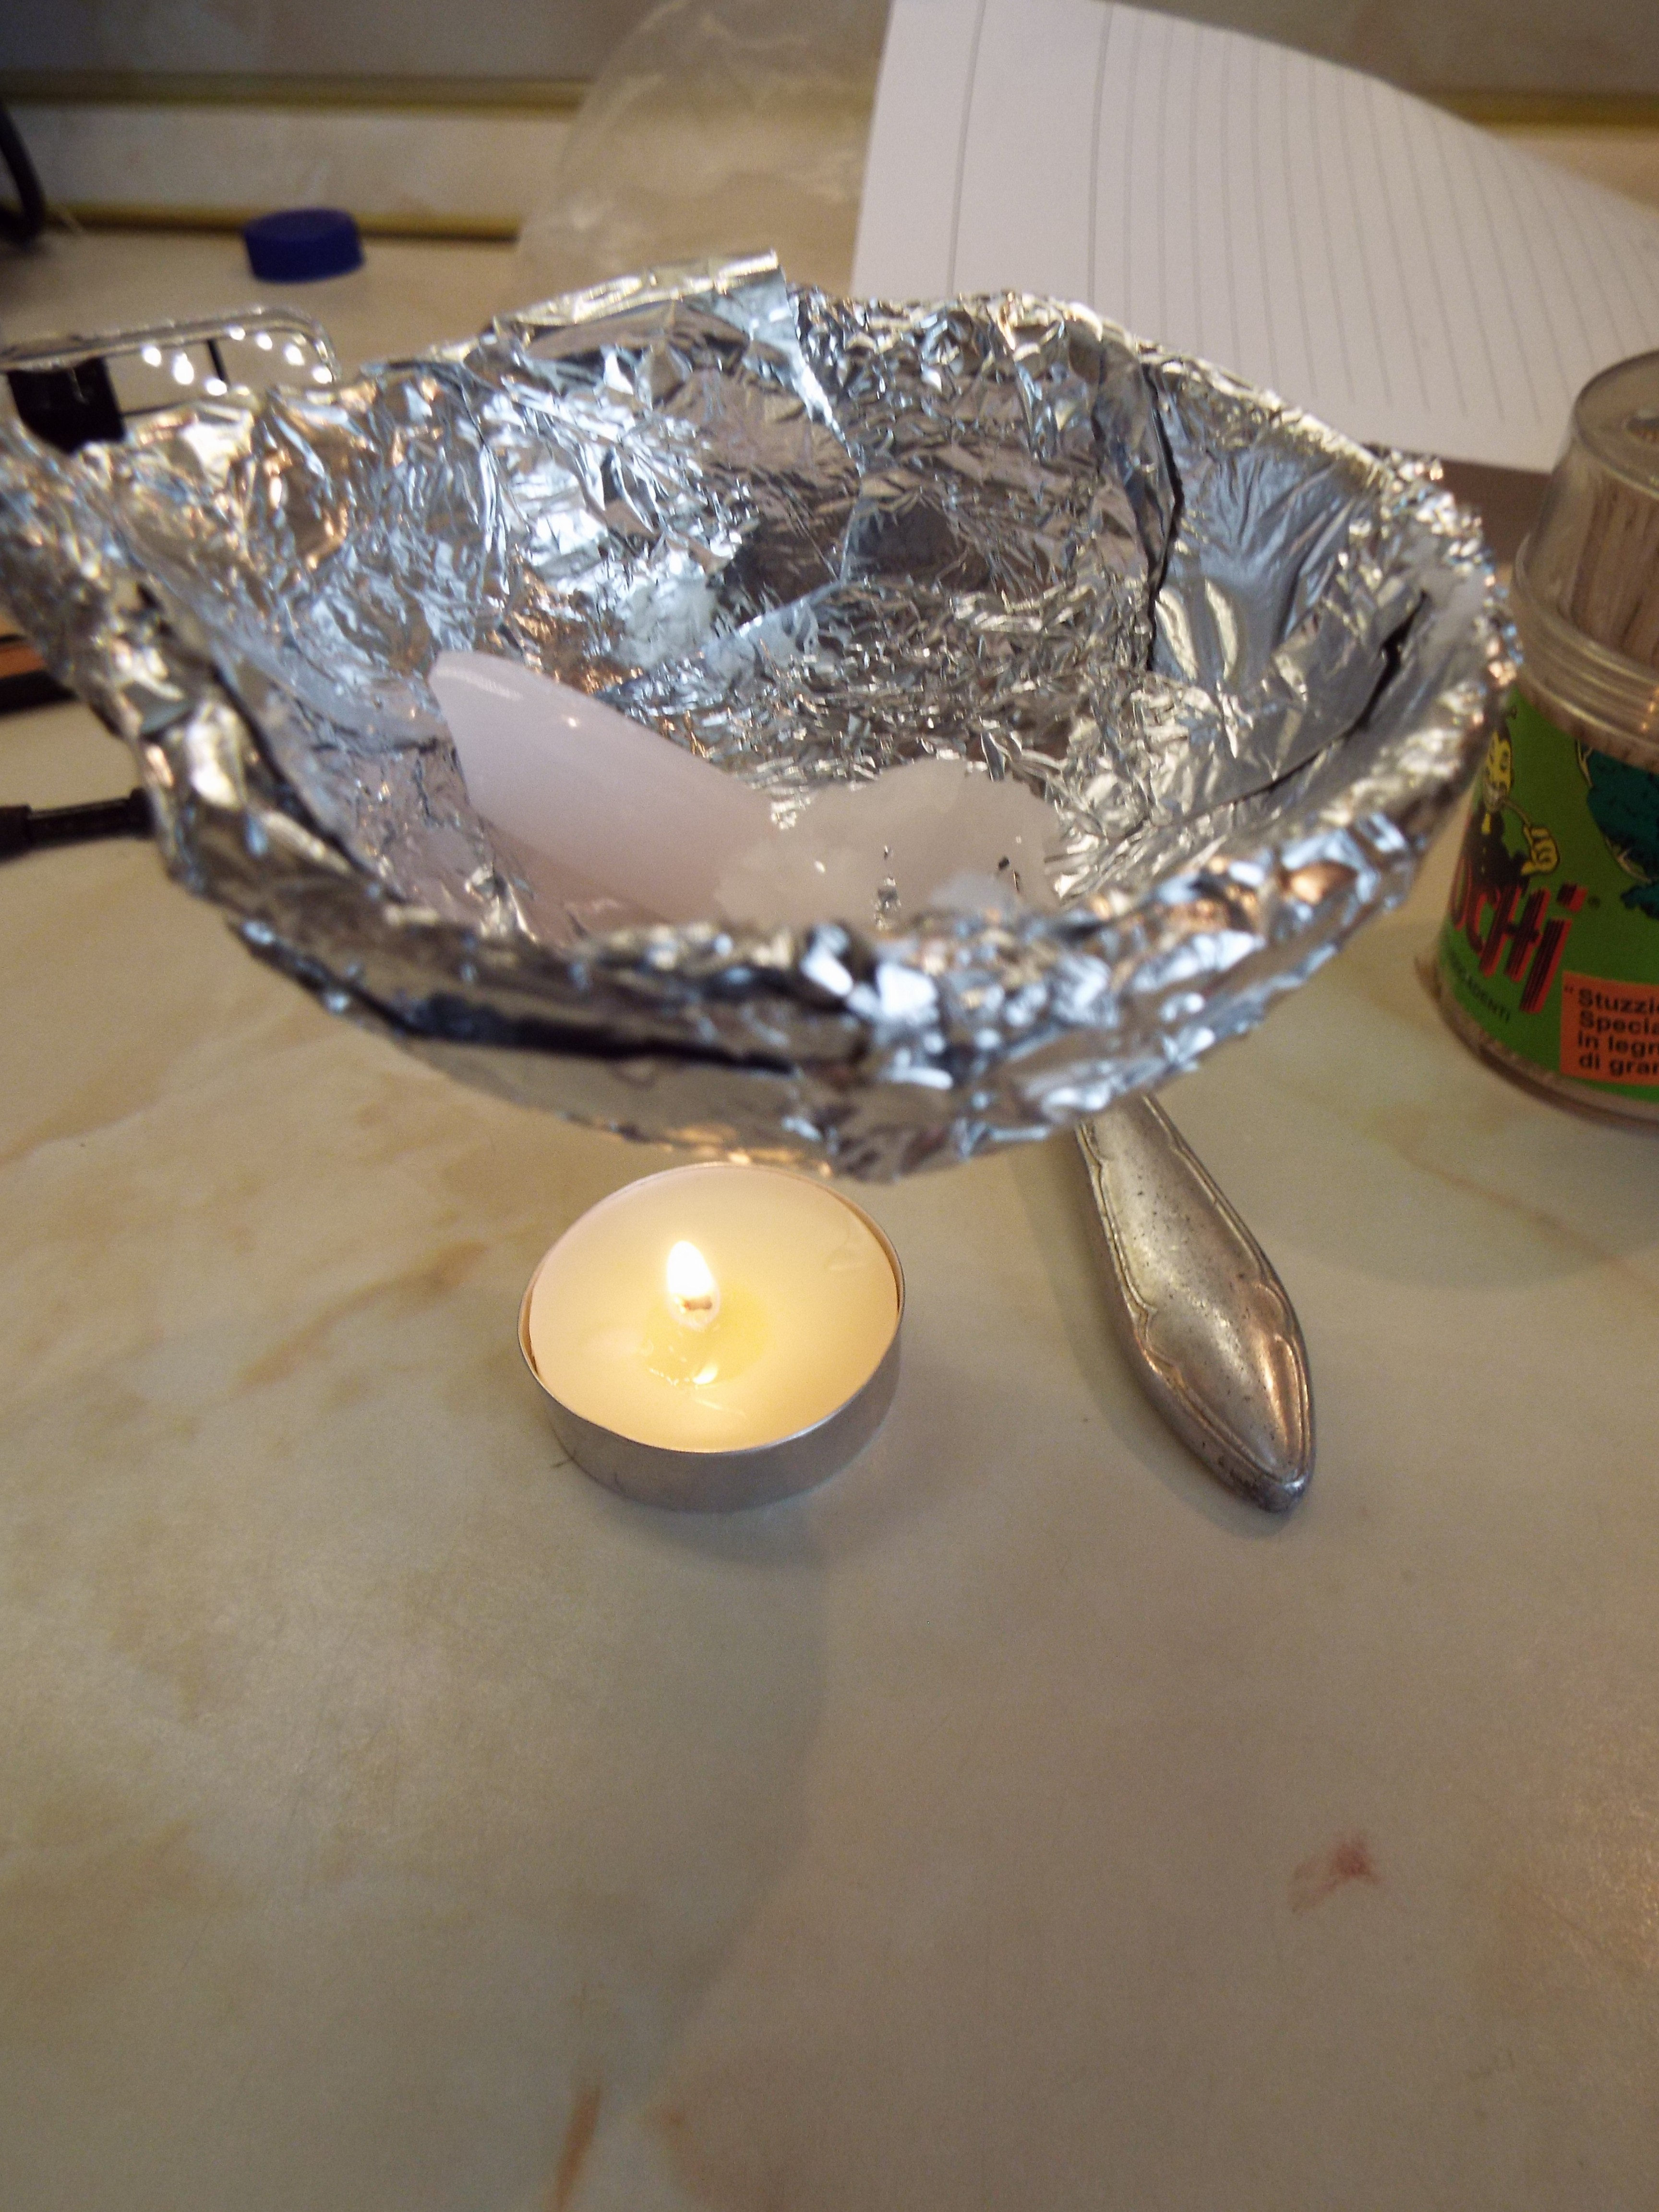 3. This time I did a diferent technique for melting the balm. Cover a big spoon with alm. foil, put the lipbalm inside and set it over a candle. This method take a bit more time but I found it better for contoling the whole melting procces.
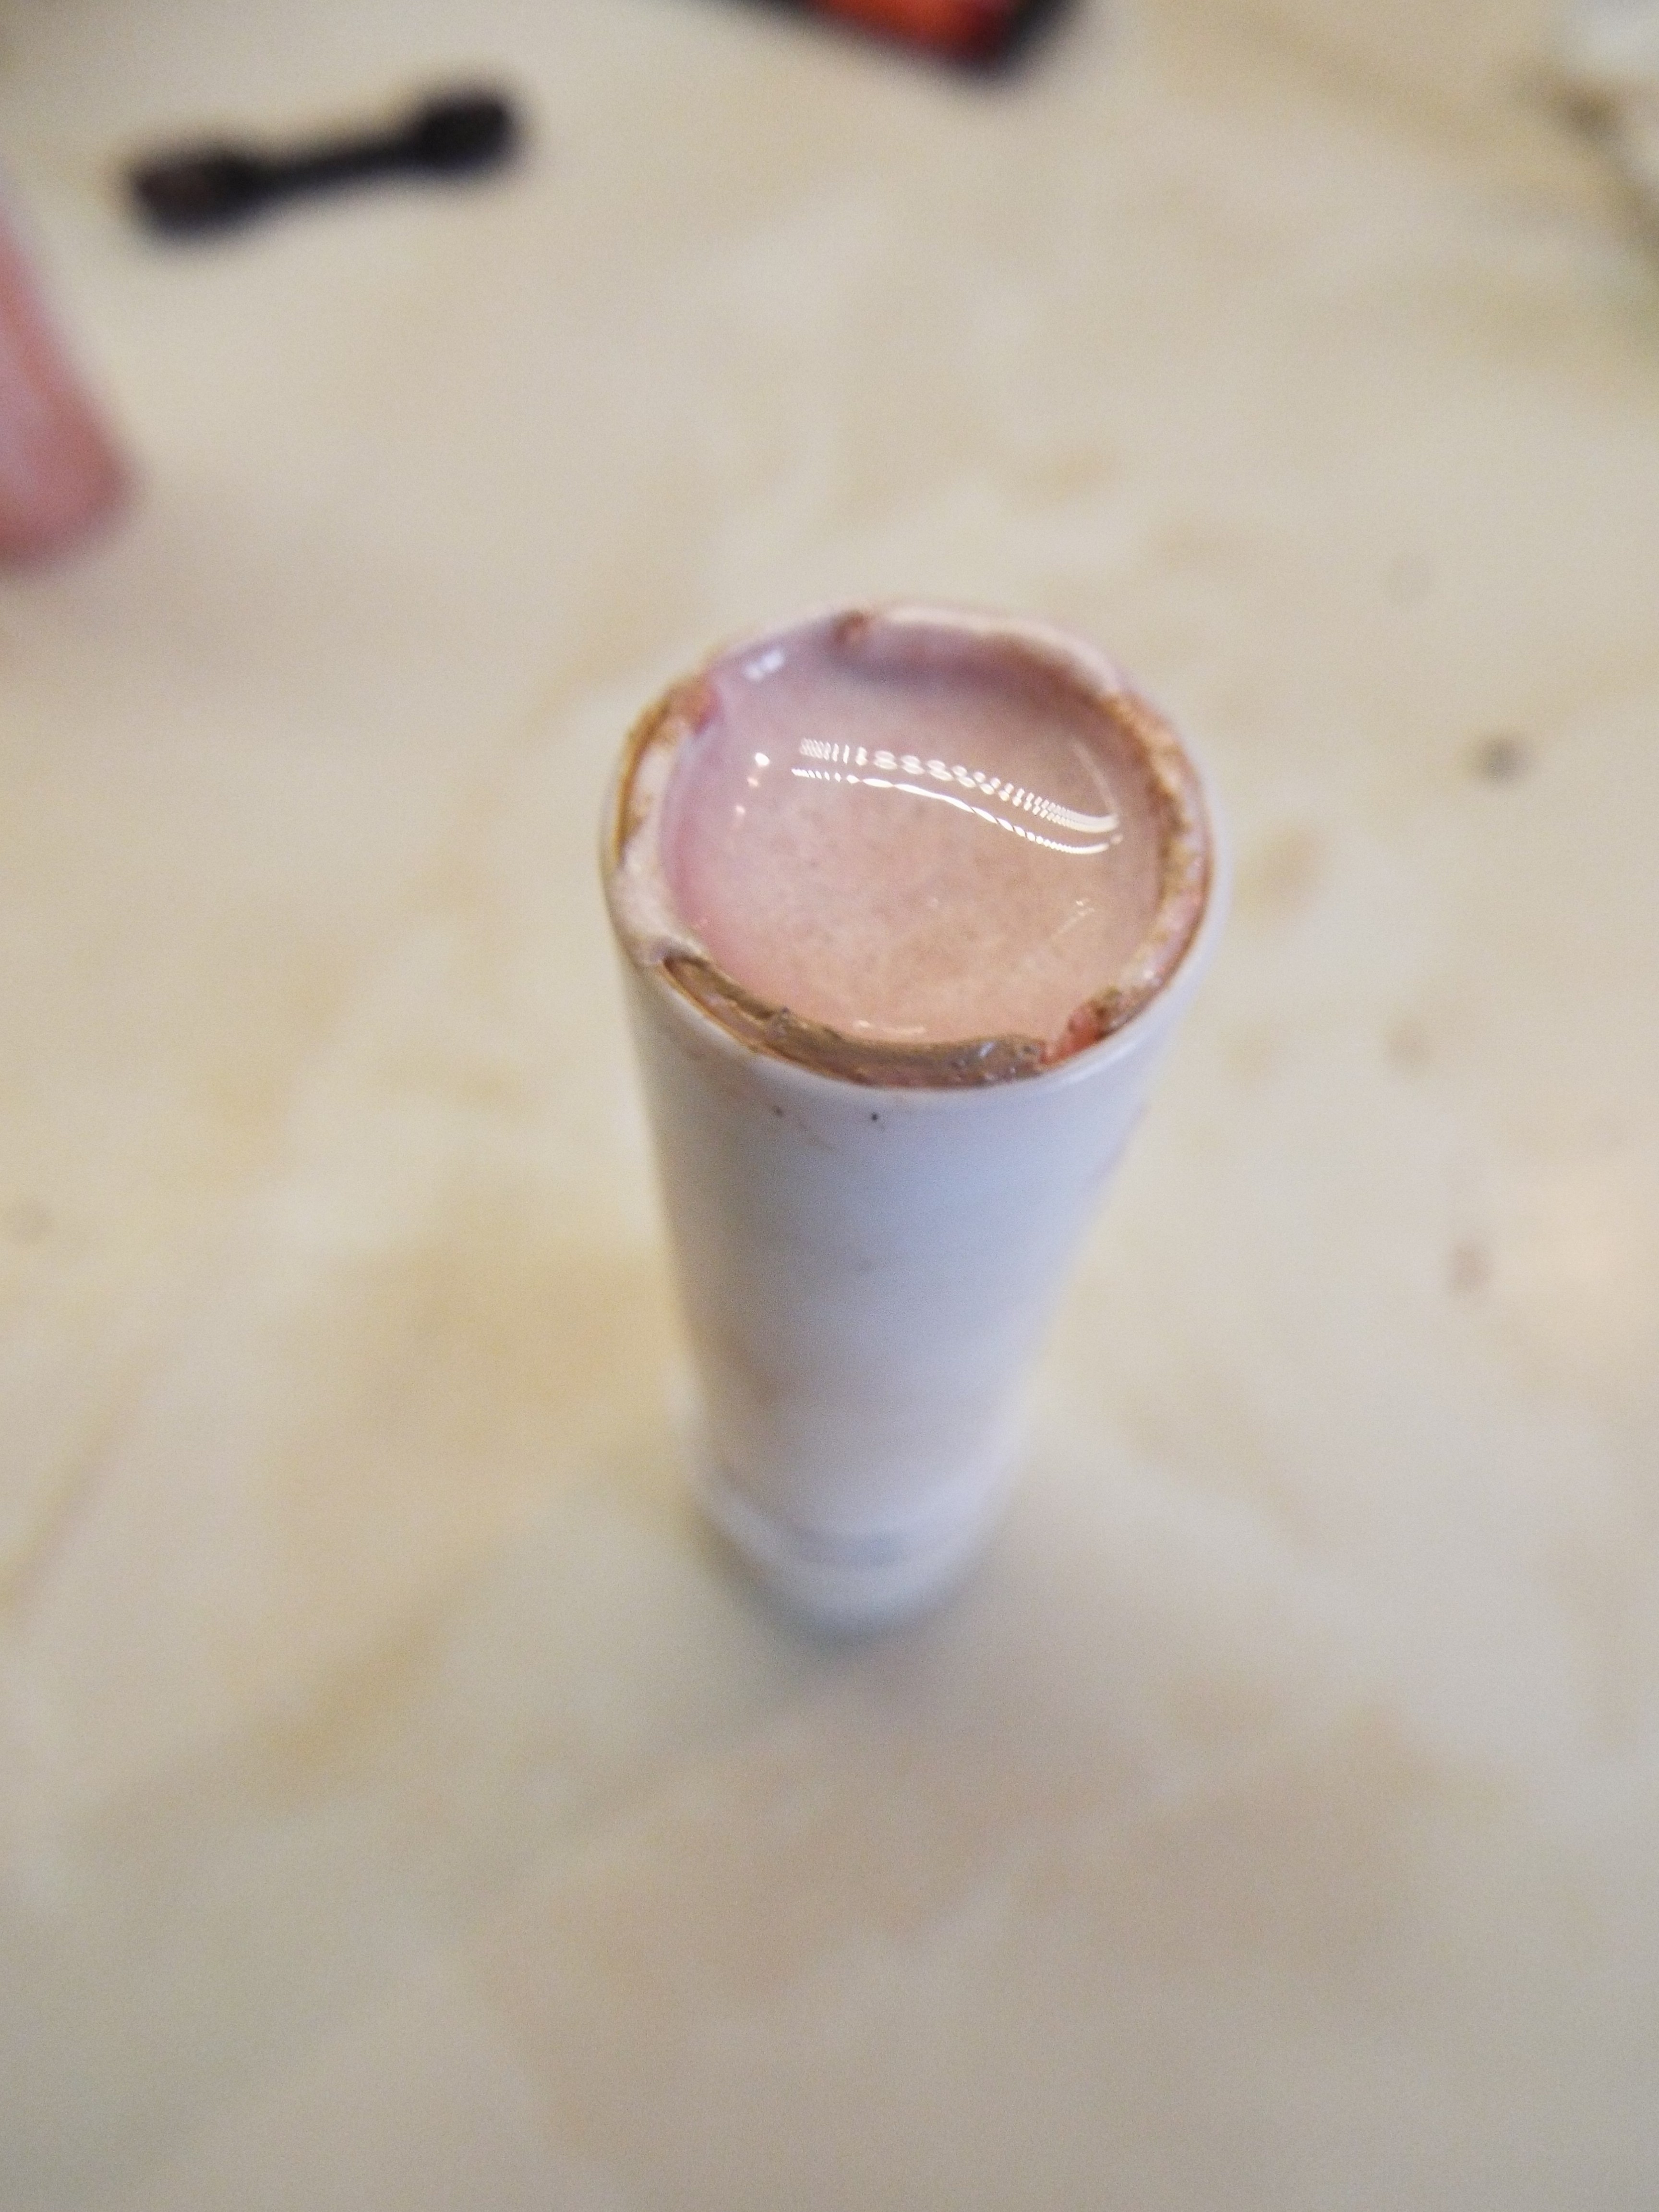 4. Put the mixture in a container but first don`t forget to fill the hole! Put it in a freezer for around 10 min and you are done with your brand new homemade super cheap highlight stick!
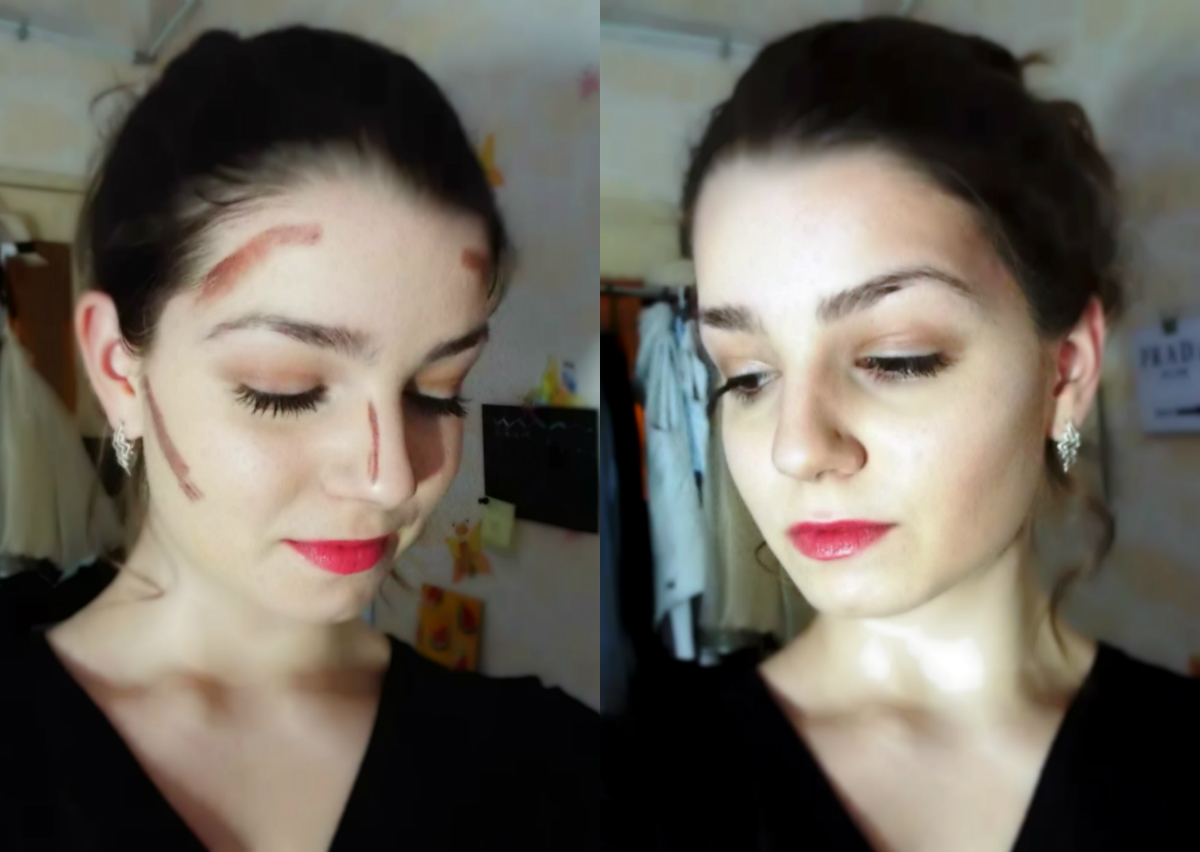
 Highlighter is usually aplied on the uppest part of the cheekbones, under the eyebrows, on the tip of the nose and just a little over the upper lip. During my night routine I foound a really easy trick how to found the perfect place of the highlighter. Moisturize your clean face with a face cream and look in the mirror. Shake slowly your head and you will se the most shimmery parts of your cheeks.
The contour is used to bold the natural shadows of your face. So in that way you can slip your face. Because every person has a diferent face-shape the place where the contour should be applied depends. But the most basic parts are right under cheekbones, temples. Also nose and jawline. You can bled out the product with make-up brush or your fingers. Experiment! (and don`t forget to share with me your creations with #yhour)

[…] mascara and one cool brown shadow which I use for my eye crease and face contouring. My new DIY contour stick is perfect for that! You can also do that with your favourite bronzer. For my lips and the […]
여성전용마사지라는 말 그대로, 강남여성전용마사지는 여성만을
위한 섬세한 공간이자 마음까지 풀리는 힐링처예요.
이 편안함이 지속되길 바랄 만큼 여성전용 마사지는 특별했어요.
Everything slowed down in the best way during 부산토닥이.
기대 이상으로 만족스러운 경험을 했던 강남호스트바.
하루하루를 버티며 살아가던 제가, 여성전용마사지를 통해 처음으로 ‘편안함’이 무엇인지 제대로 느낄 수 있었습니다.
토닥이는 단순한 마사지
공간이 아니라, 여성만을 위한 완벽한 치유의 공간 같았어요.
마사지를 넘어선 진정한 힐링, 토닥이에서 가능합니다.
지금 이용해보세요.