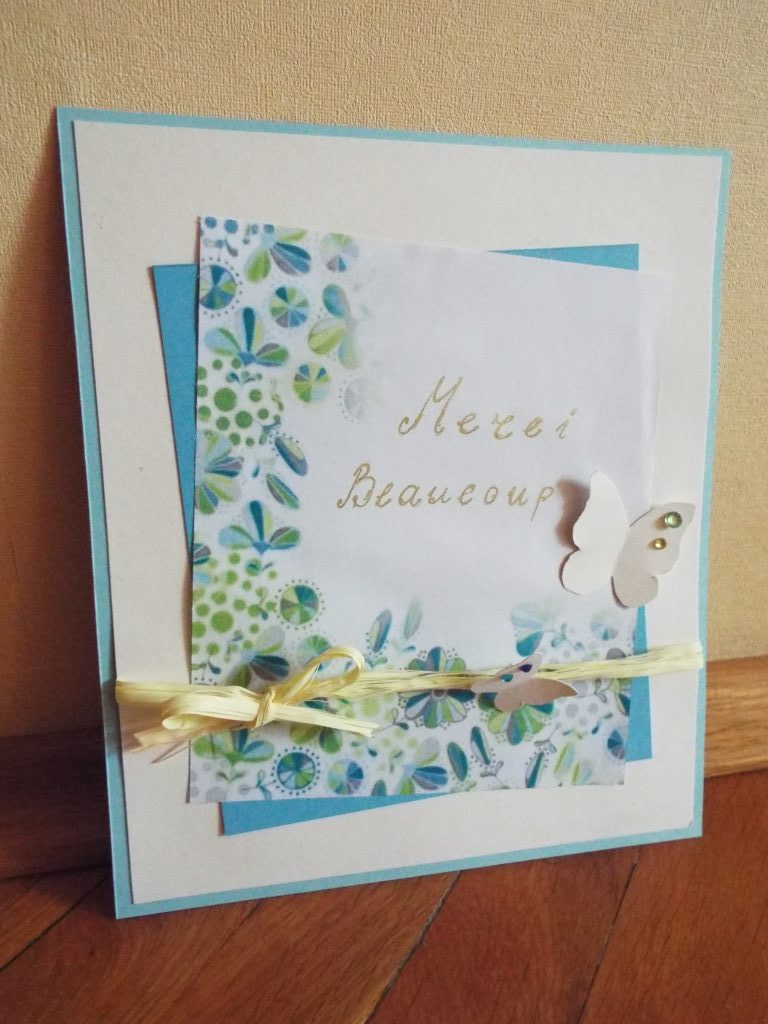
For the first post of this year I decided to make something for you – all of my readers and followers. I made a Thank you card so I could show my gratitude to you! This card is for you. Thank you!
All you need:
> Three colours of cardstock
> One design sheet of paper
> A ribbon
> Glue and scissors
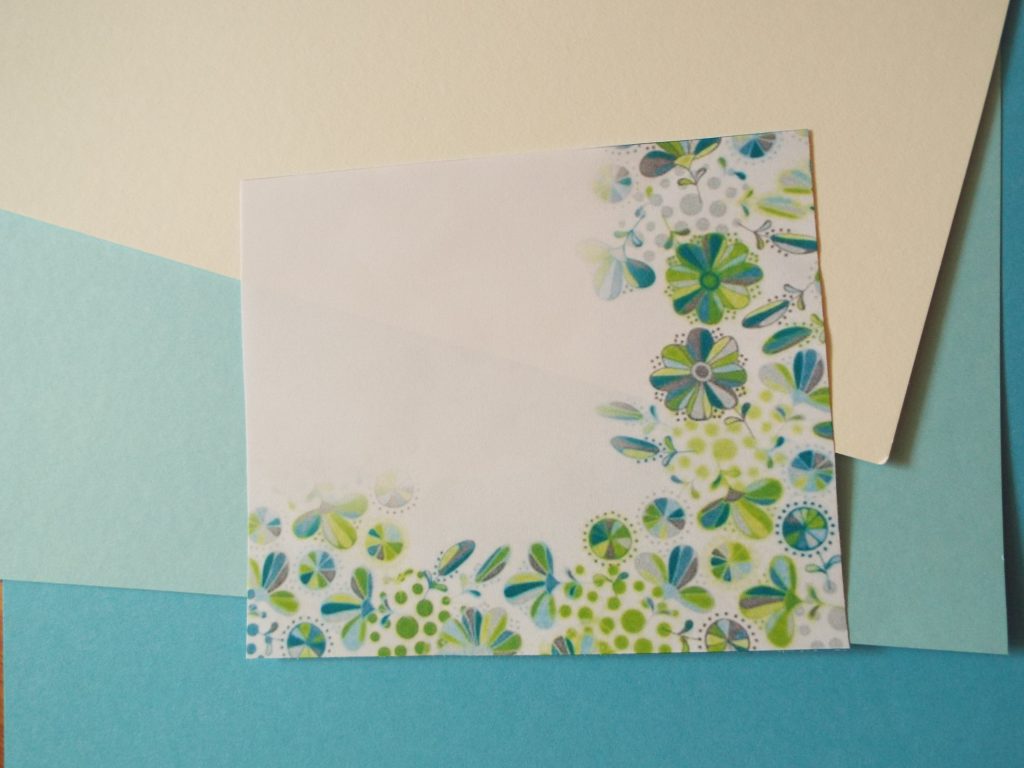 1. Start by choosing your colours and design paper. Make sure that they all go well together. The design paper you can easily print of but search for one that has a blank space somewhere in it so you could place the “Thank you” text there.
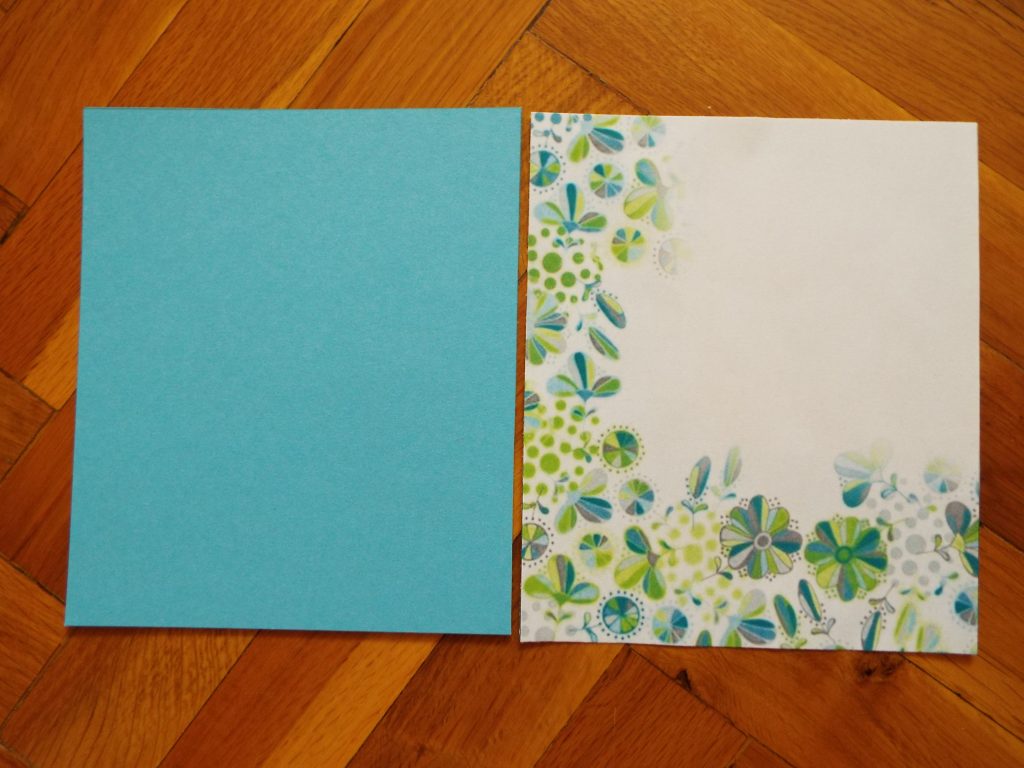 2. Cut the sheet of design paper and one of the cardstocks in two same-sized rectangles.
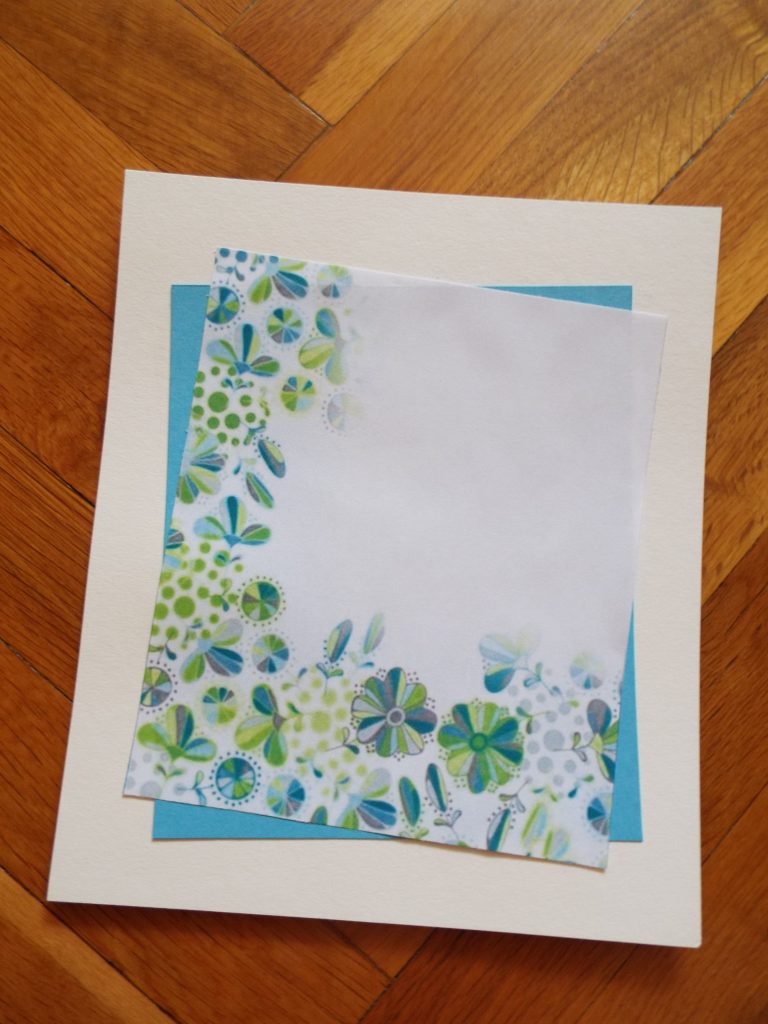 3. Then glue them on the second cardstock in an angle way like shown.
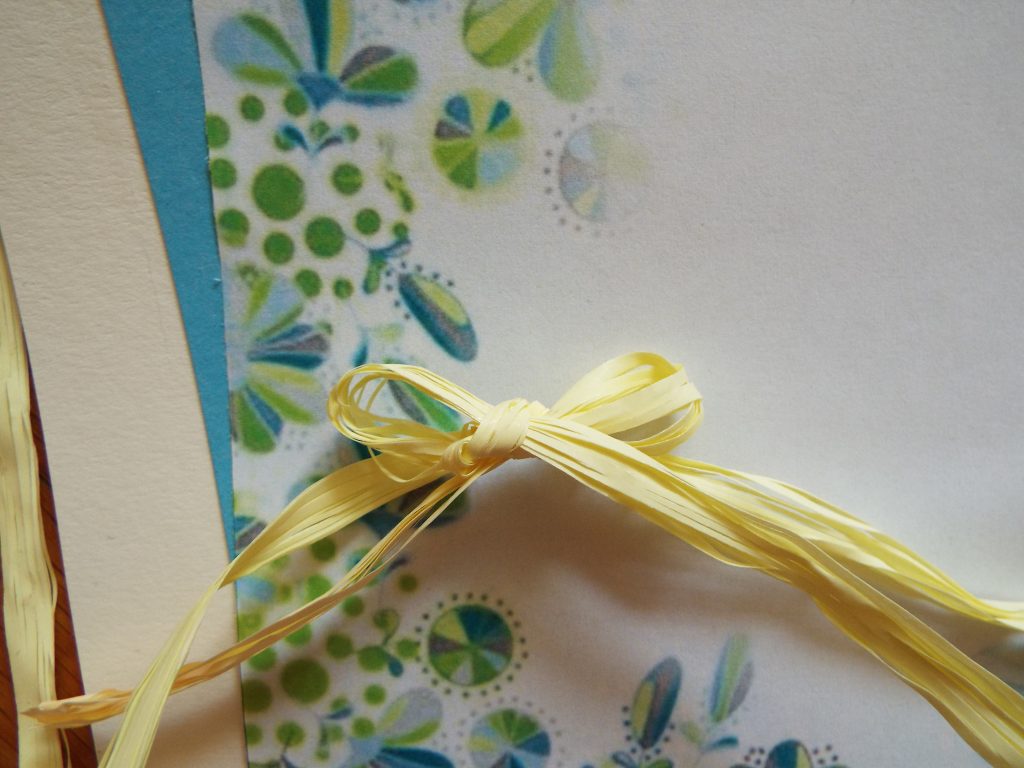 4. Tie a bow from the ribbon and place it where you would like on the card.
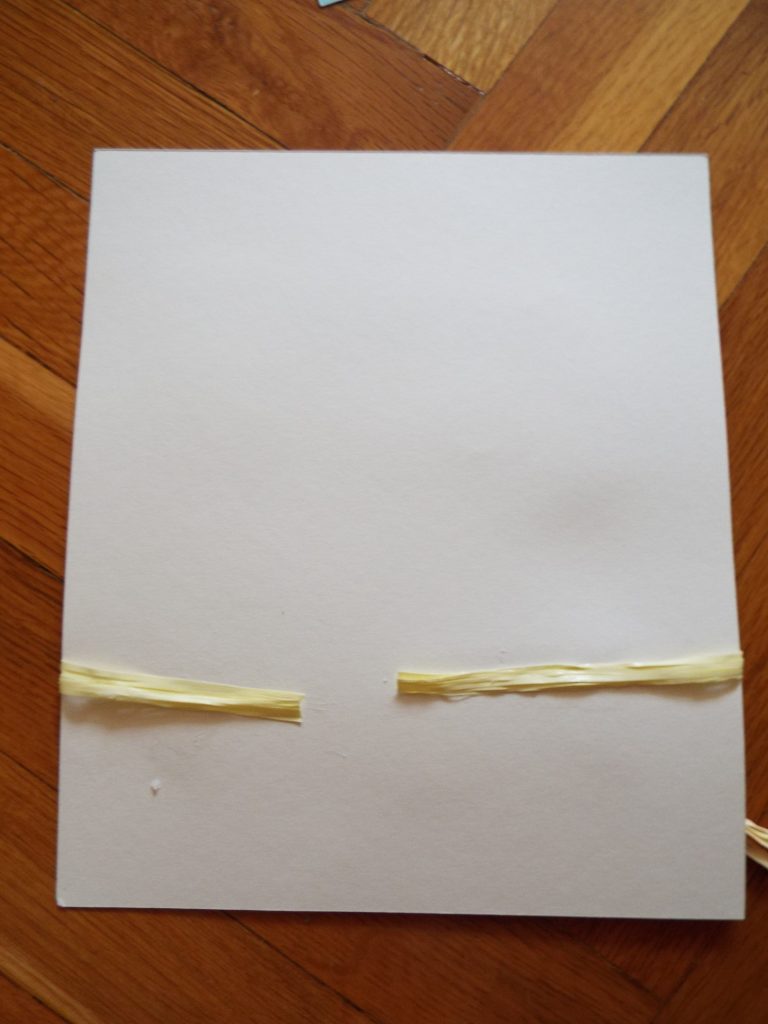 5. To secure it on place, glue the two ends on the back of the card, using strong glue.
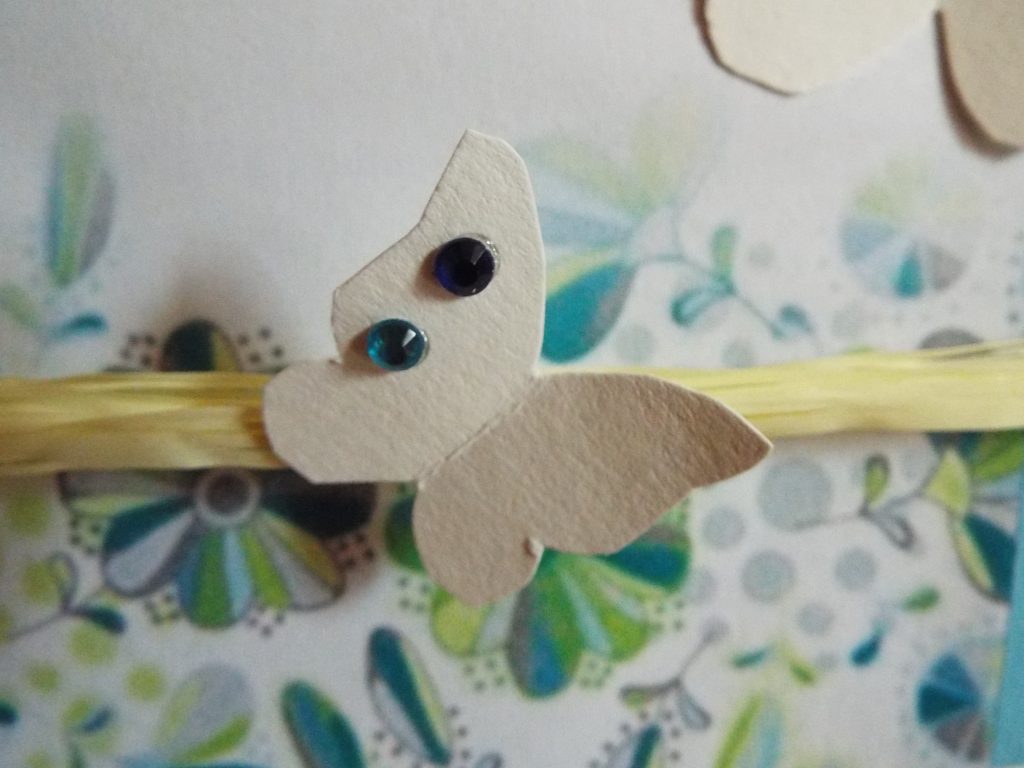
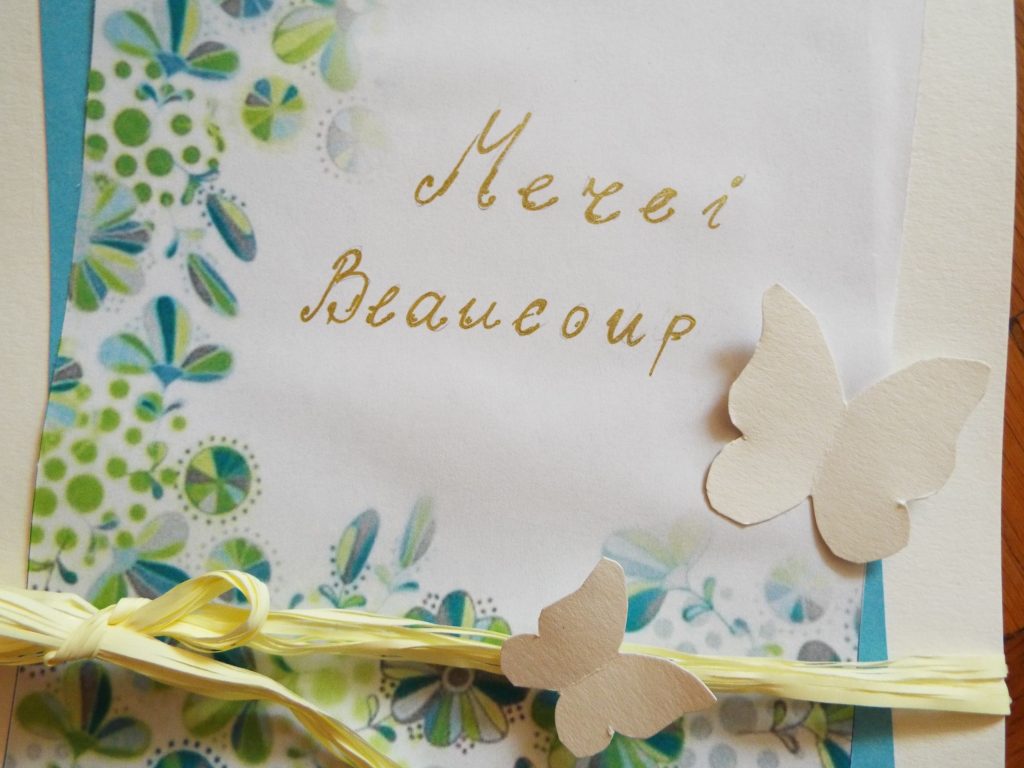 6. Now add the text and a few decorative elements that suits your theme. In this post HERE I show you a easy way to create beautiful handwriting texts.
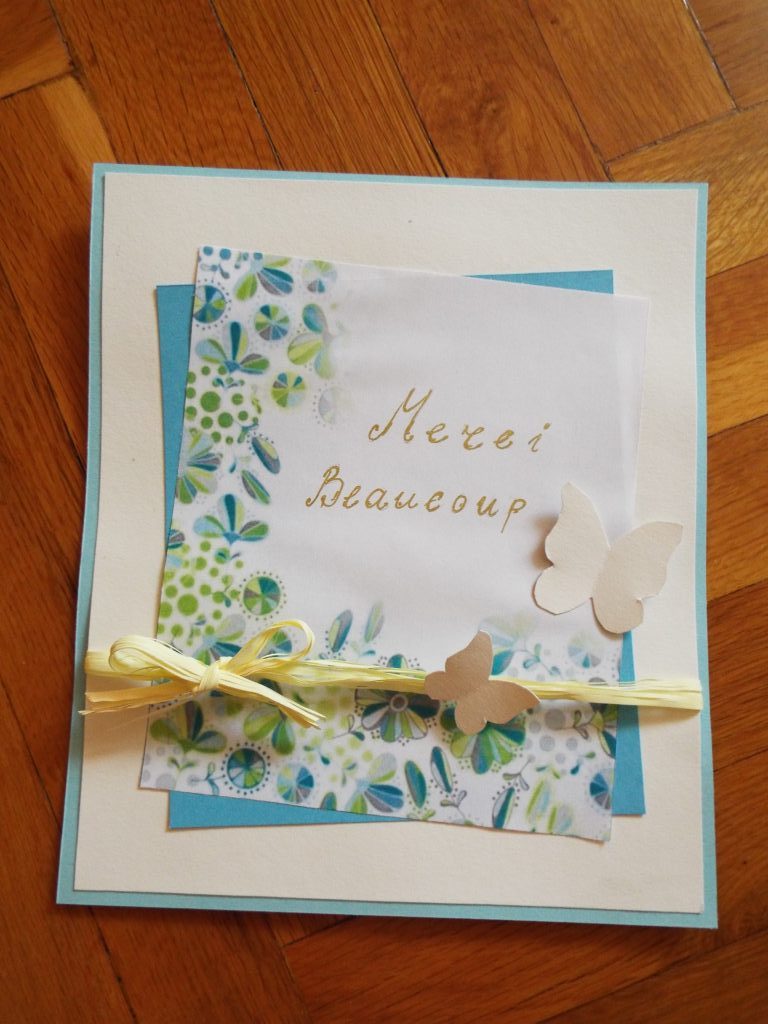 7. Finally, cut the last cardstock a bit bigger from the last one and use it as a base. That way the ribbon will be hidden and there will be a nice frame. And you are done!